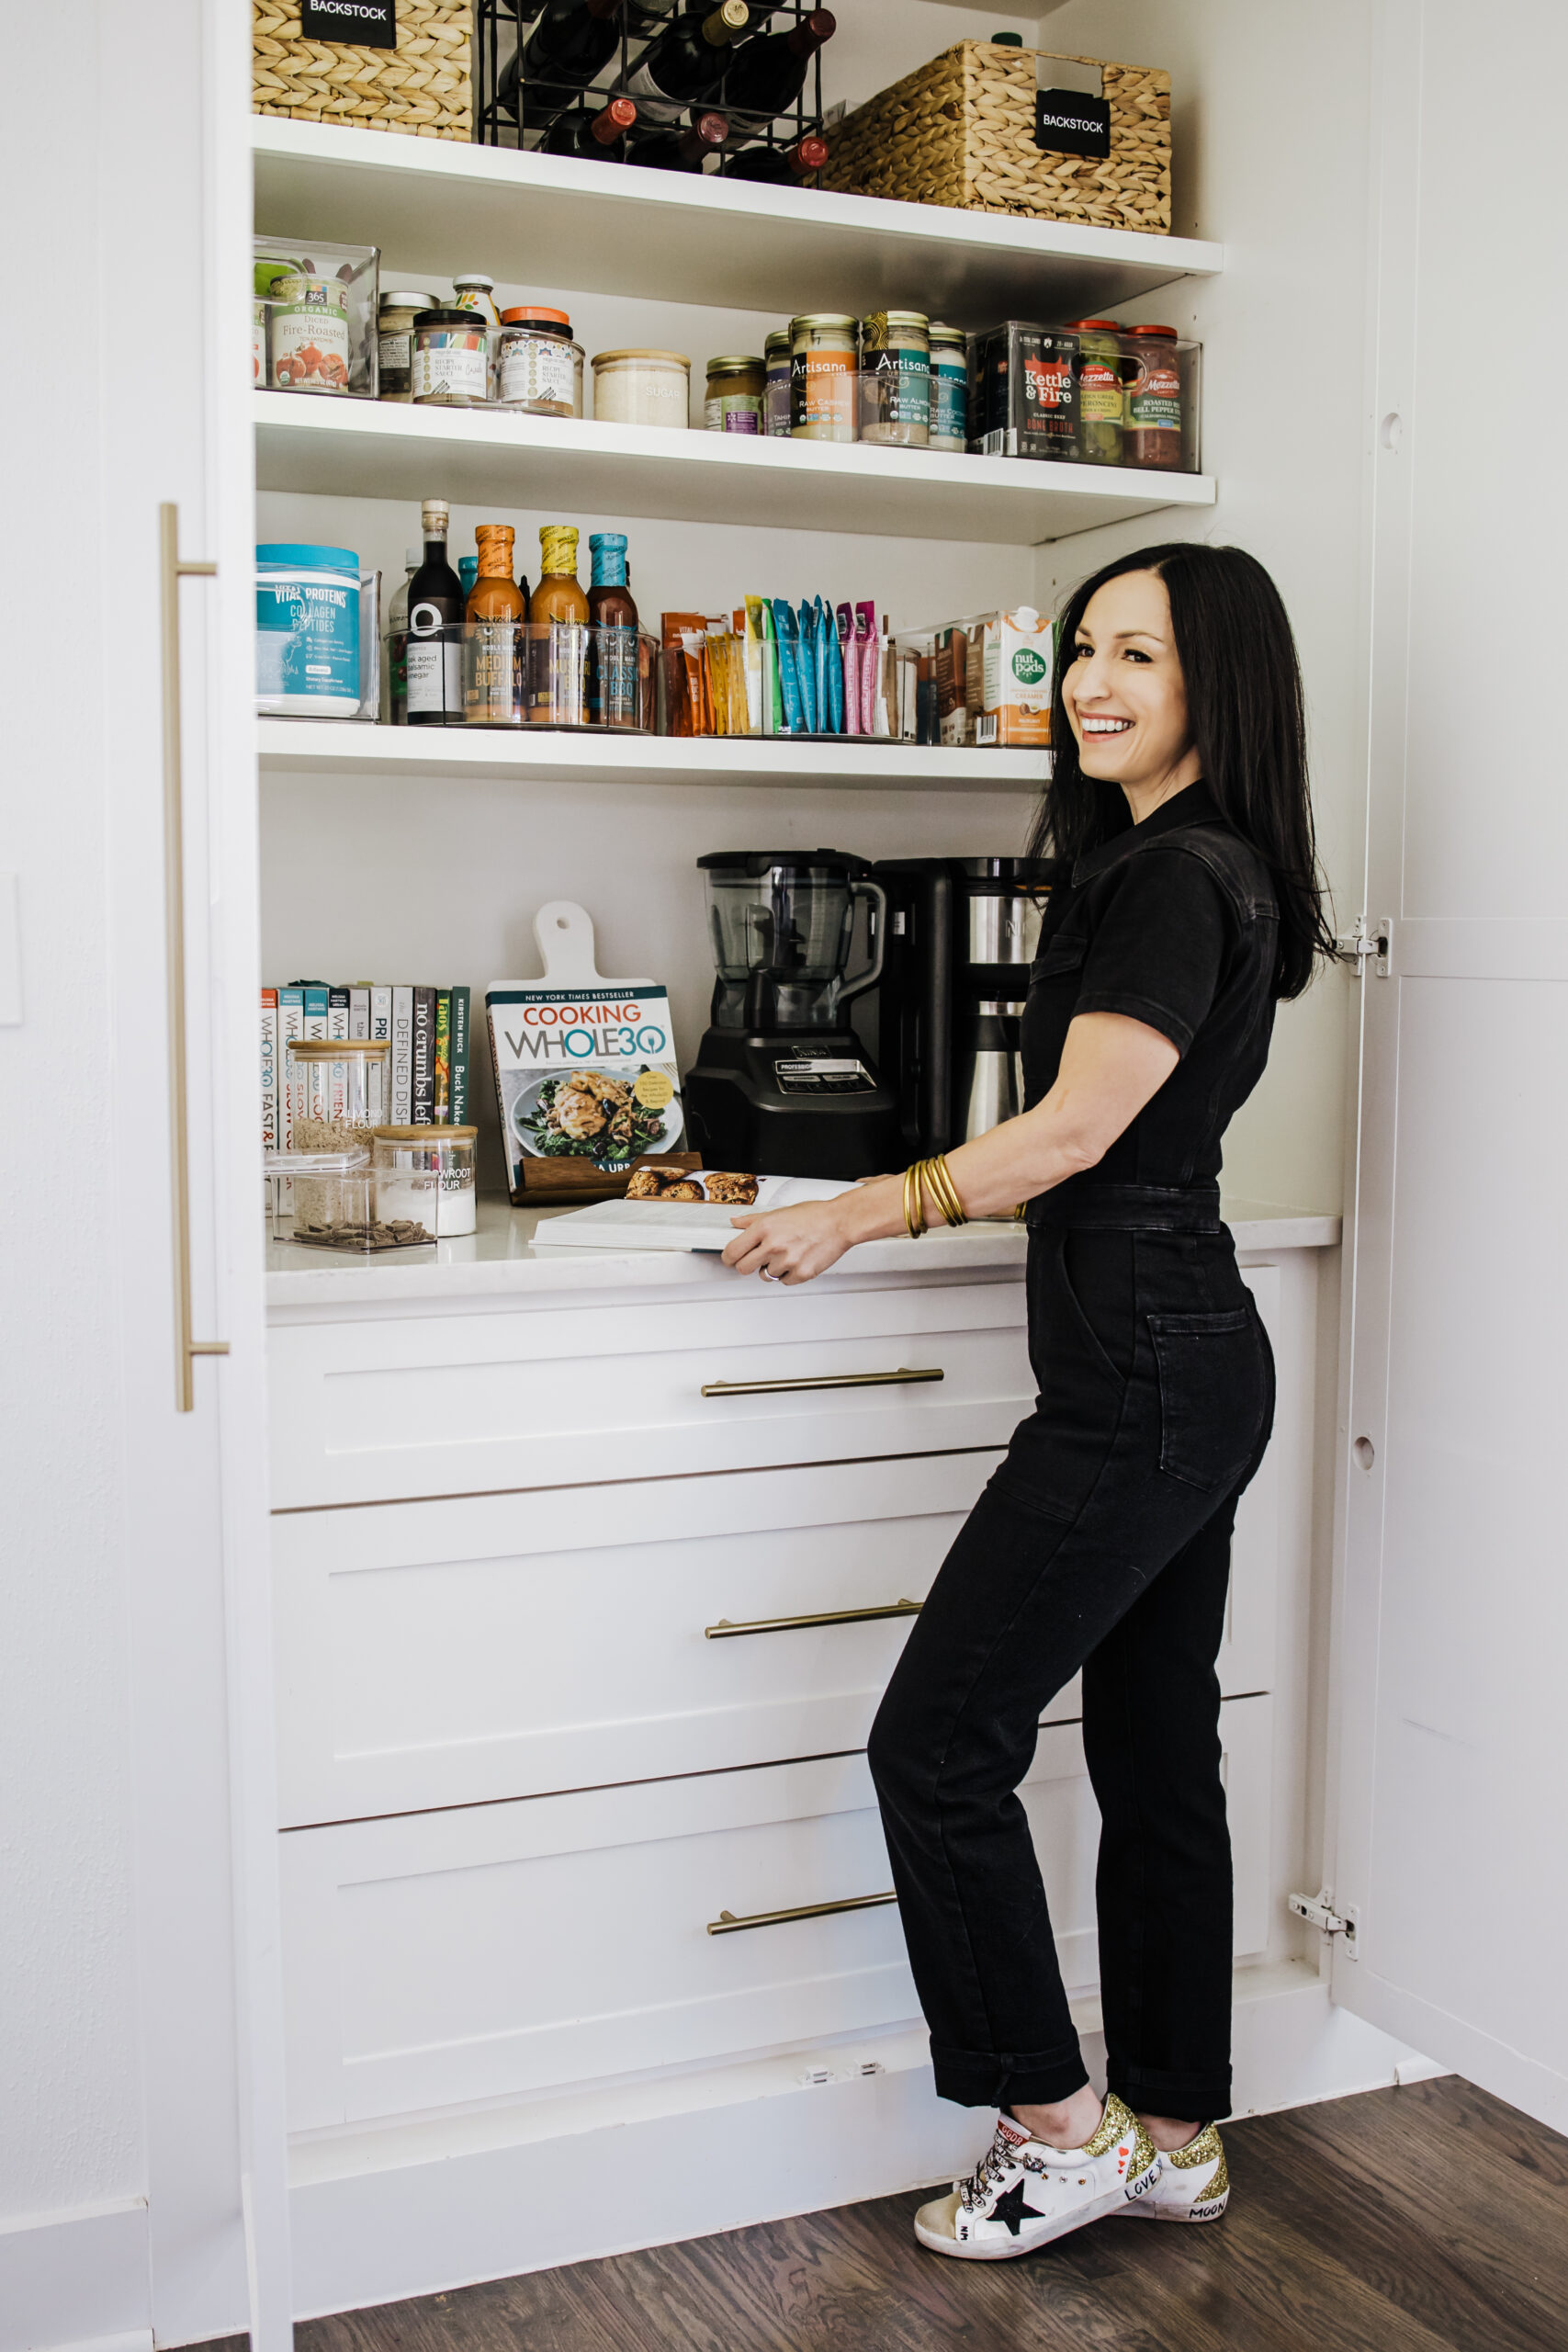
 Thoroughly organizing my pantry has been on my to do list for a while!
My goal was to not only organize but also put into place a system to maintain order. This does not come easily or naturally to me, so I was very excited for the opportunity to work on it with professional organizer, Lindsay Lane! I found her on instagram through mutual friends and instantly loved her approach and previous work.
Lindsay was an absolute joy to work with and I learned new skills to use moving forward with any other space I organize on my own….
Or (preferably) I can just call her, ha! Joking aside, her consultation and process taught me to do this type of project in phases so it will be more likely to be finished and not abandoned due to overwhelm!
I’m so excited to show you the finished product today. Everything has a home and I smile every time I open it…I love it! Yes, it takes a little effort but getting rid of clutter really does have an overall calming effect that extends to daily life. And having less to look at when I open the door and keeping only what we need/use makes meal and snack time decisions easier!
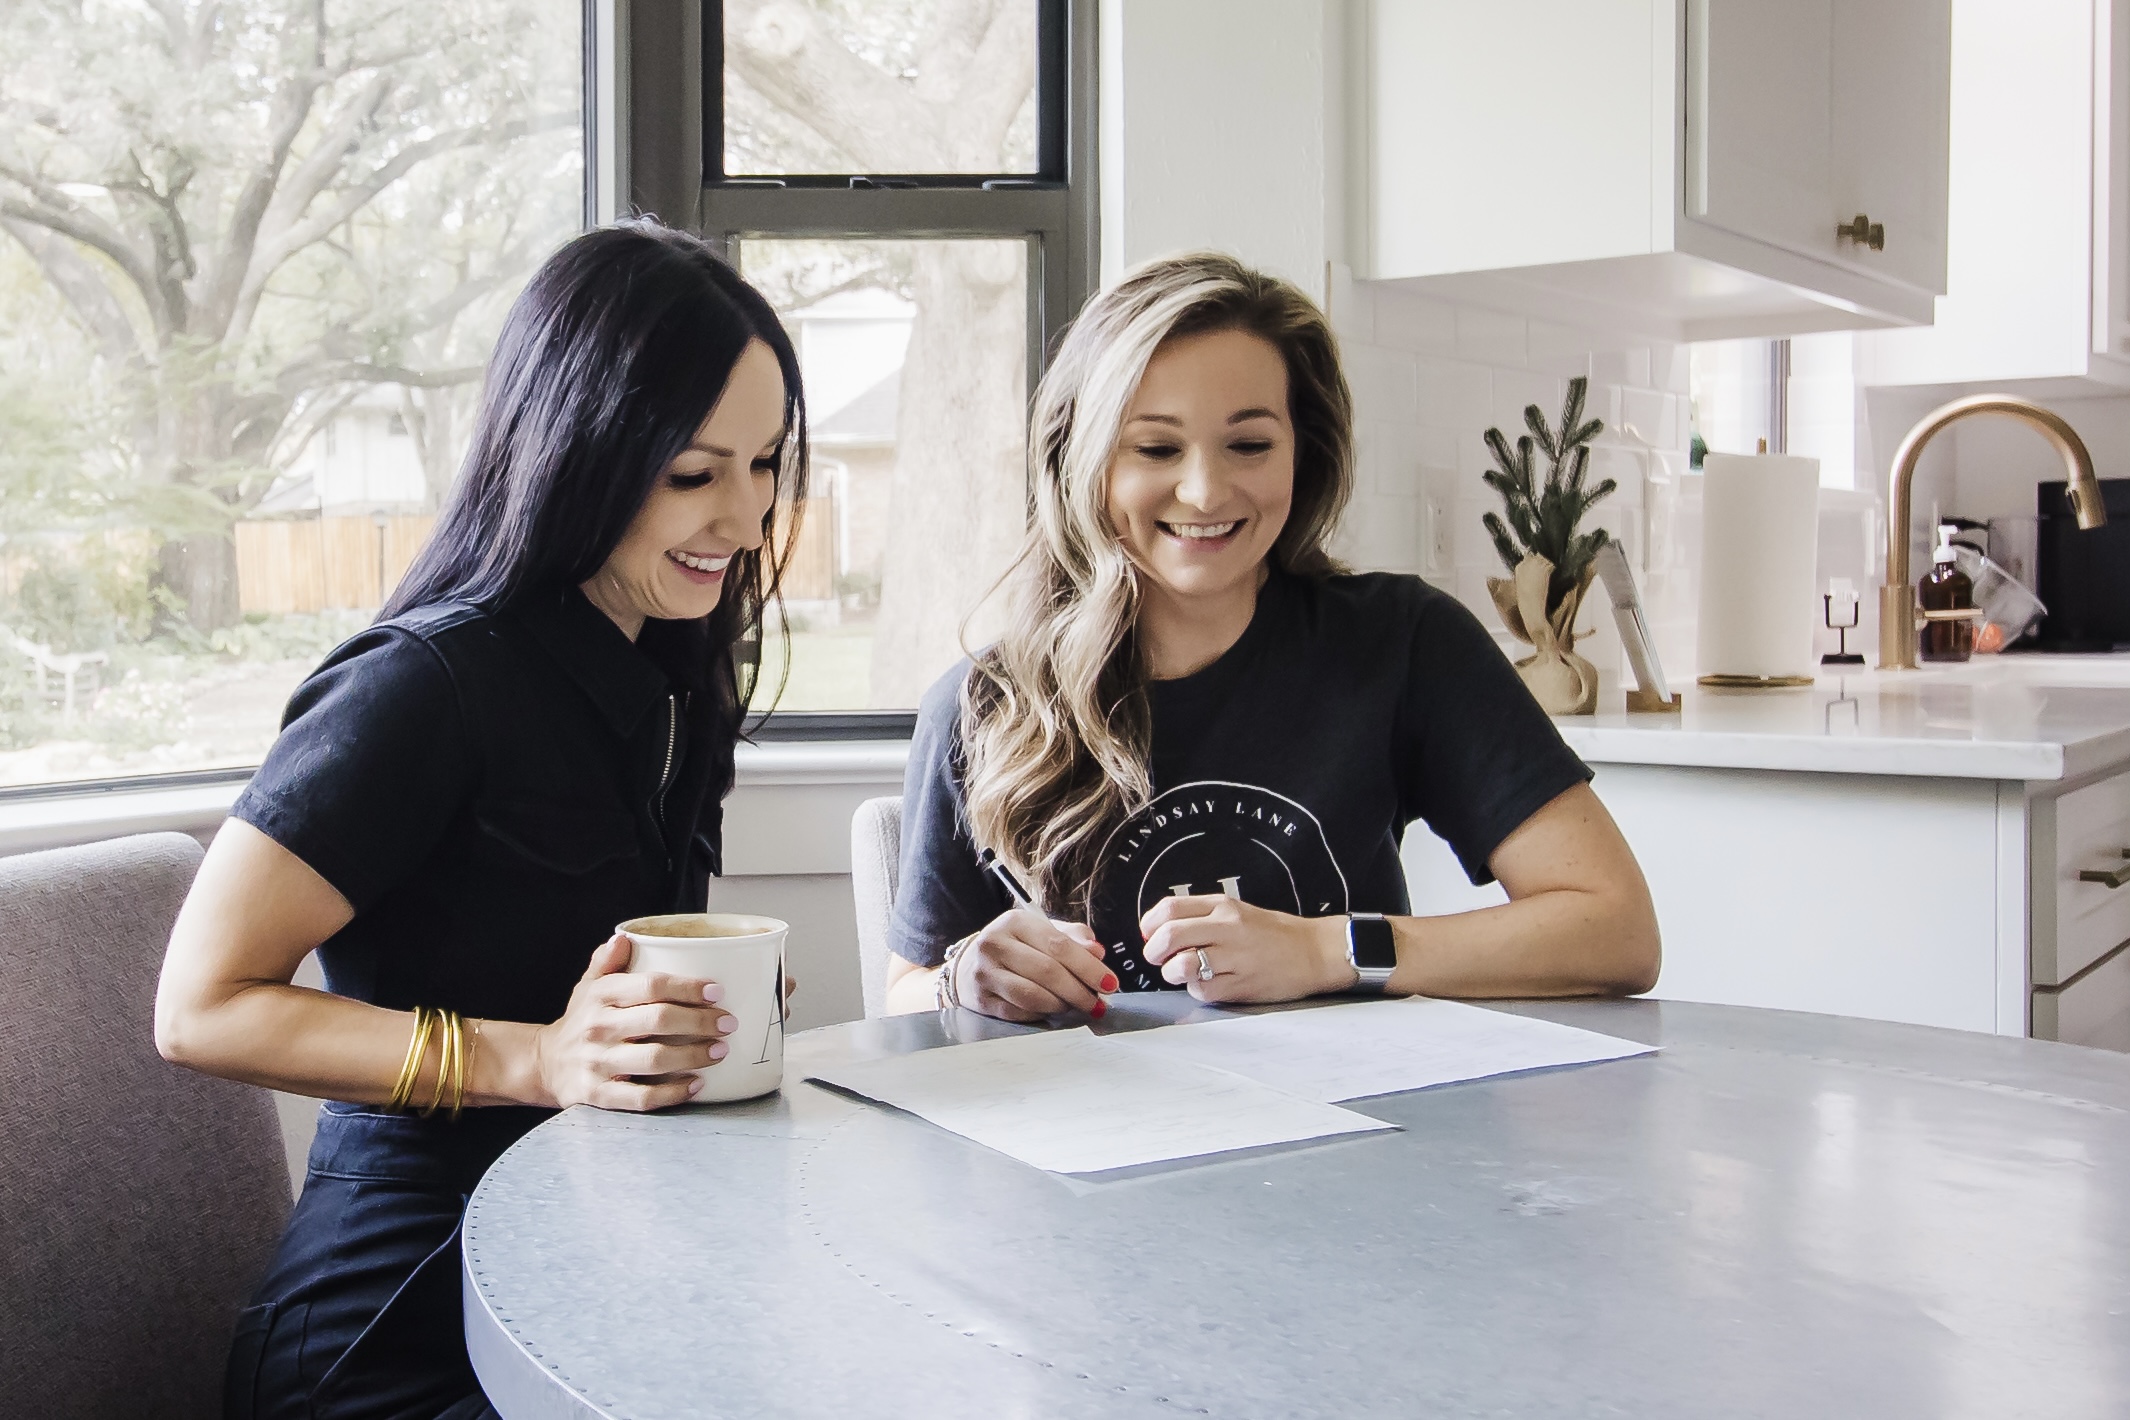
Lindsay specializes in closets, pantries, cabinets, playrooms, any space that needs order and organization!
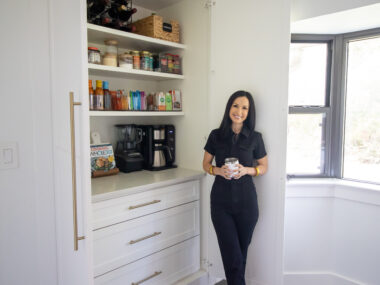
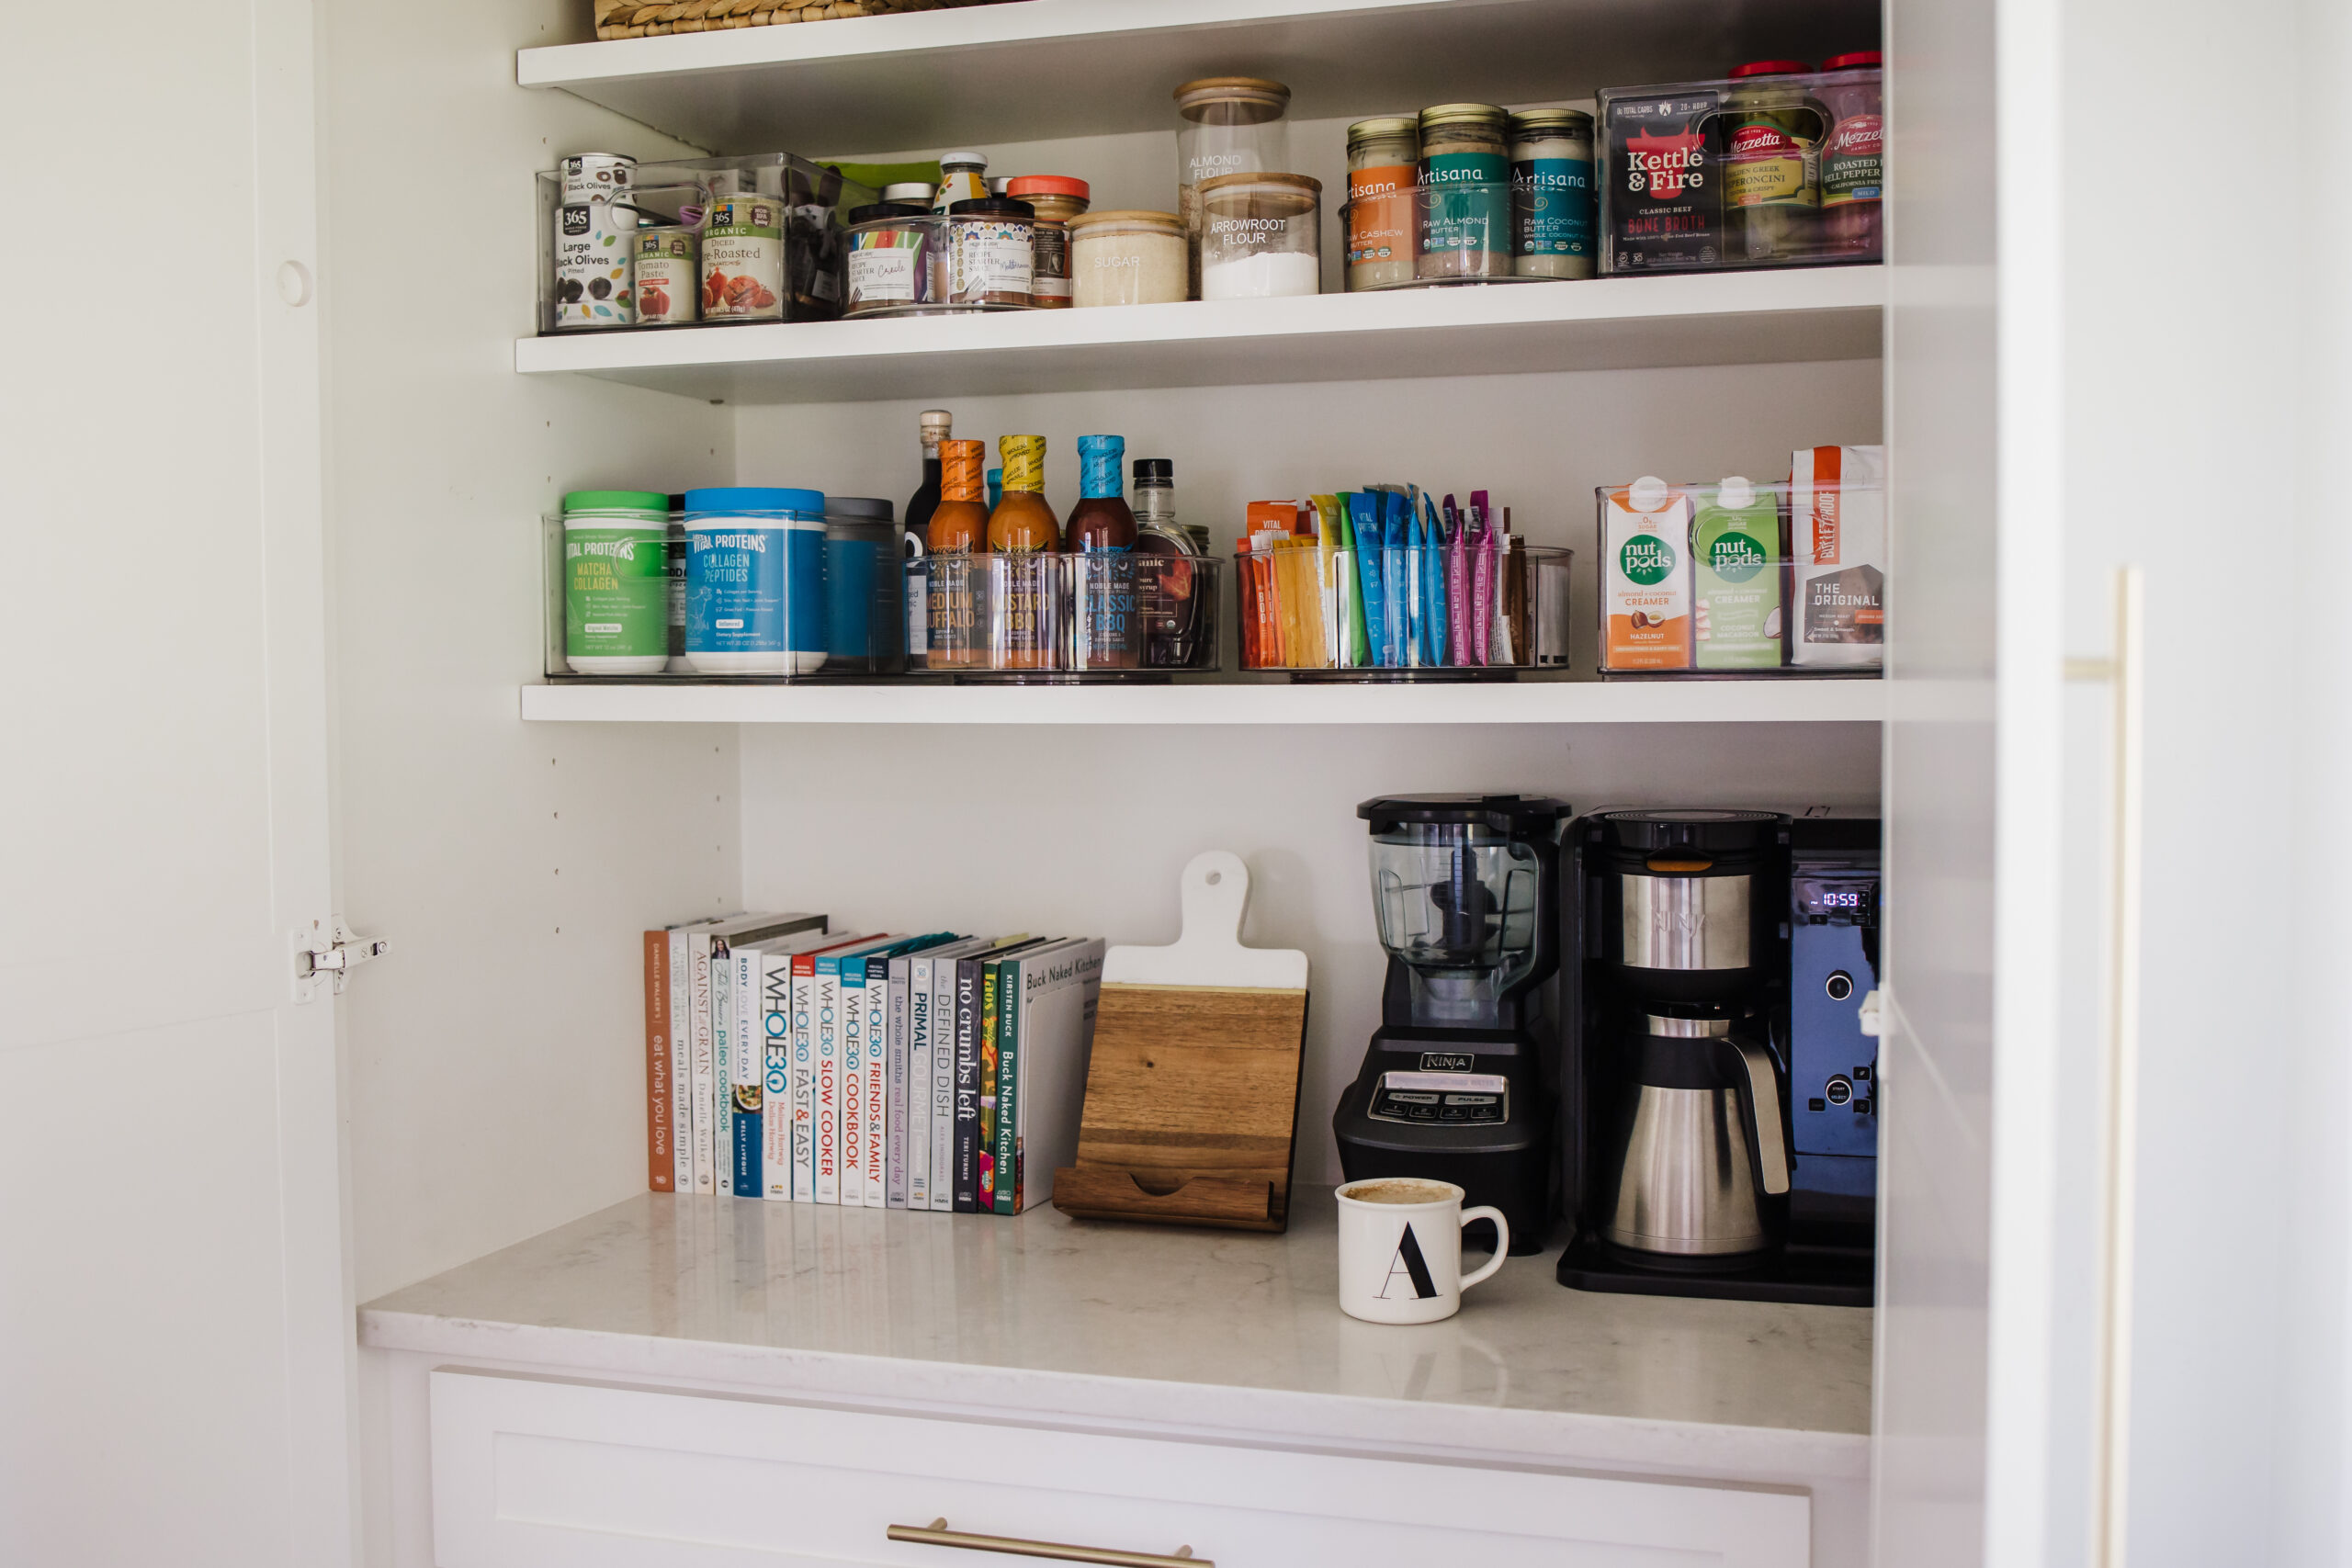
During the consultation she also asked questions about how we use the pantry to tailor the space to my/our family’s needs. My one request was that I wanted to revamp the bottom shelf and use as a pretty counter space to display some of my favorite cookbooks, coffee machine, and blender. Because functionality is important to me and everyone’s habits are different, I loved this thoughtful step. Aside from that, I let her do her thing!
My Pantry Before…
The pantry wasn’t a total mess, but it was overstuffed and cluttered. The shelves are deep and I had rows of items front to back. It was difficult to see everything easily to know what I had in stock. I would often end up buying things I already had! 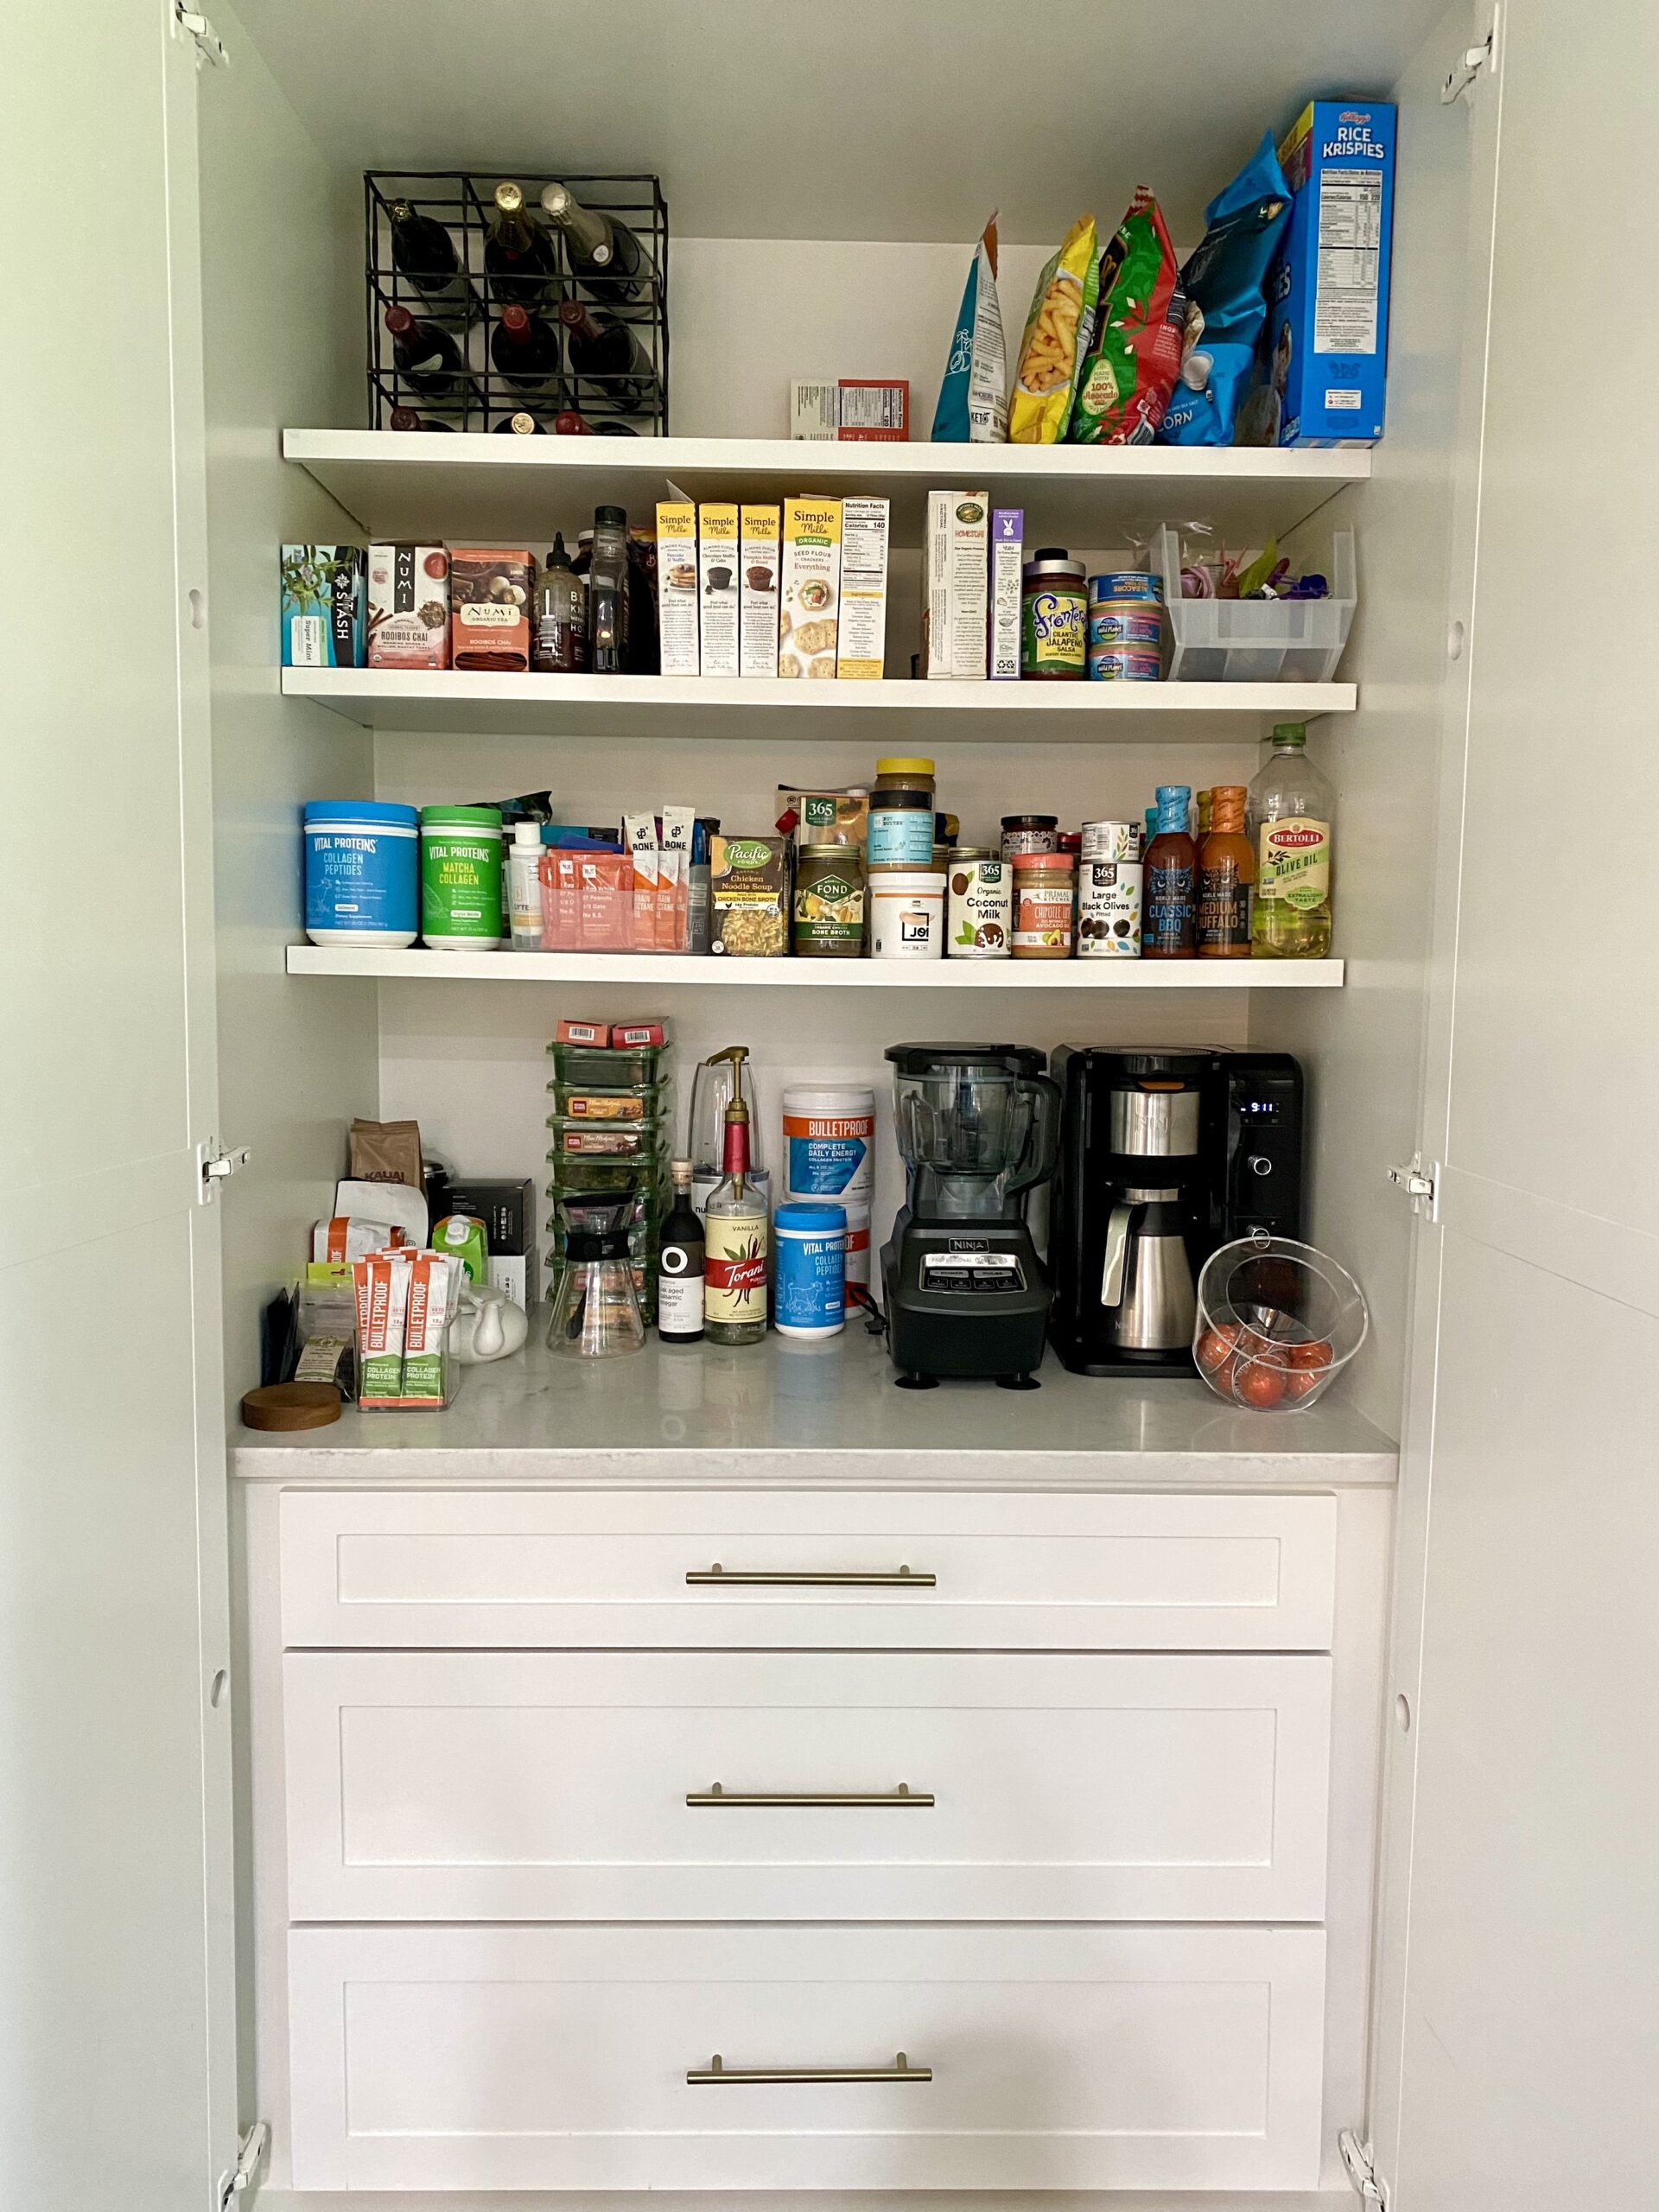
My Pantry After…
Everything has a place, items are organized by type, and things we use most often are easy to get to. I can see everything and I don’t have to dig around to find what I need. I love it! It looks so good I don’t want to “mess it up” by adding clutter or not putting things back where they go. 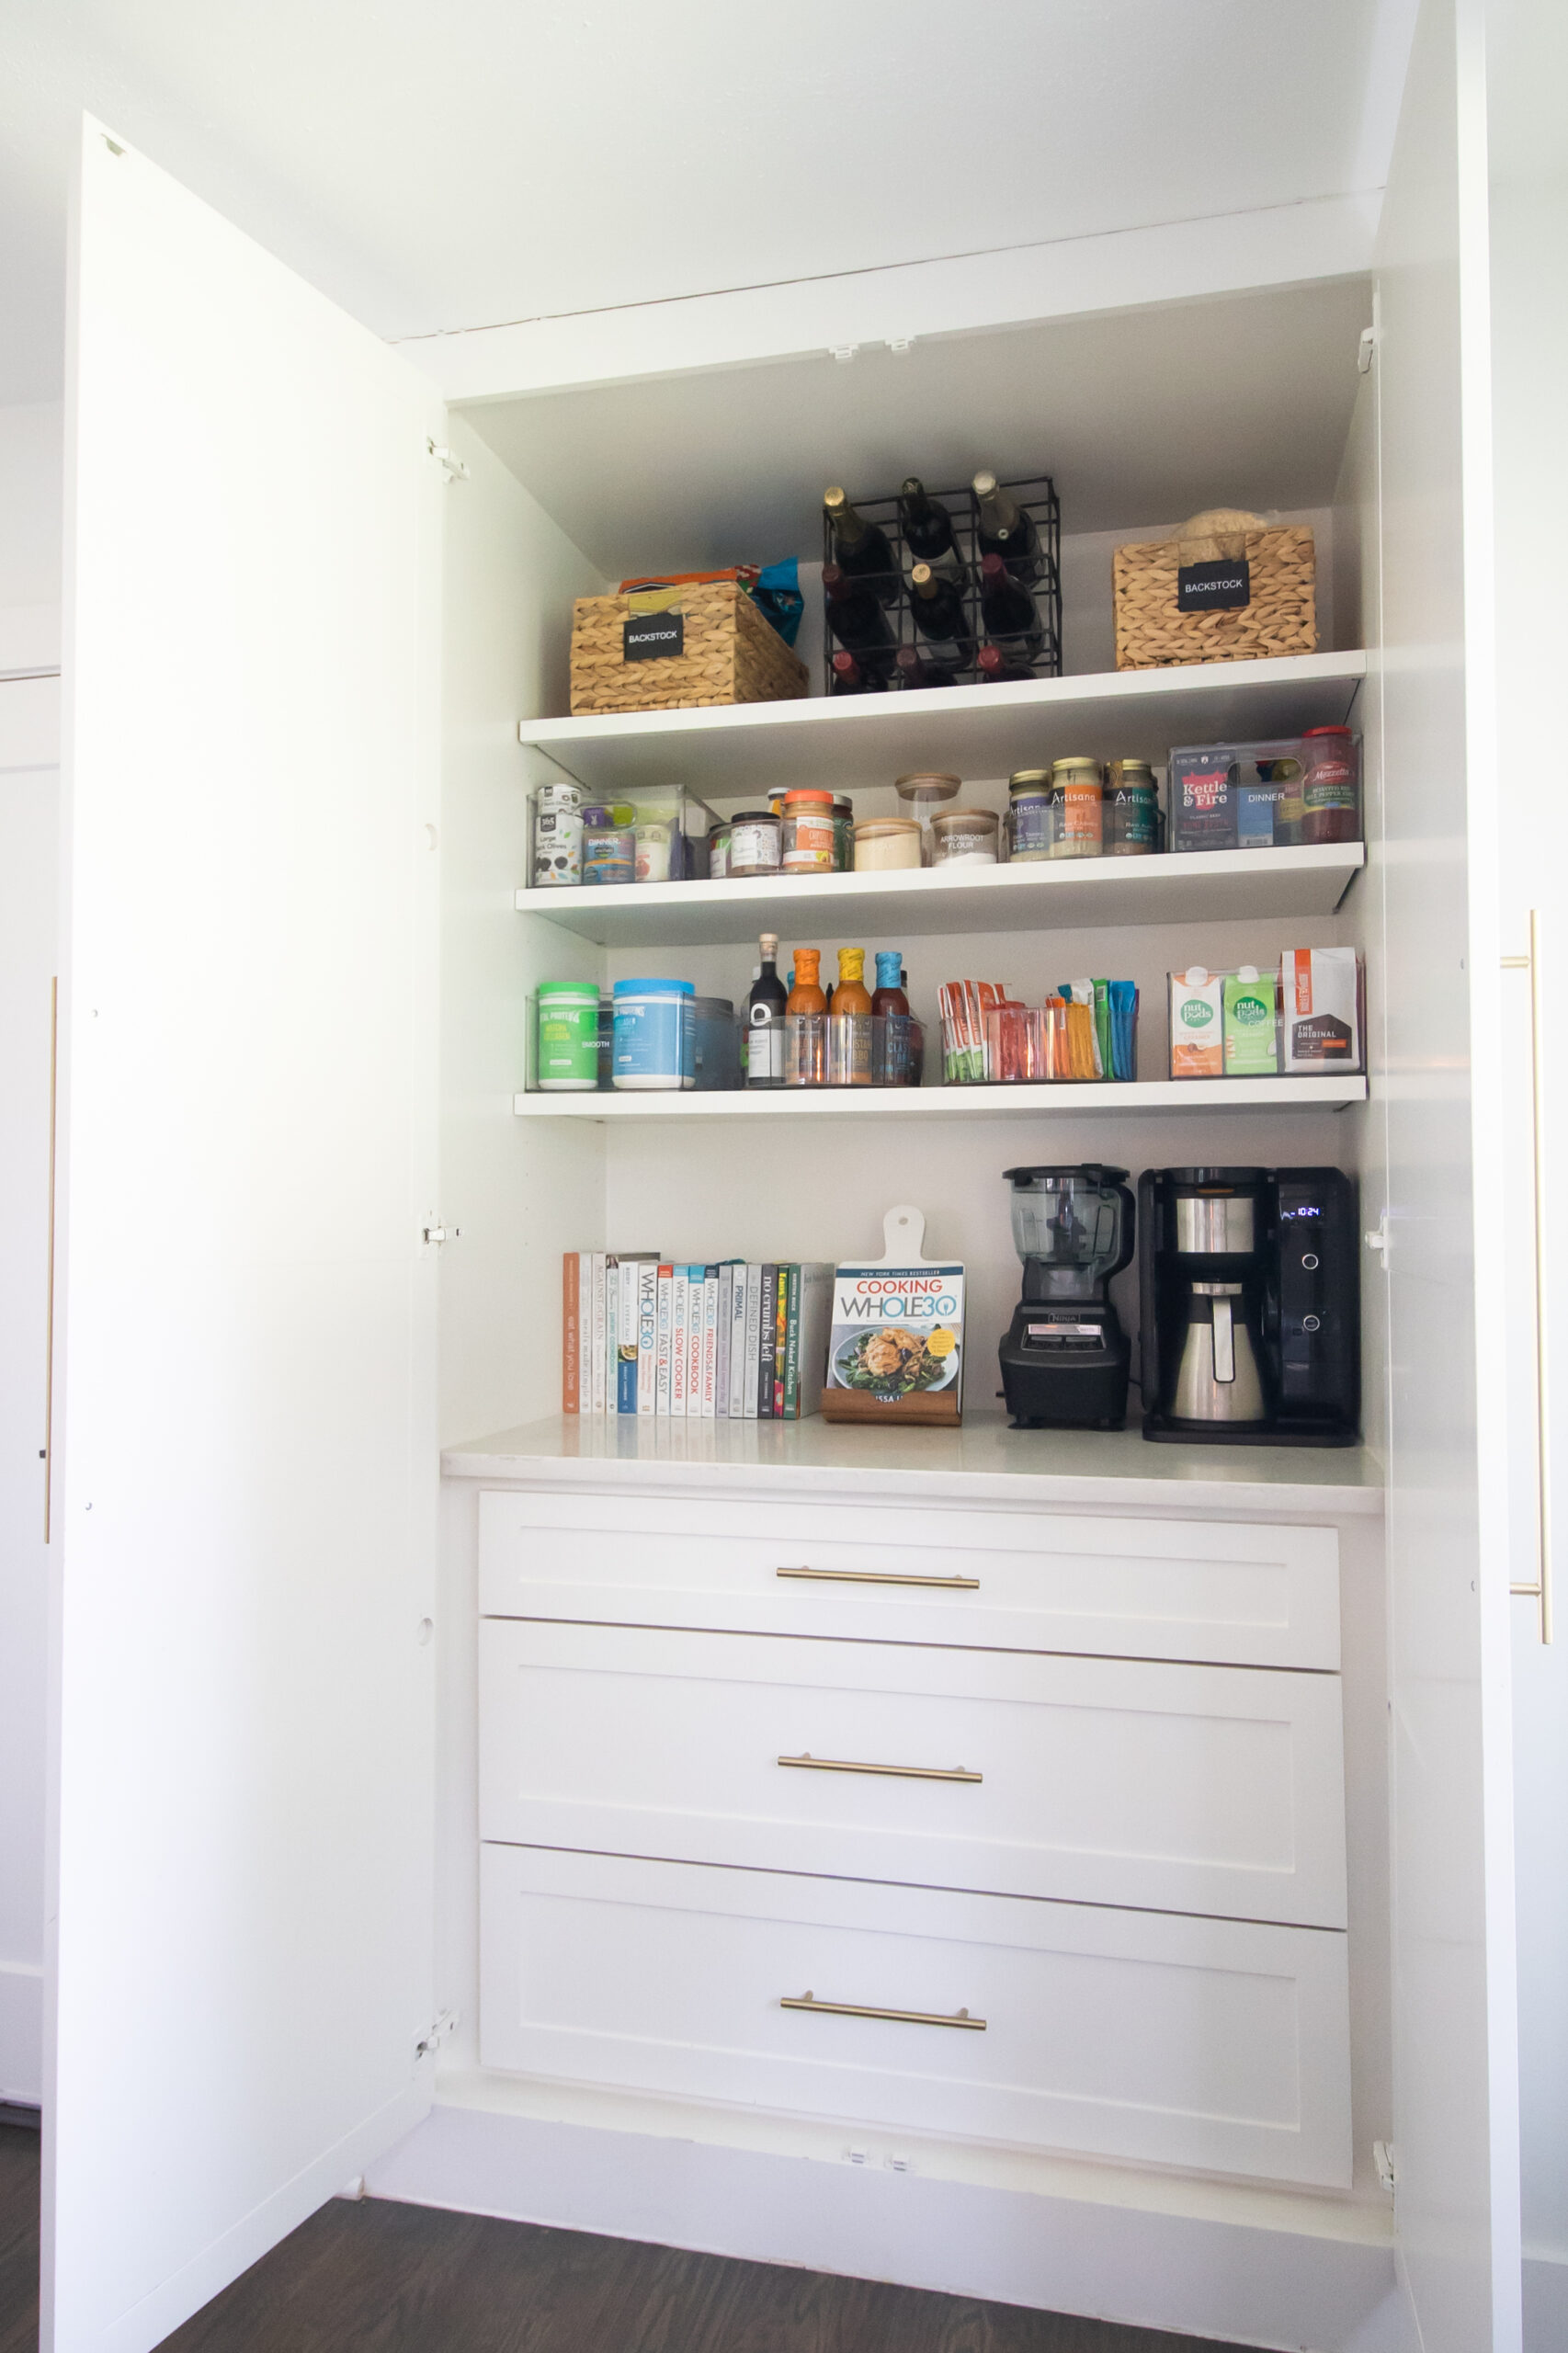
2 months later…
So far, I’ve maintained the system and I love the new coffee/blender bar space! Because I can see clearly what we have, grocery shopping is more efficient. After using my “new” pantry system for the last few months, I made just a few tweaks as I saw what was still needed.
I added another set of glass canisters for different flours/powders and more of the stackable small clear containers for various nuts, chocolate chips and other foods we use often. These were moved up from the bottom “extra storage” drawer and transferred from their bags to clear canisters/containers. 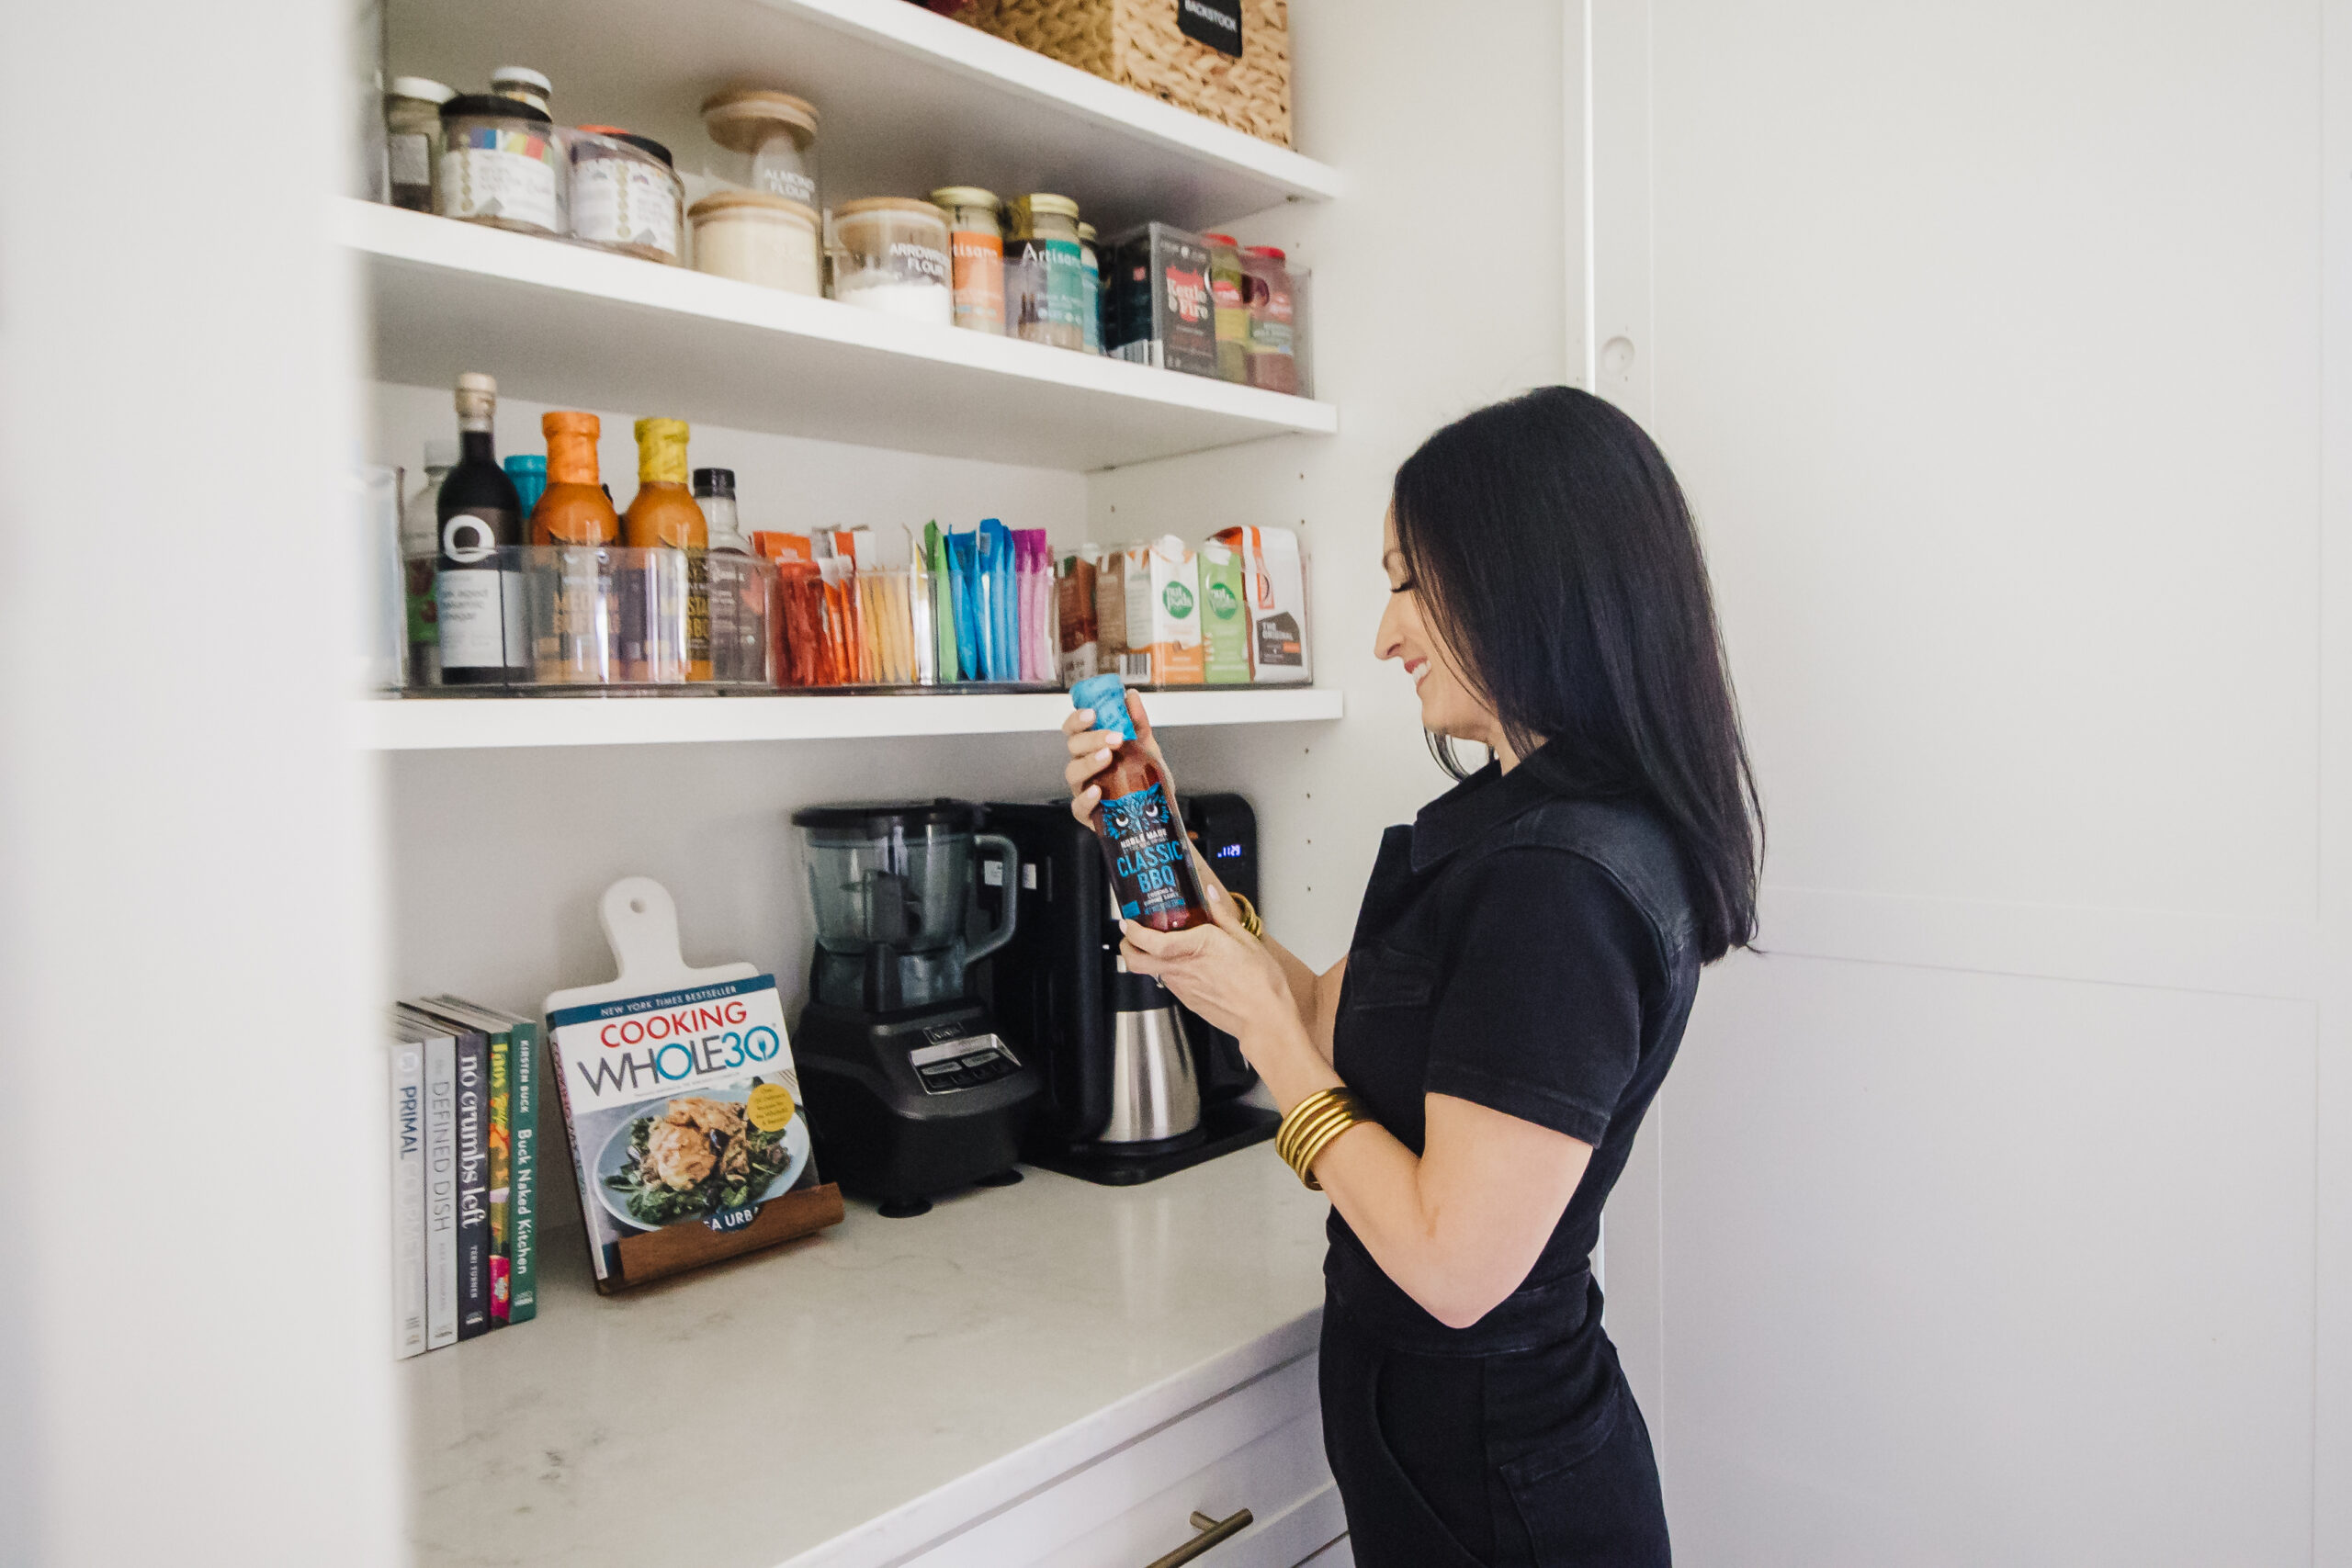
The exact products we used for my pantry…
Lindsay started with the containers I already had and then based on what we needed, added to that. For the new items she gave me a range of price points, from Walmart to Amazon, to The Container Store to choose from.
Below is a list of exactly what we used on each shelf and every drawer. We even left room for some randomness and odds/ends…because, reality! *Tip: If placing a large order at The Container Store be sure to sign up for their free POP rewards program to save 15% on your purchase!
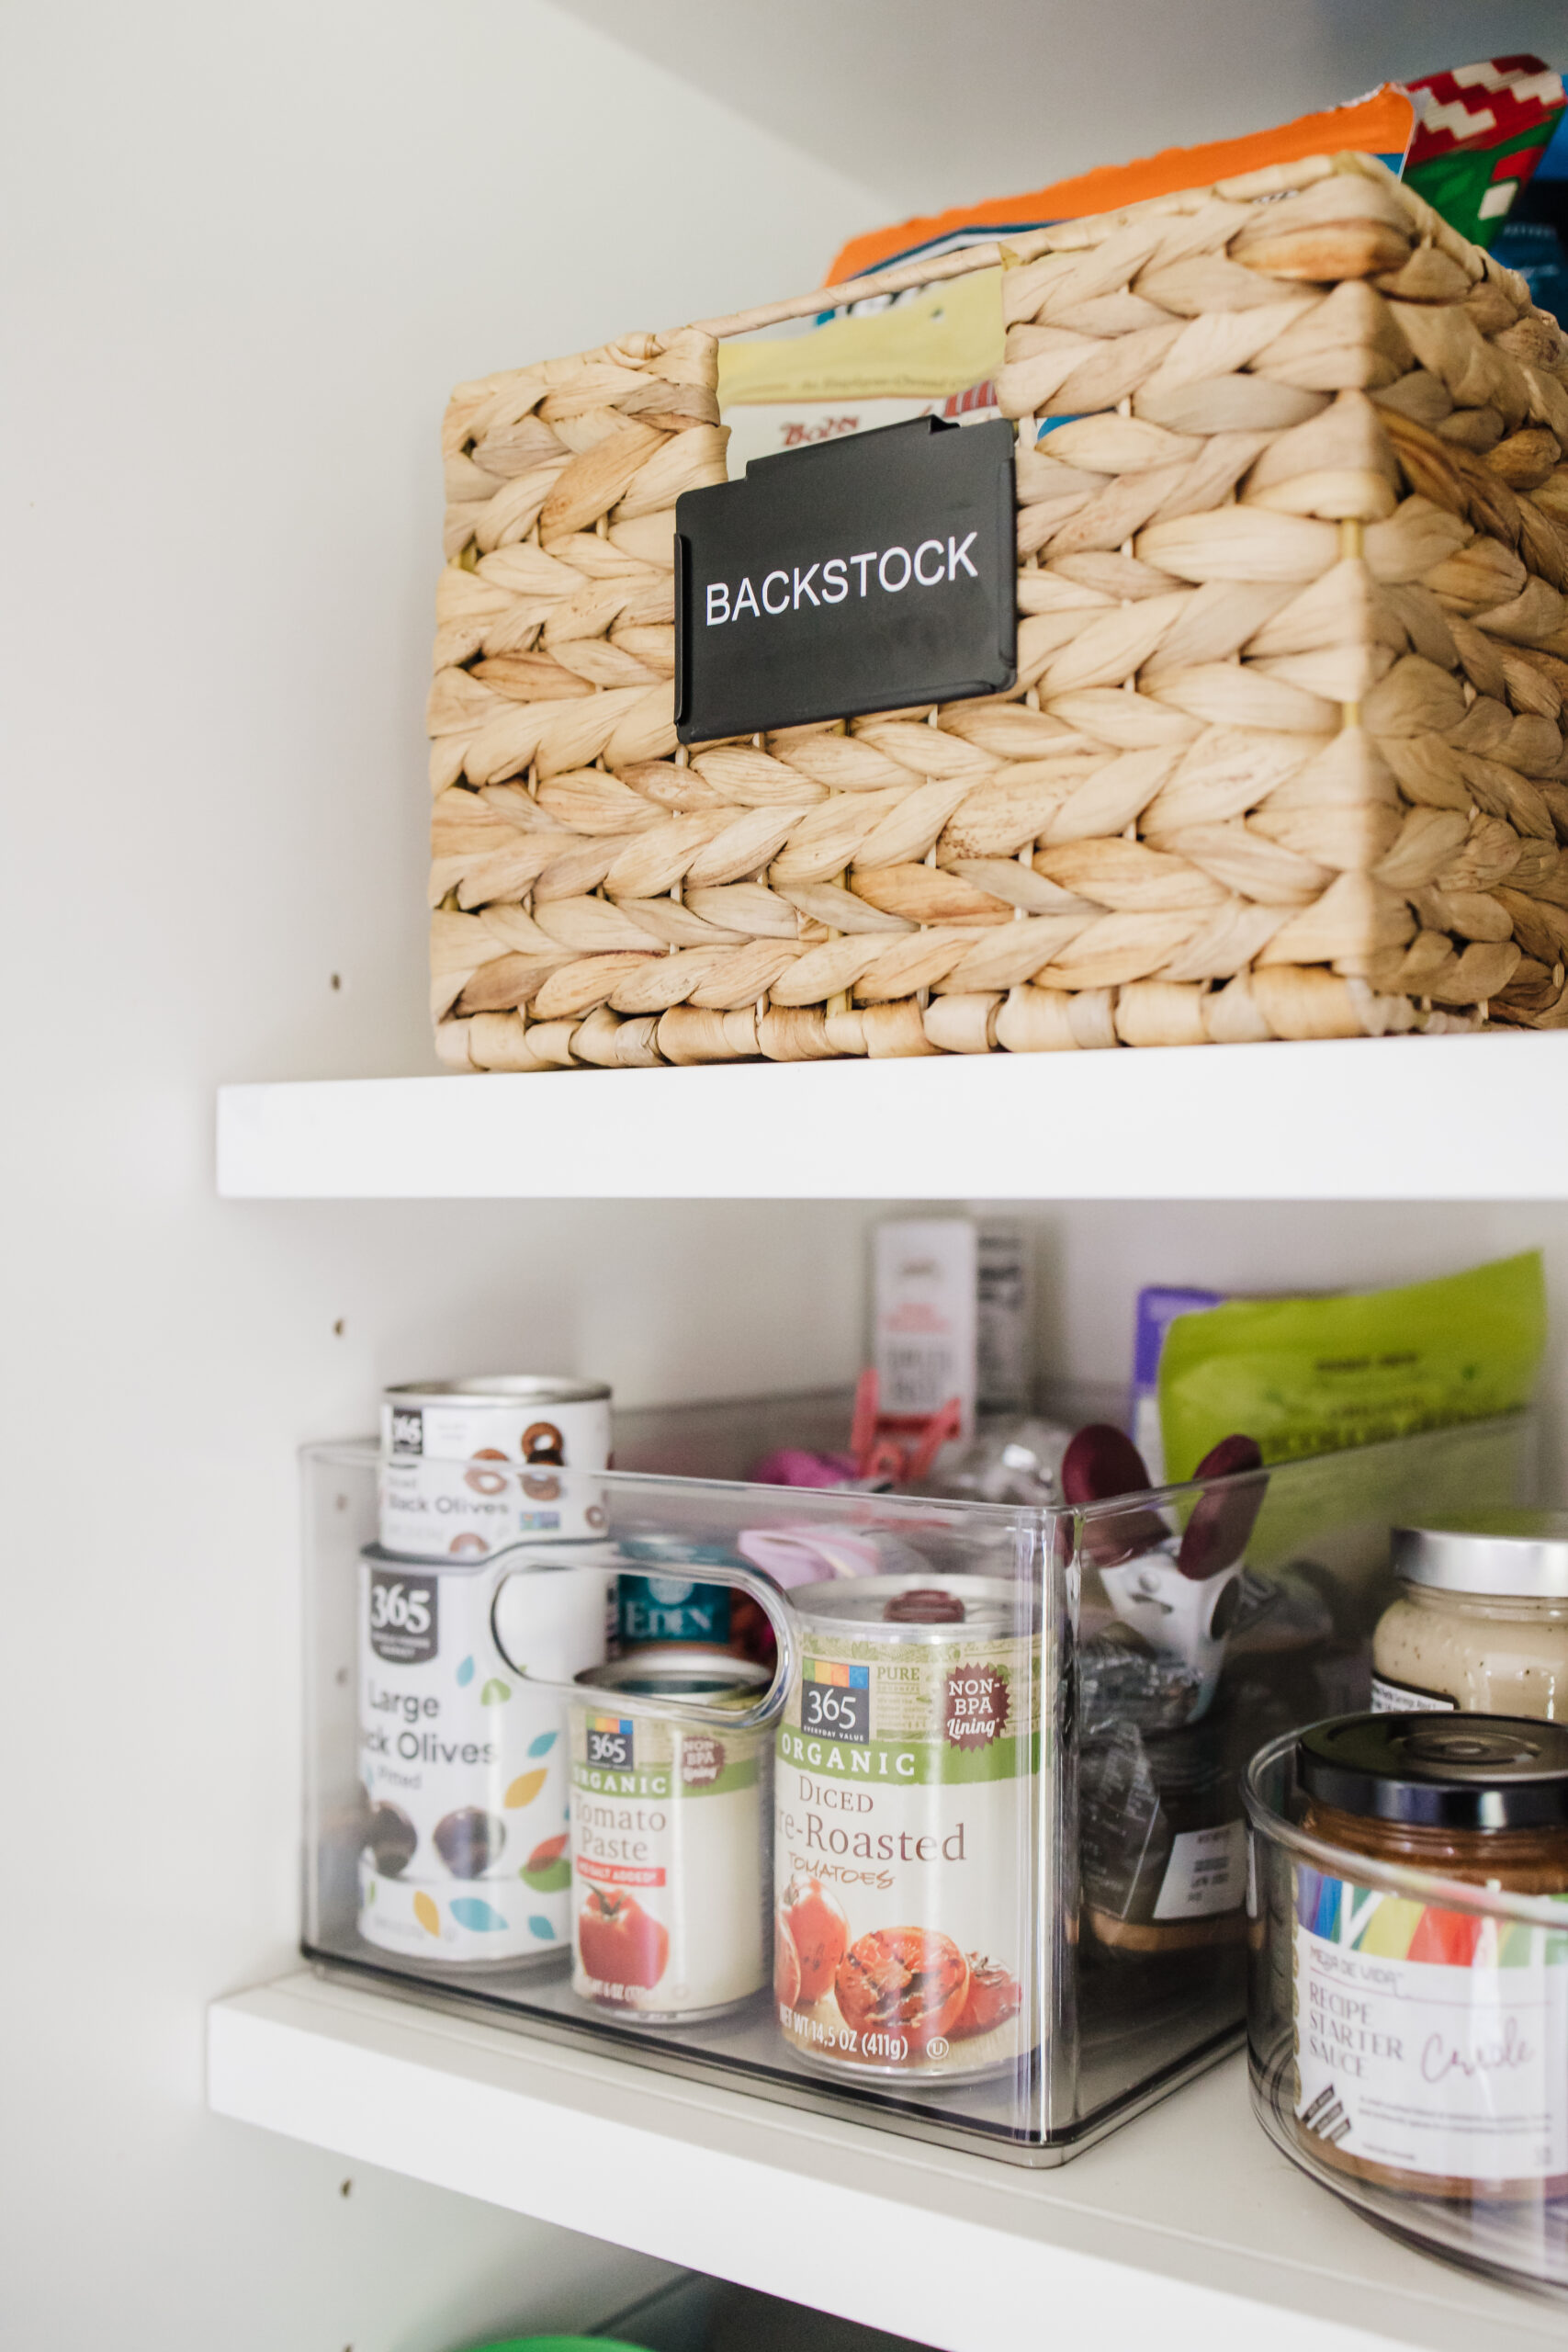
TOP PANTRY SHELF
-
- Backstock Bins (2) for extras/items we don’t use often
- Black Label Bin Clips (2) also available in other colors
MIDDLE PANTRY SHELF
-
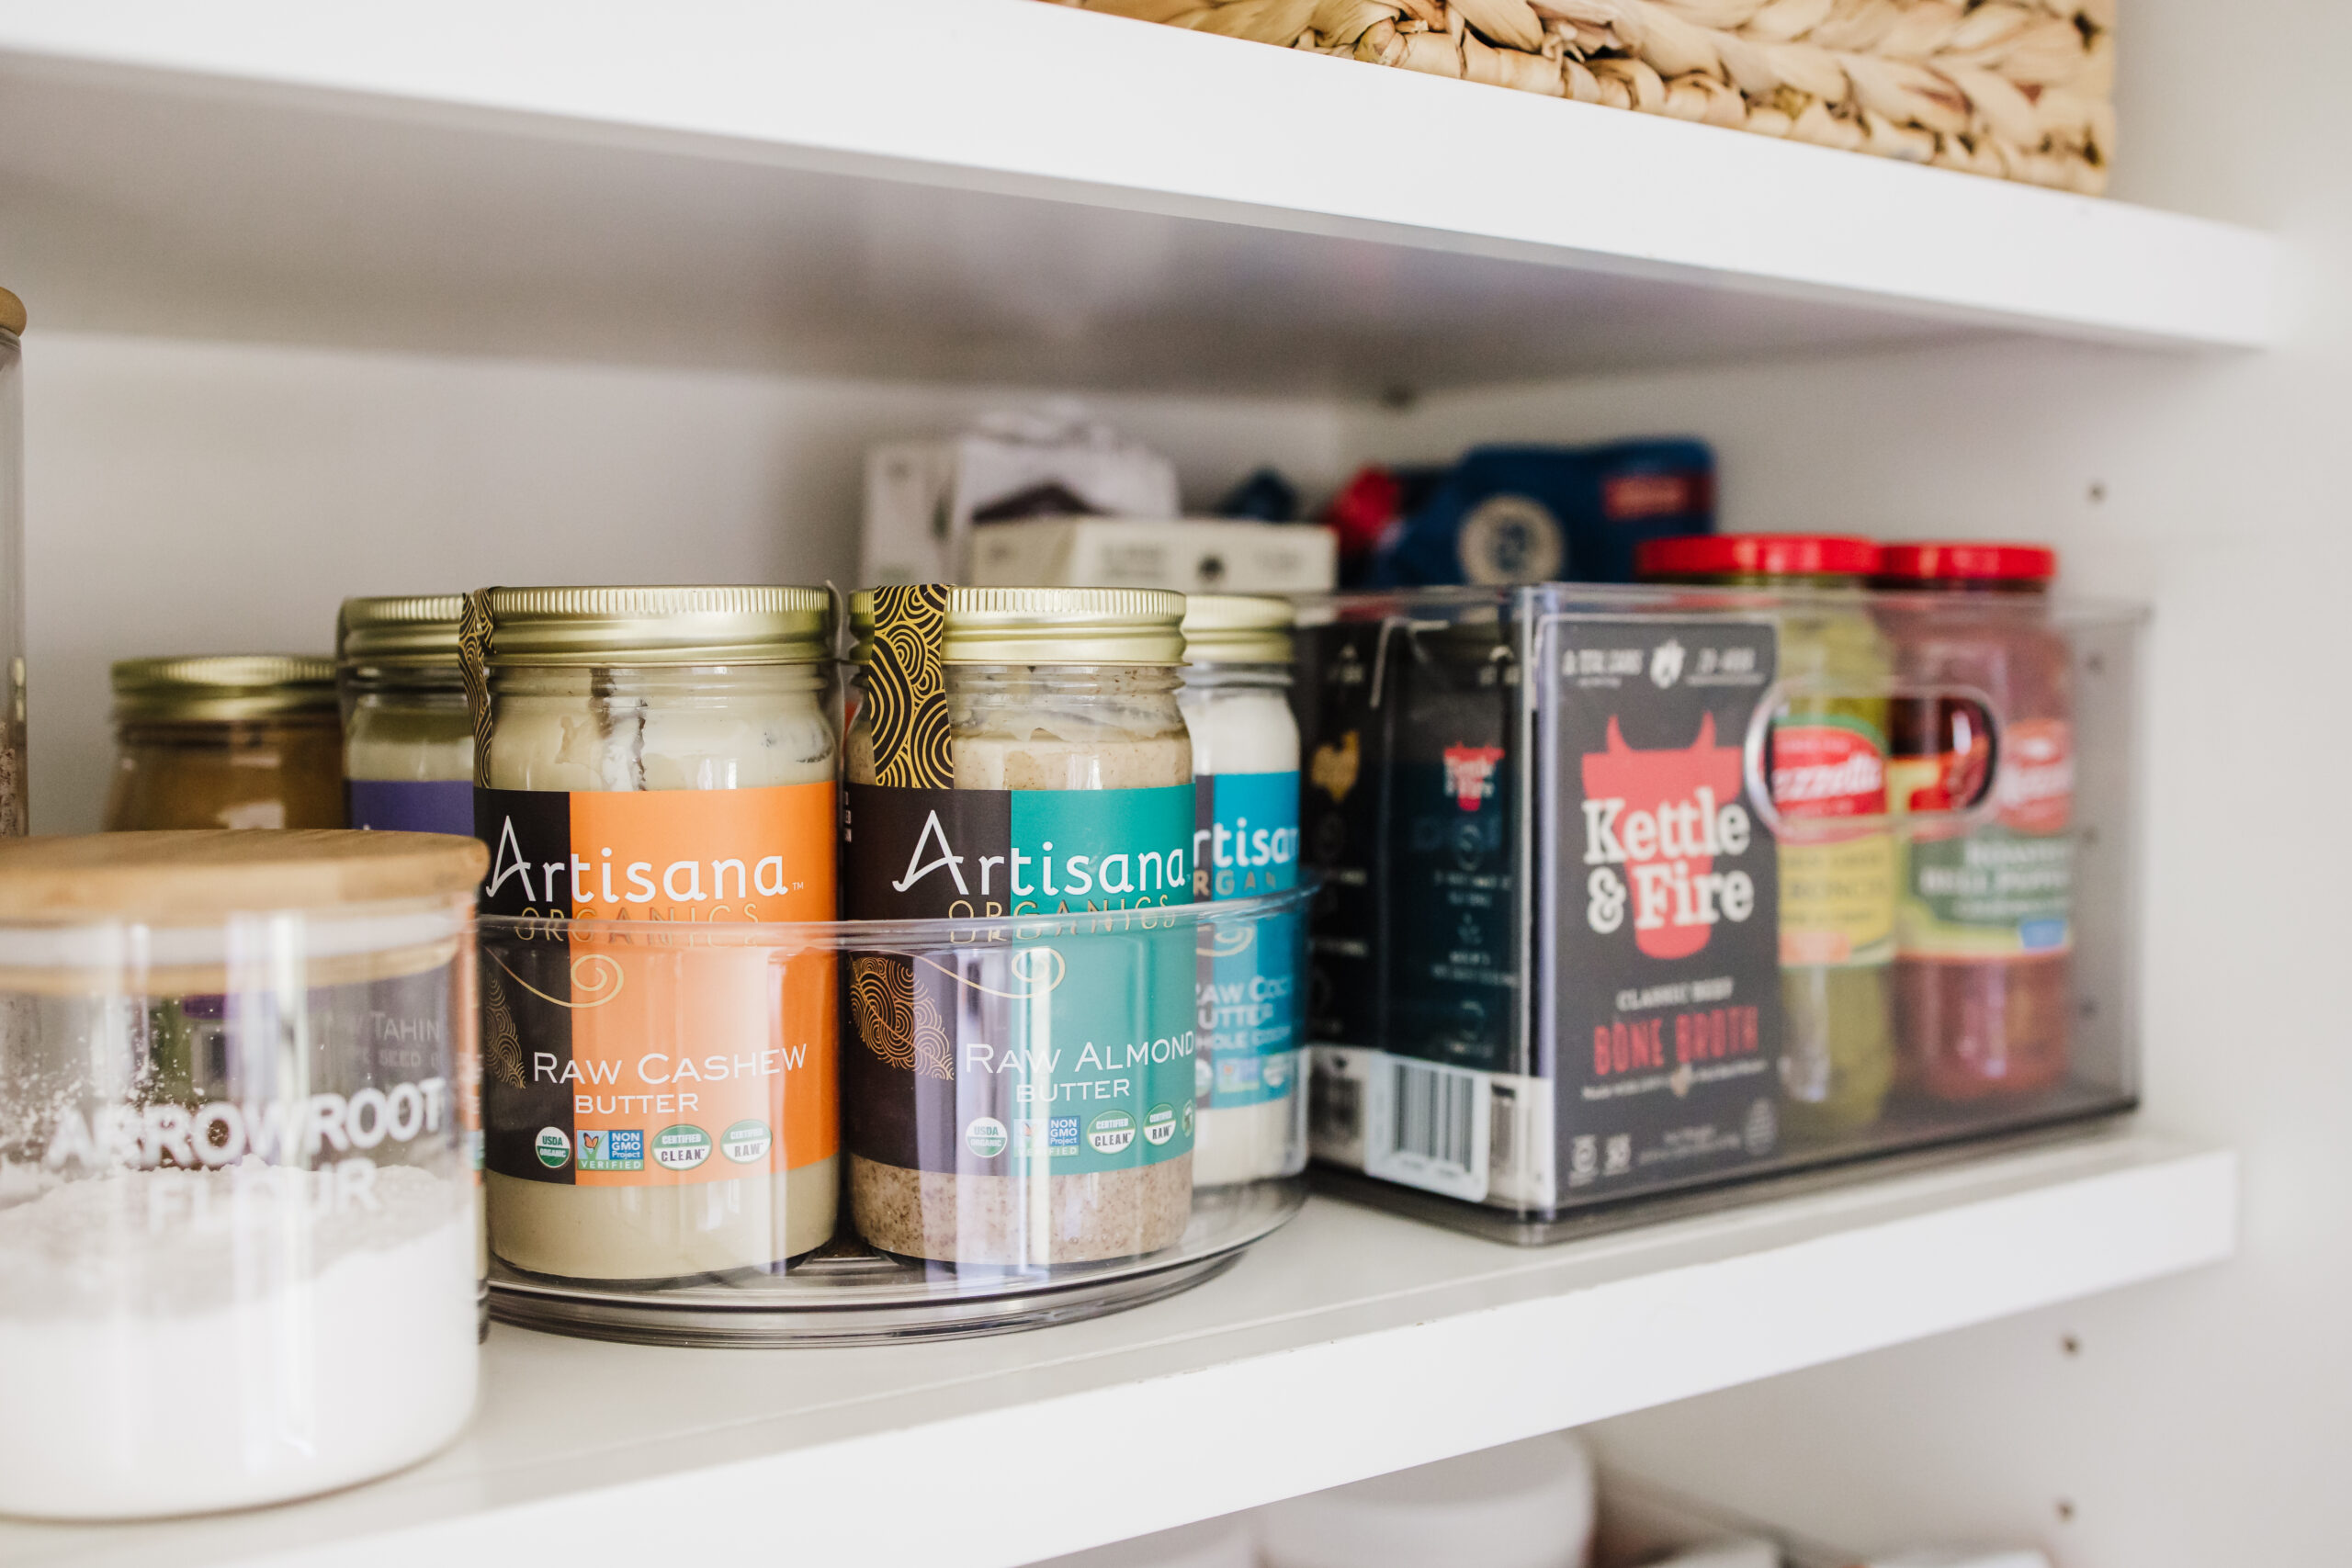
- Clear All-Purpose Bin w/Divider (2) for canned/jarred goods, pasta, and broths
- Deep 9″ Turntables (2) for sauces/mayo and nut butters
- Glass Canisters w/Bamboo Lids (2 sets of 3, other sizes also available) for various flours/sugars, chile powder, and chia seeds
BOTTOM PANTRY SHELF
-
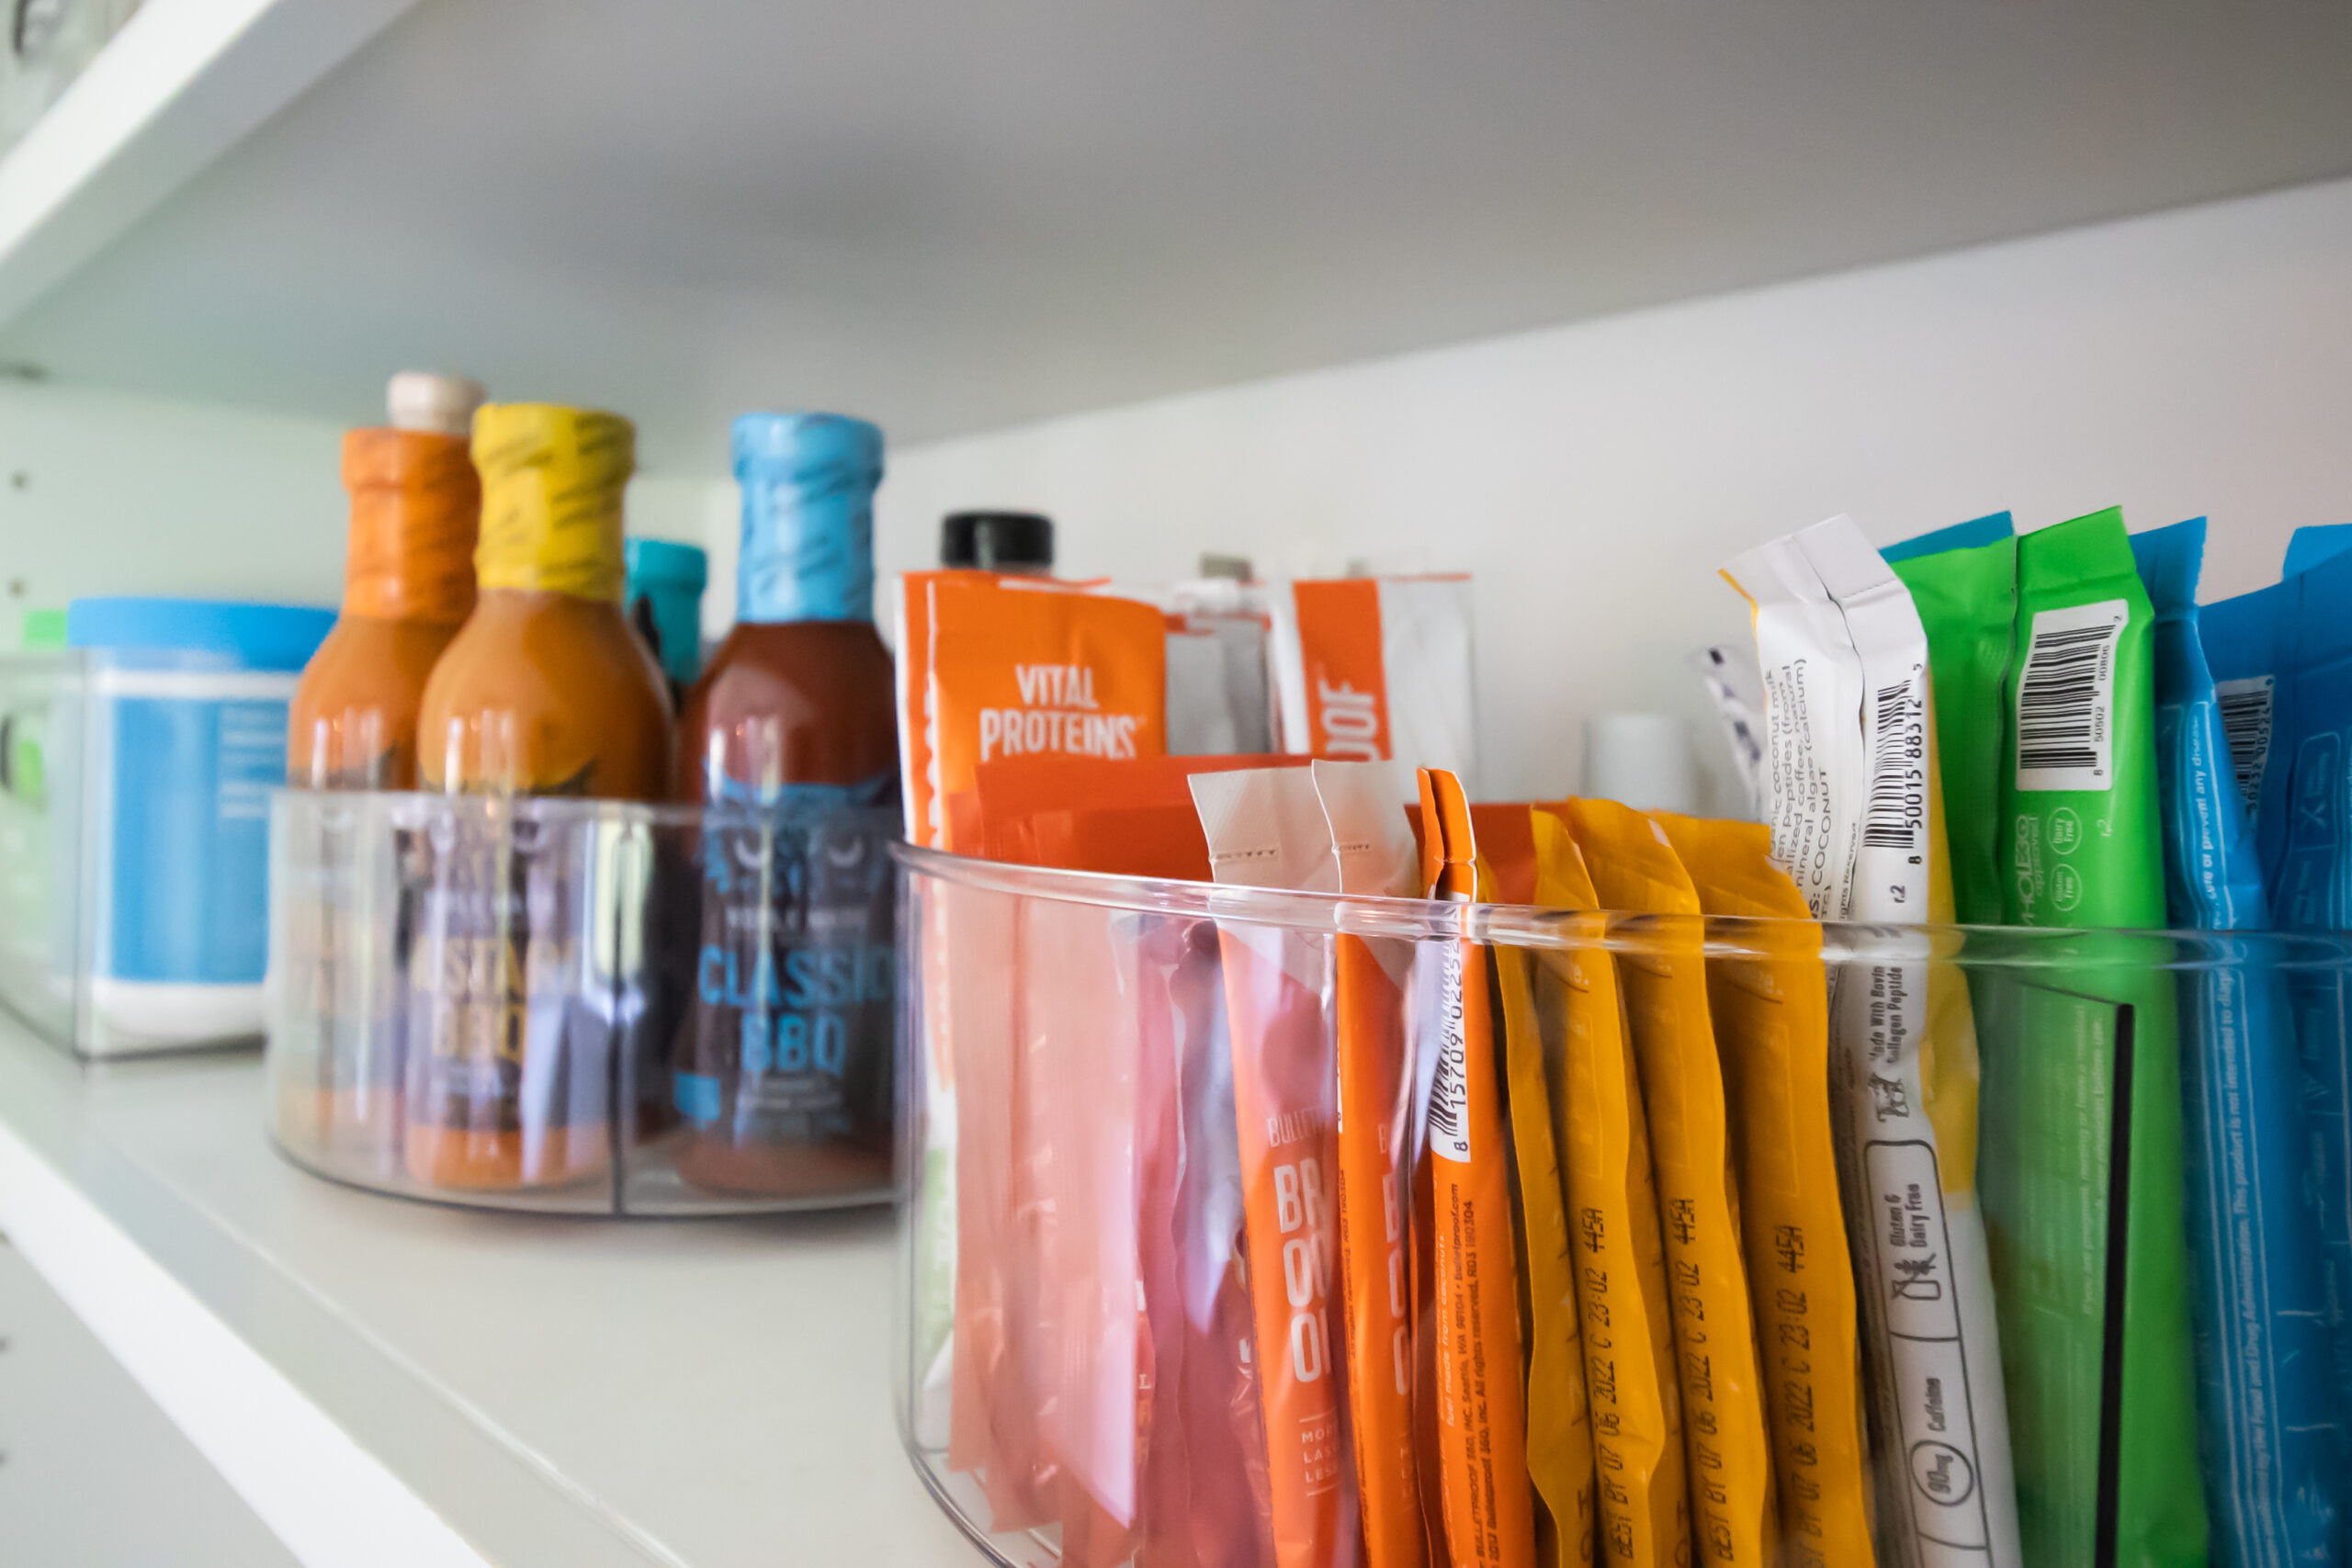
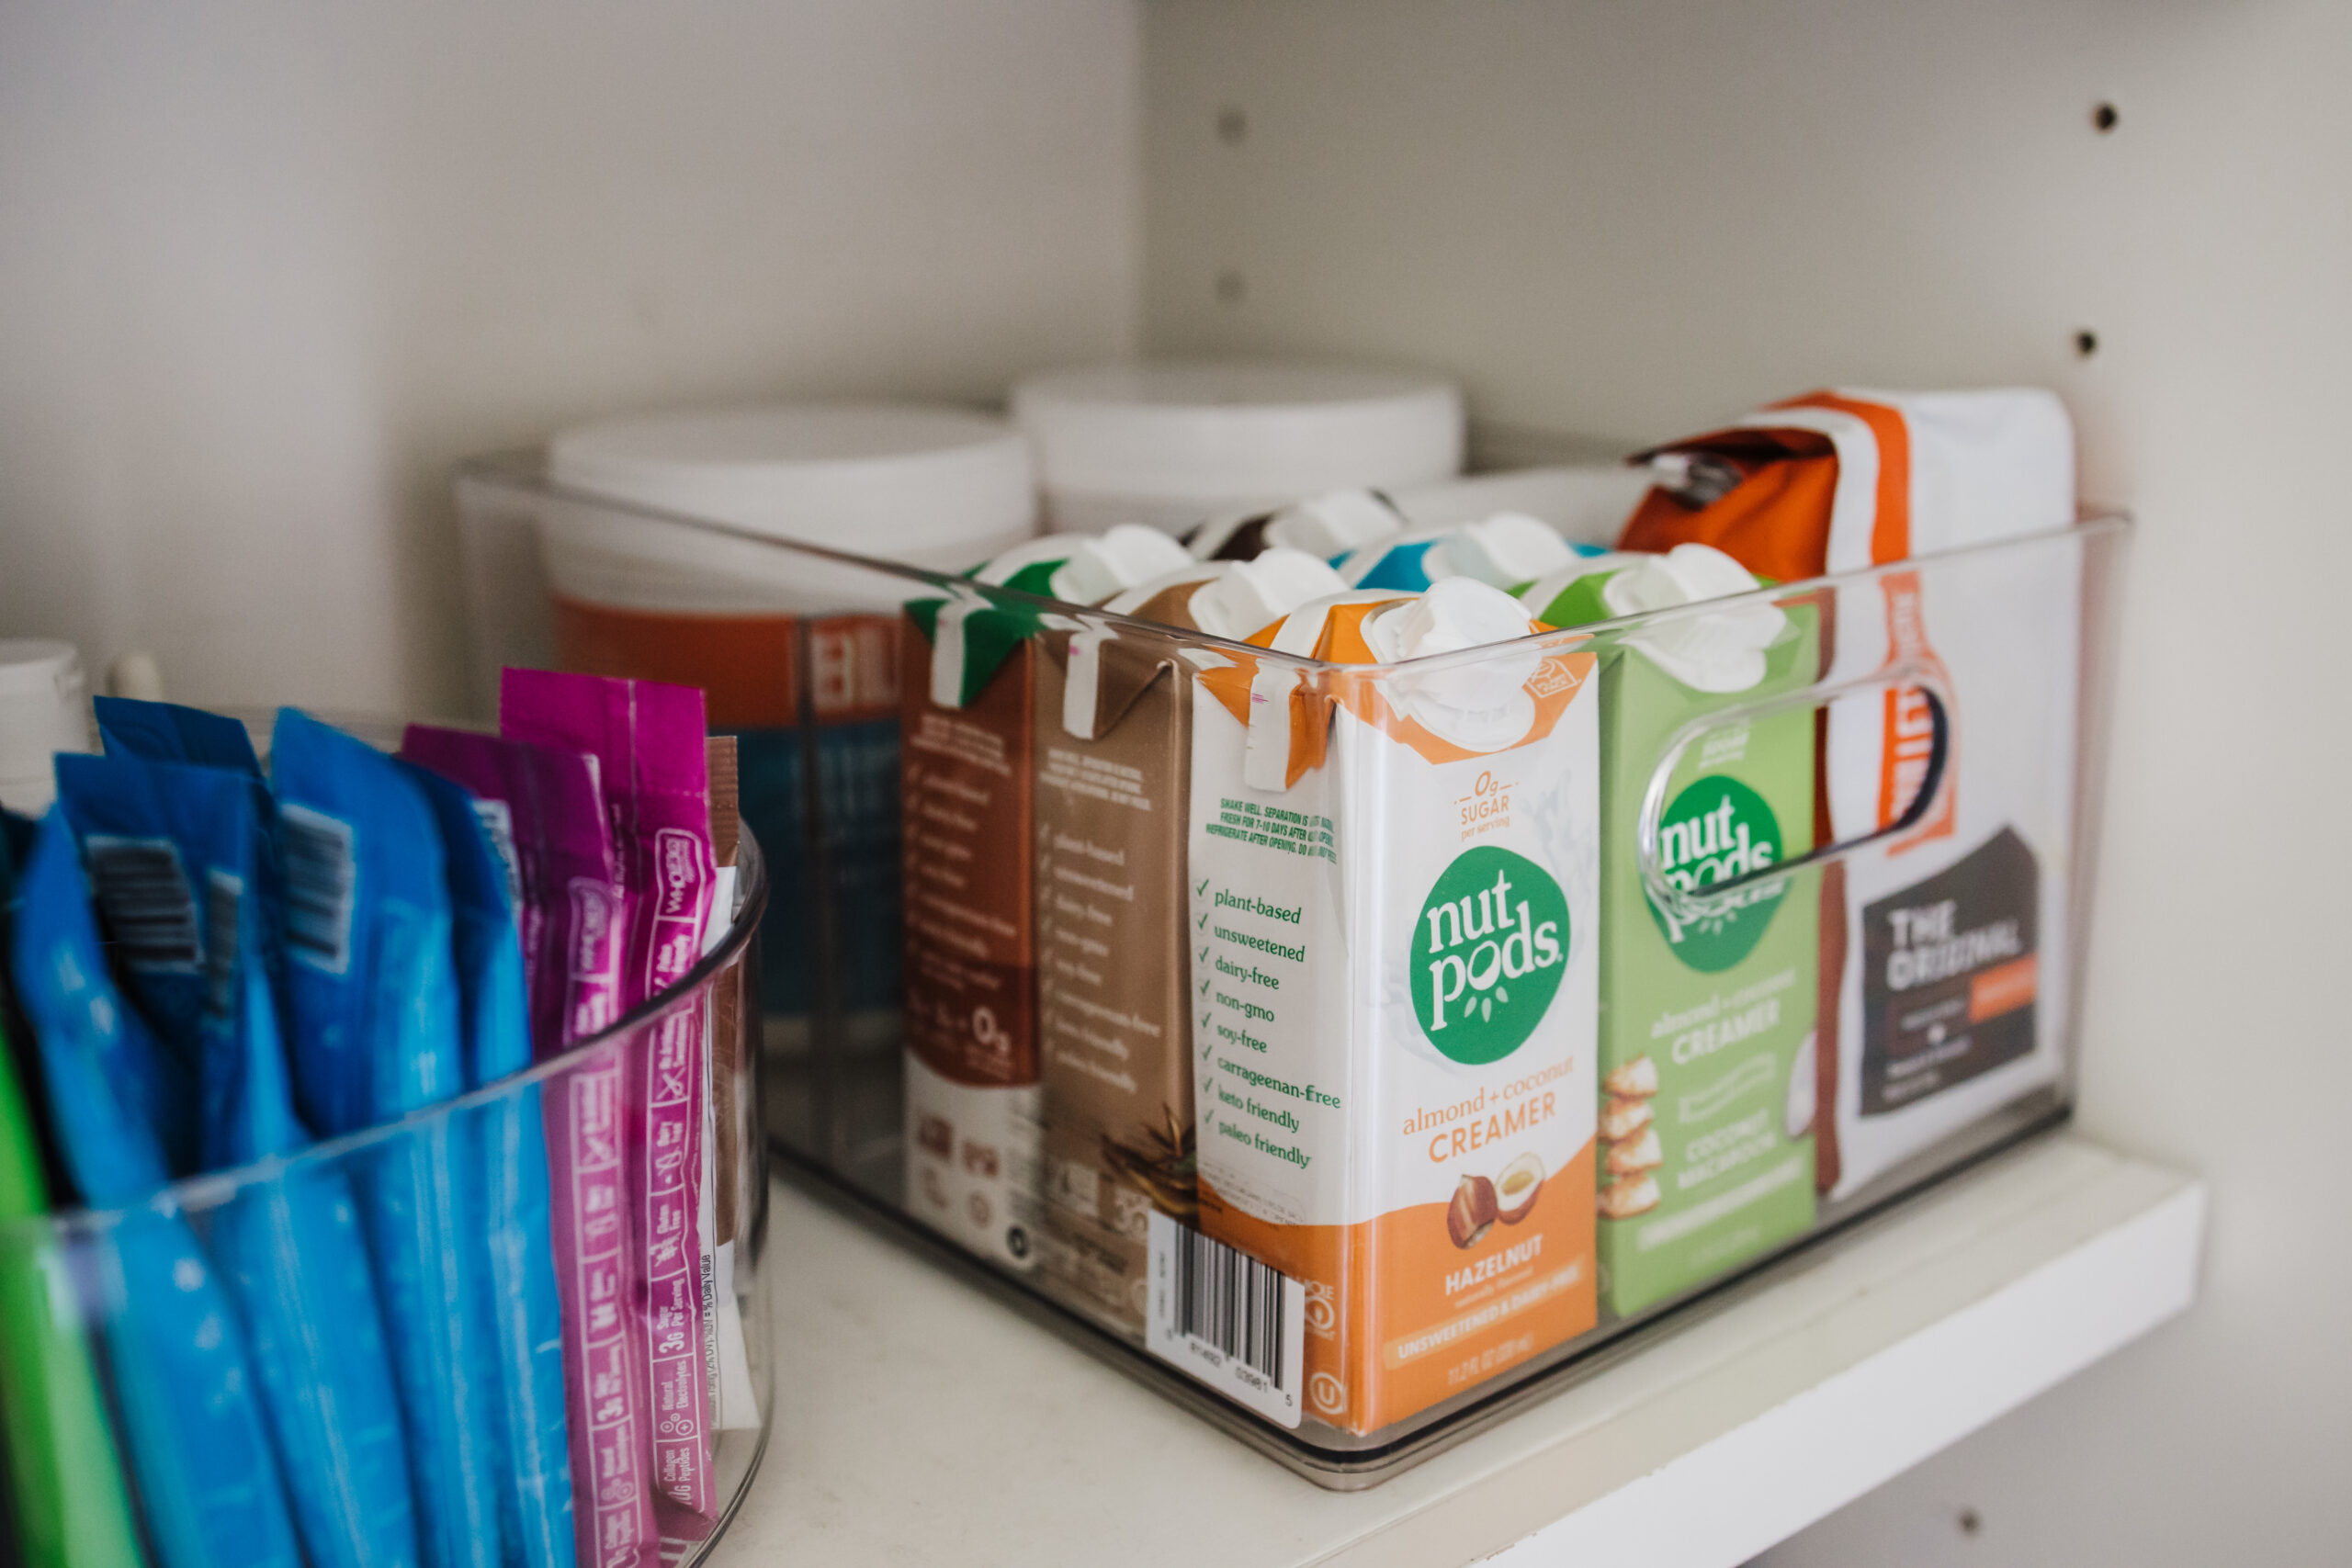
- Clear All-Purpose Bin w/Divider (2) for protein/collagen powders, bulk coffee, nutpods creamers/nutmilks
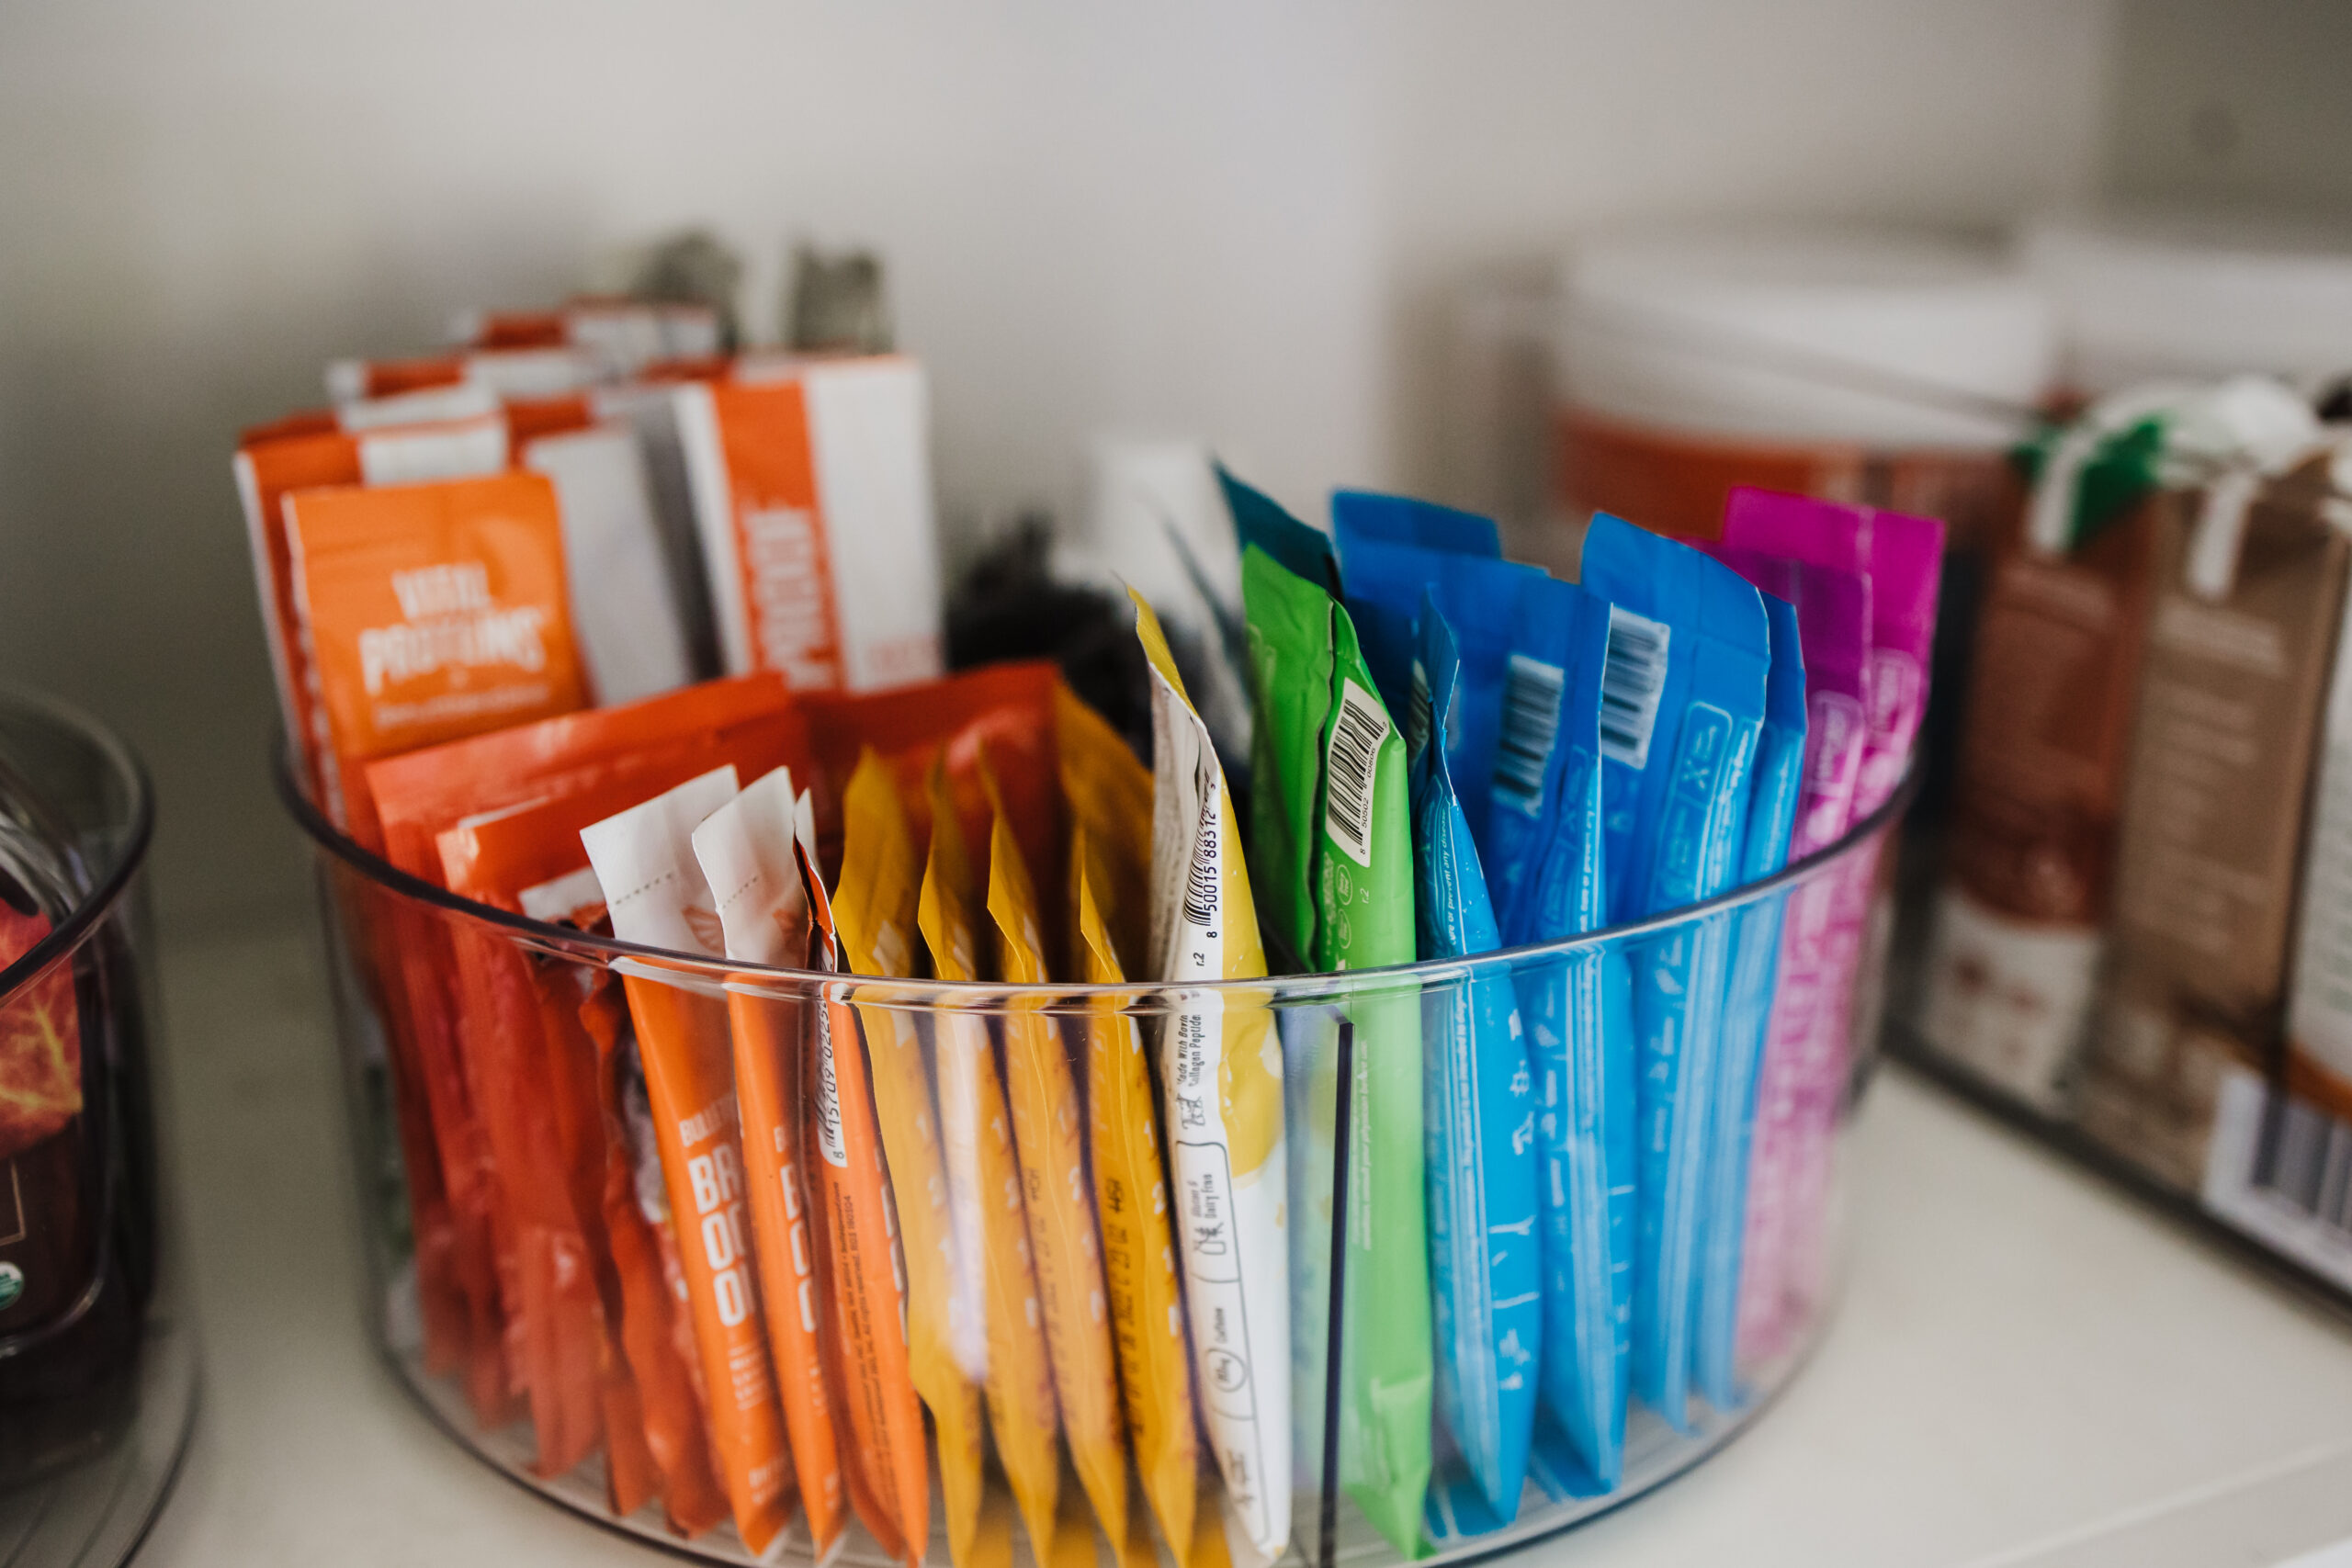
- 11″ Divided Turntables (2) for more sauces/dressings, individual packets of nut butters, electrolytes, collagen powders, MCT oil, teas, etc
COFFEE & BLENDER BAR
-
- Ninja Coffee & Tea Machine Love the thermal carafe that keeps coffee hot and various settings to customize how strong the coffee brews. I use this when we have company, to have a full pot of coffee ready to go. Also makes tea and has a milk frother!
- Ninja 3 in 1 Blender System I’ve had this system for a several years and use it all the time! It has one power base that works a full size high speed blender jar, food processor bowl, and single size smoothie cup (all included in the set, great value!)
- Cookbook Holder (mine is old, linked similar)
- My favorite cookbooks …click to shop!
PANTRY DRAWERS
-
- (top drawer) 6×15 Drawer Organizer for gallon ziplock bags
- (top drawer) 6×9 Drawer Organizer for snack/sandwich size ziplock bags (2)
- (top drawer) Small Plastic Bins with handles for disposable and reusable single serve cups and lids
- (top drawer) Small Clear Organization Bin for bag clips, sugar packets, etc
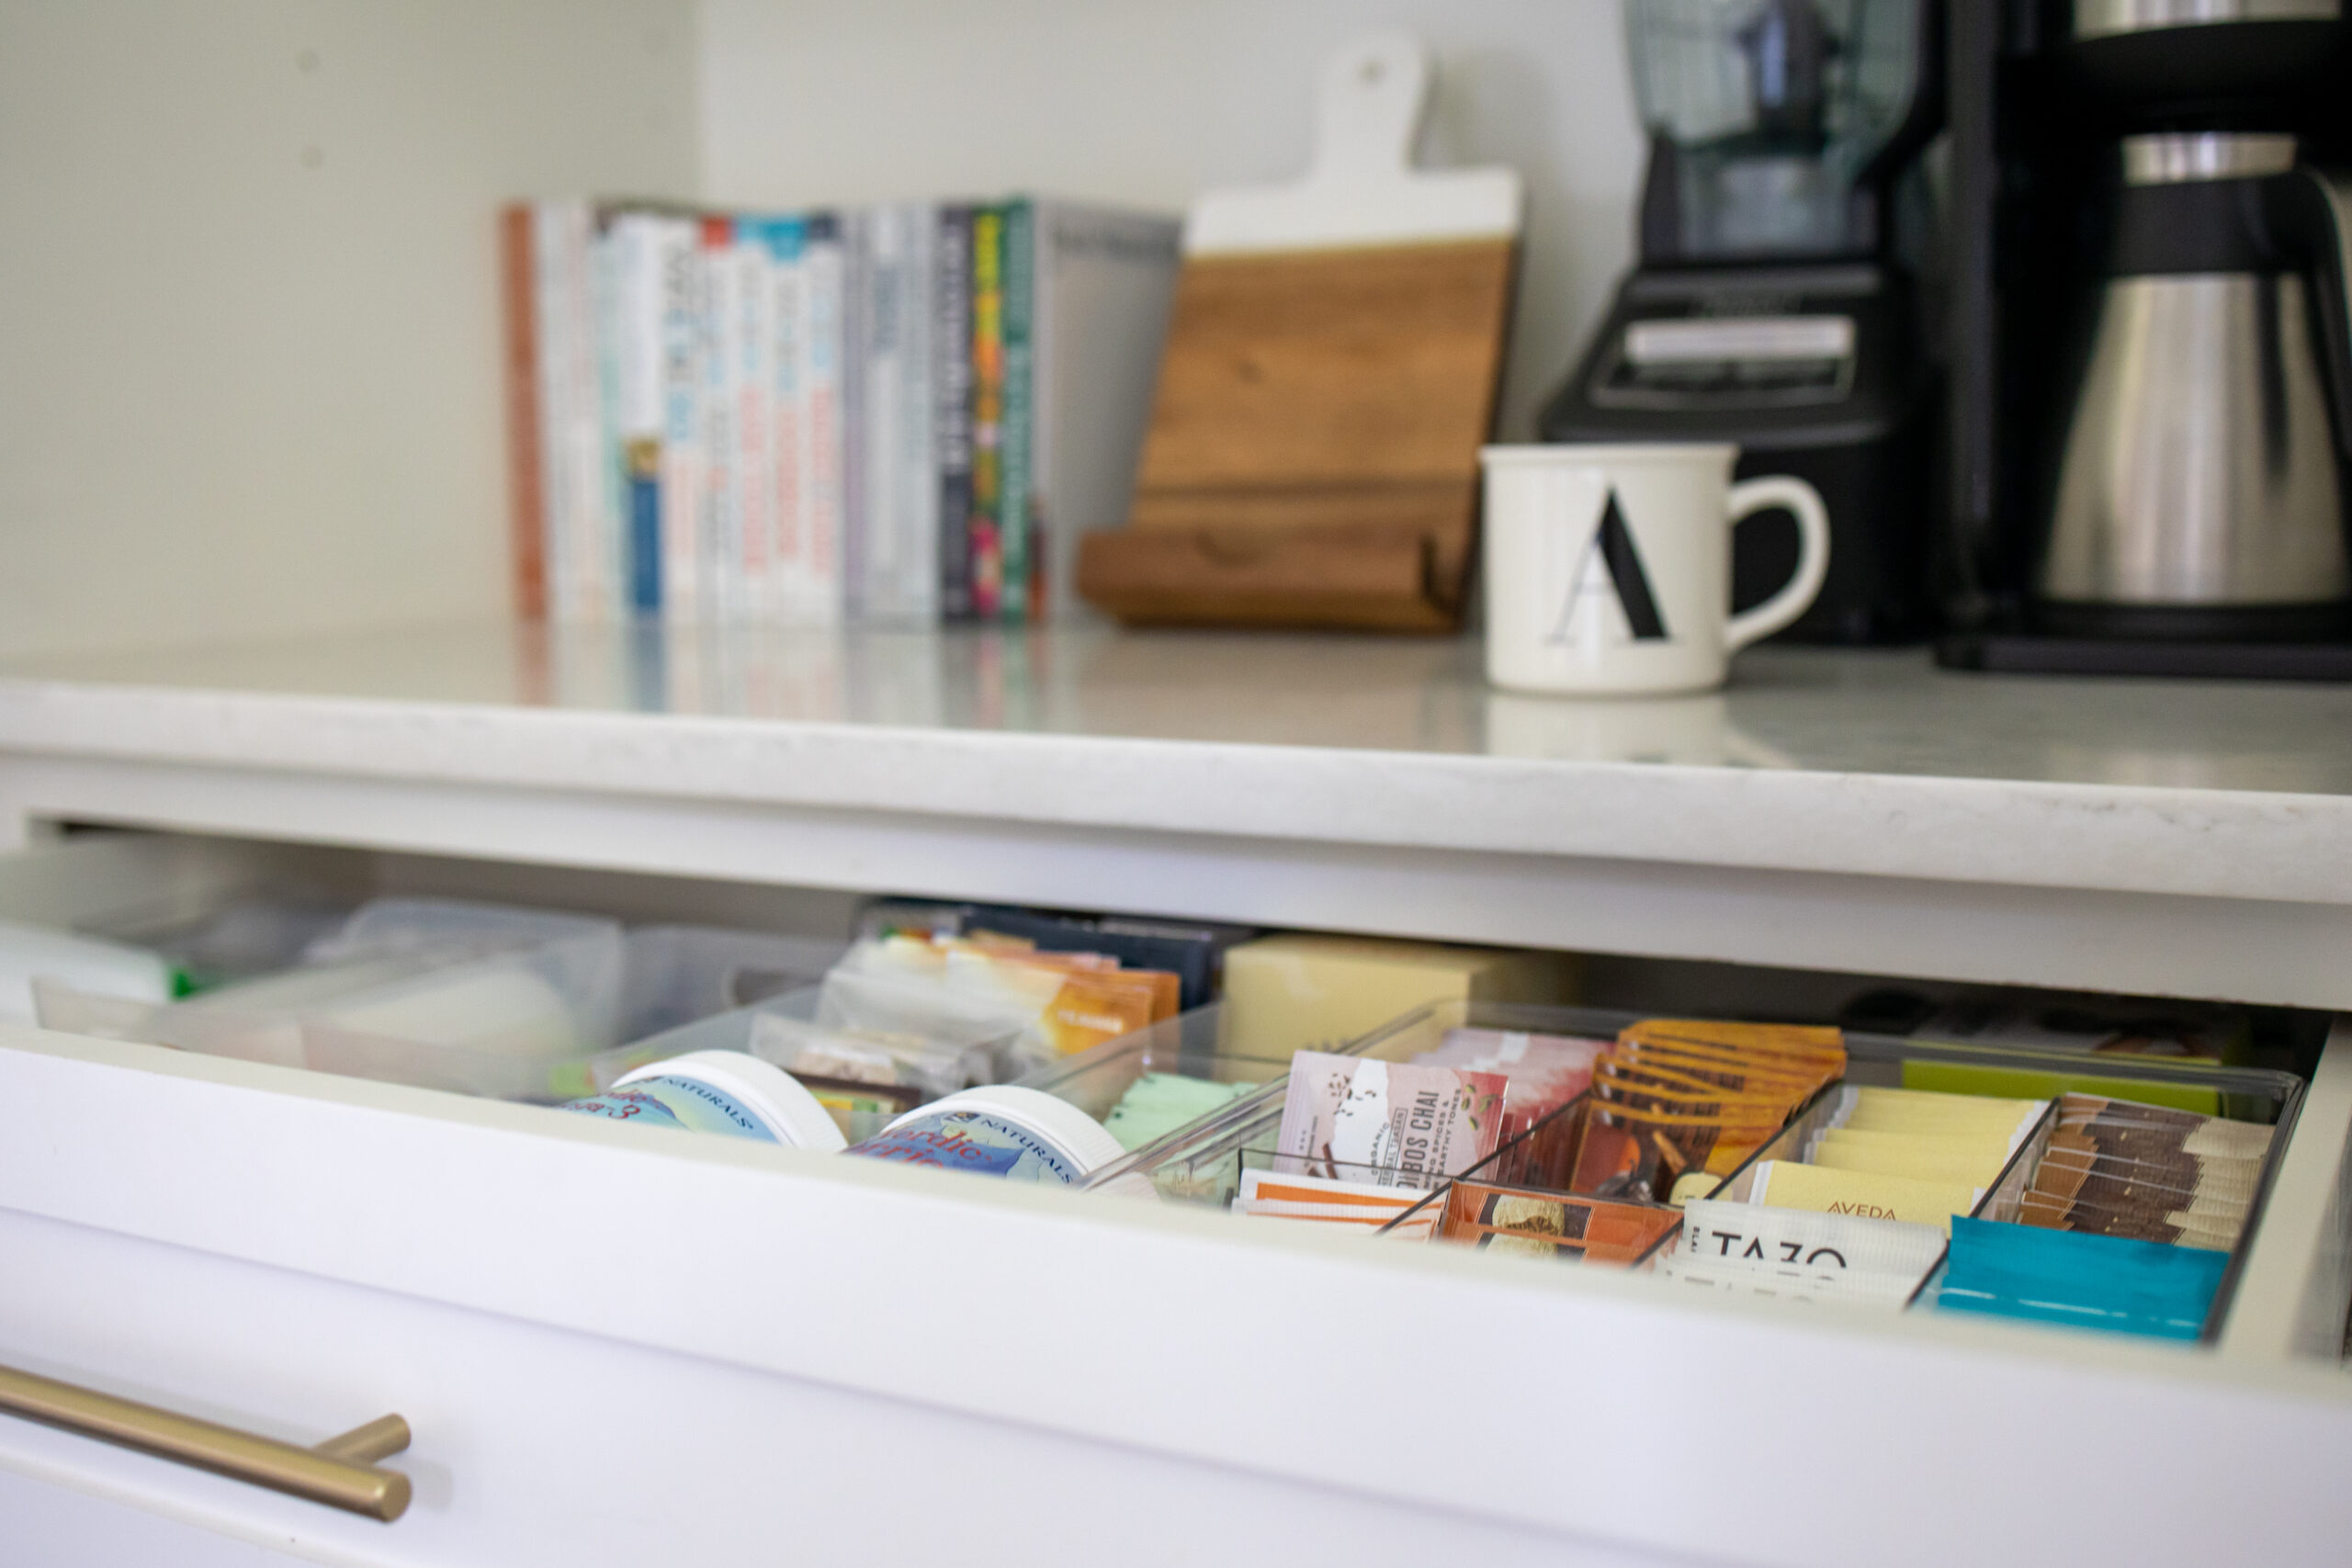
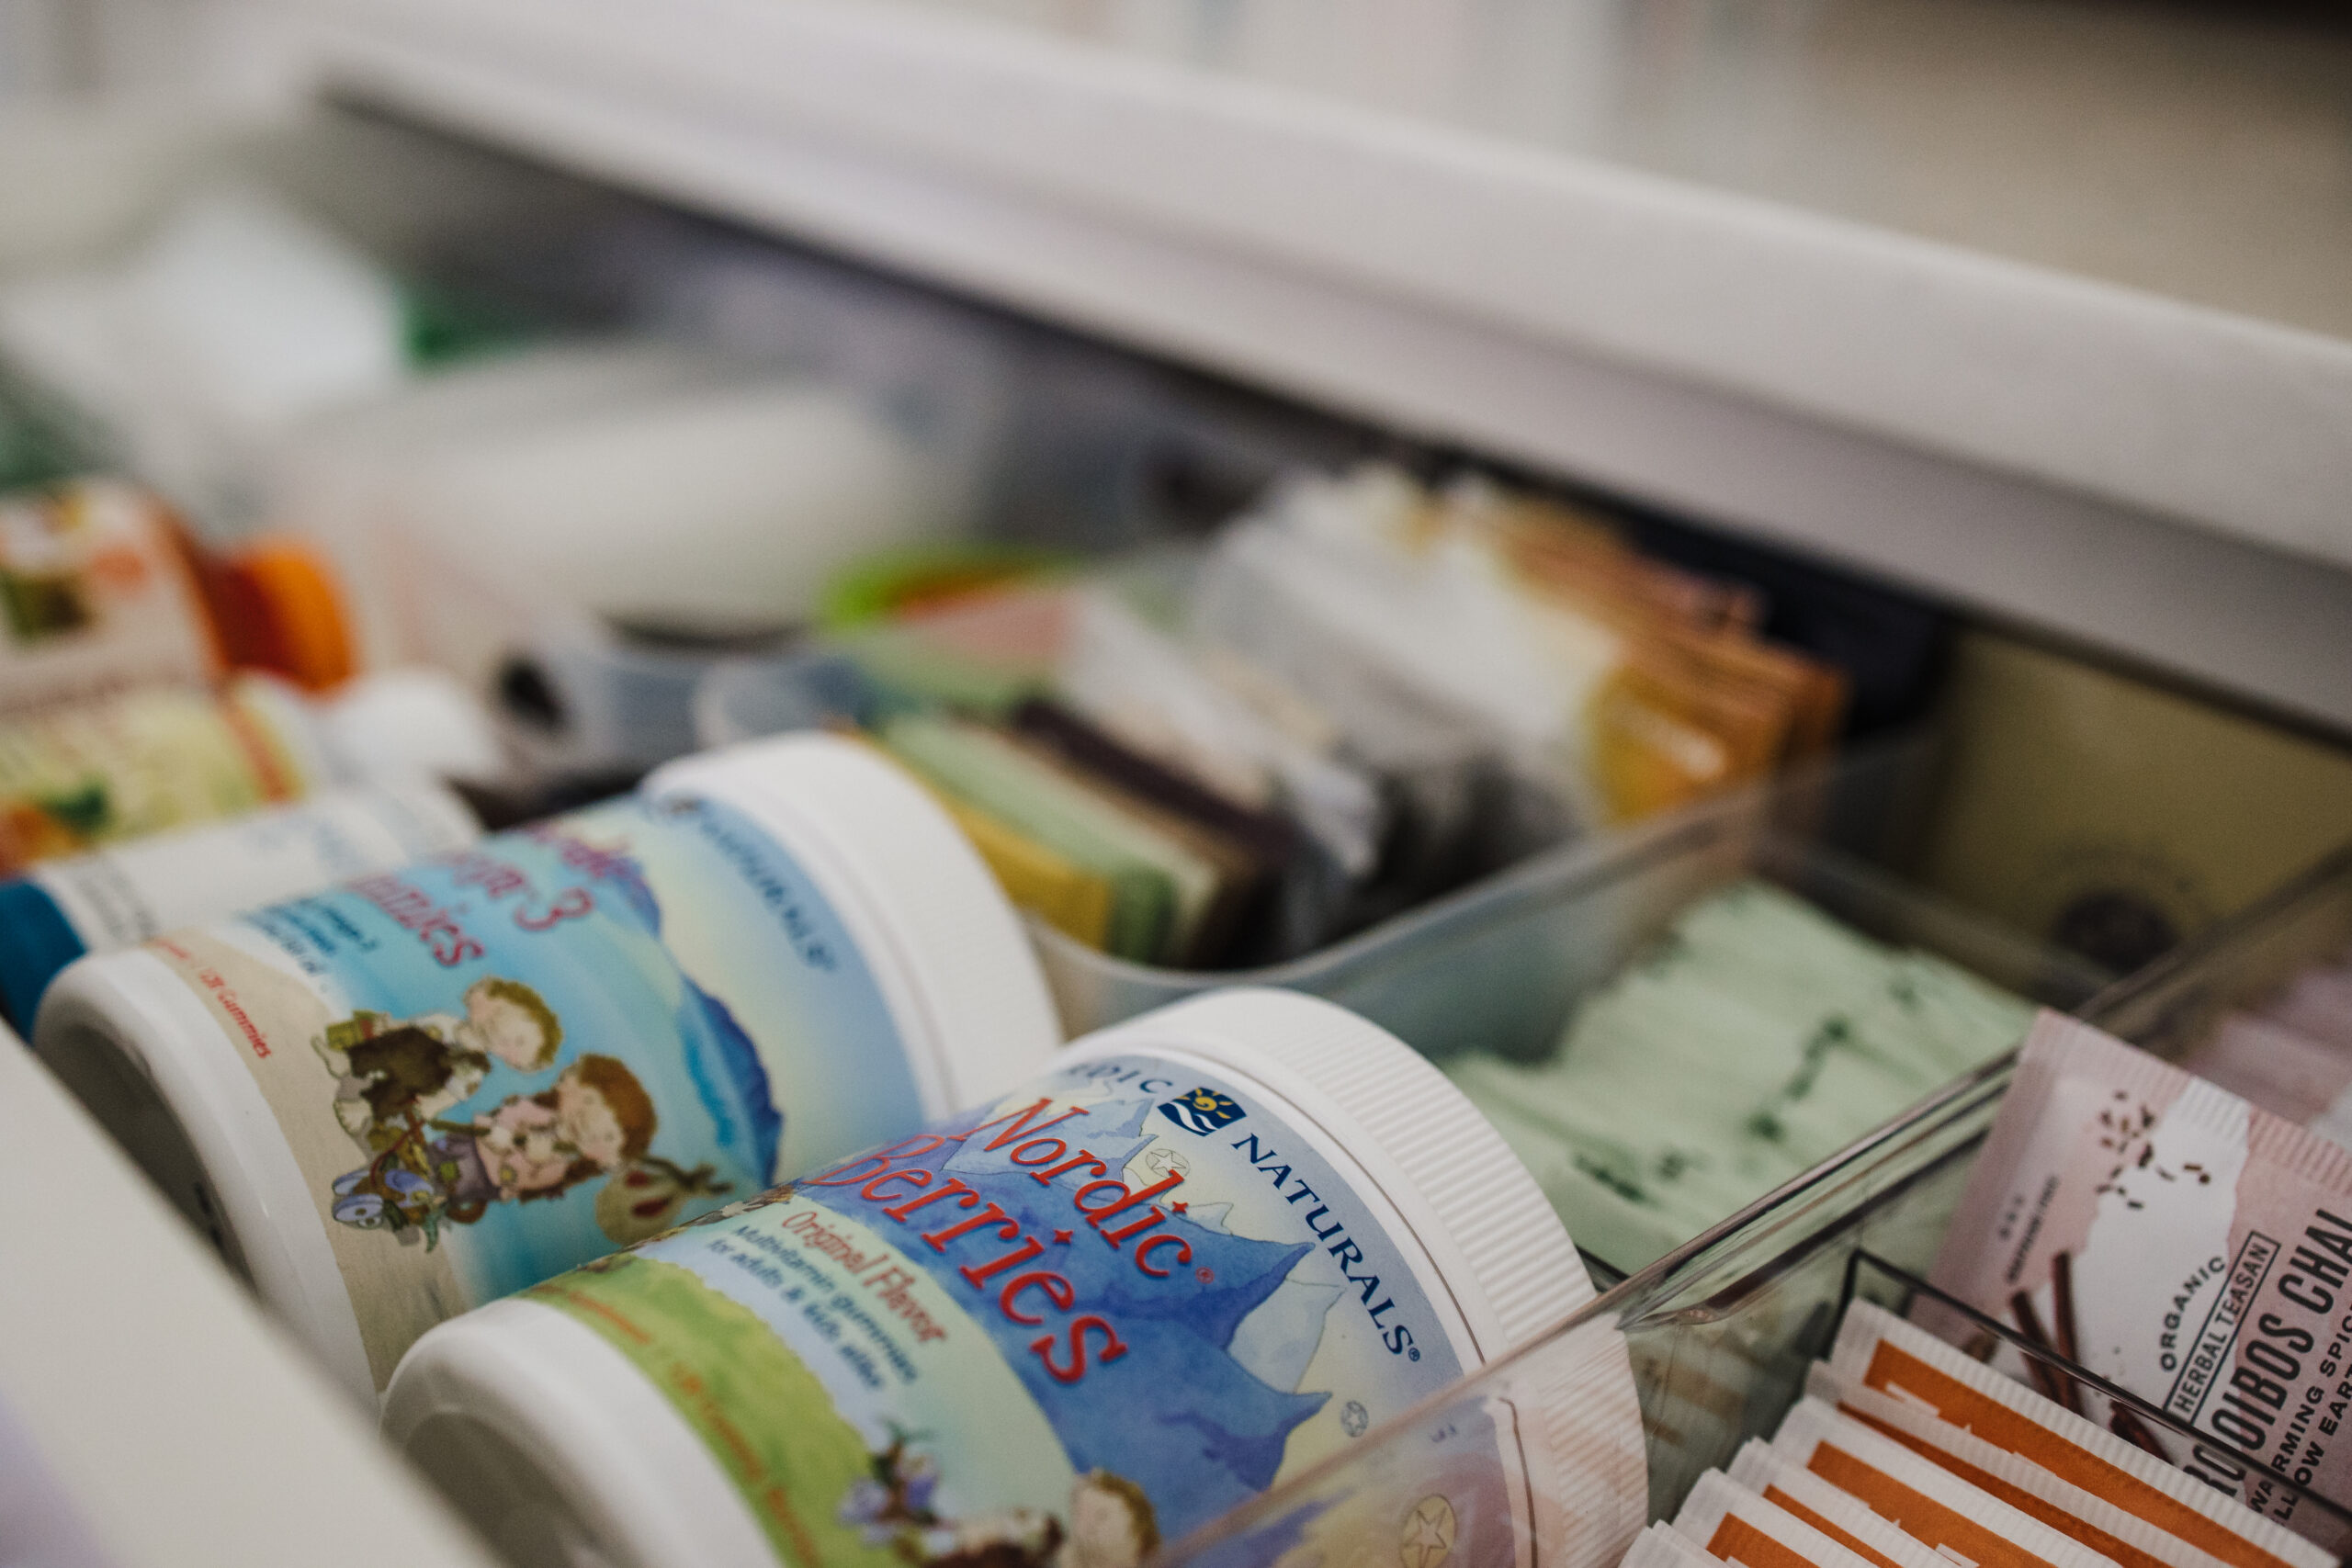
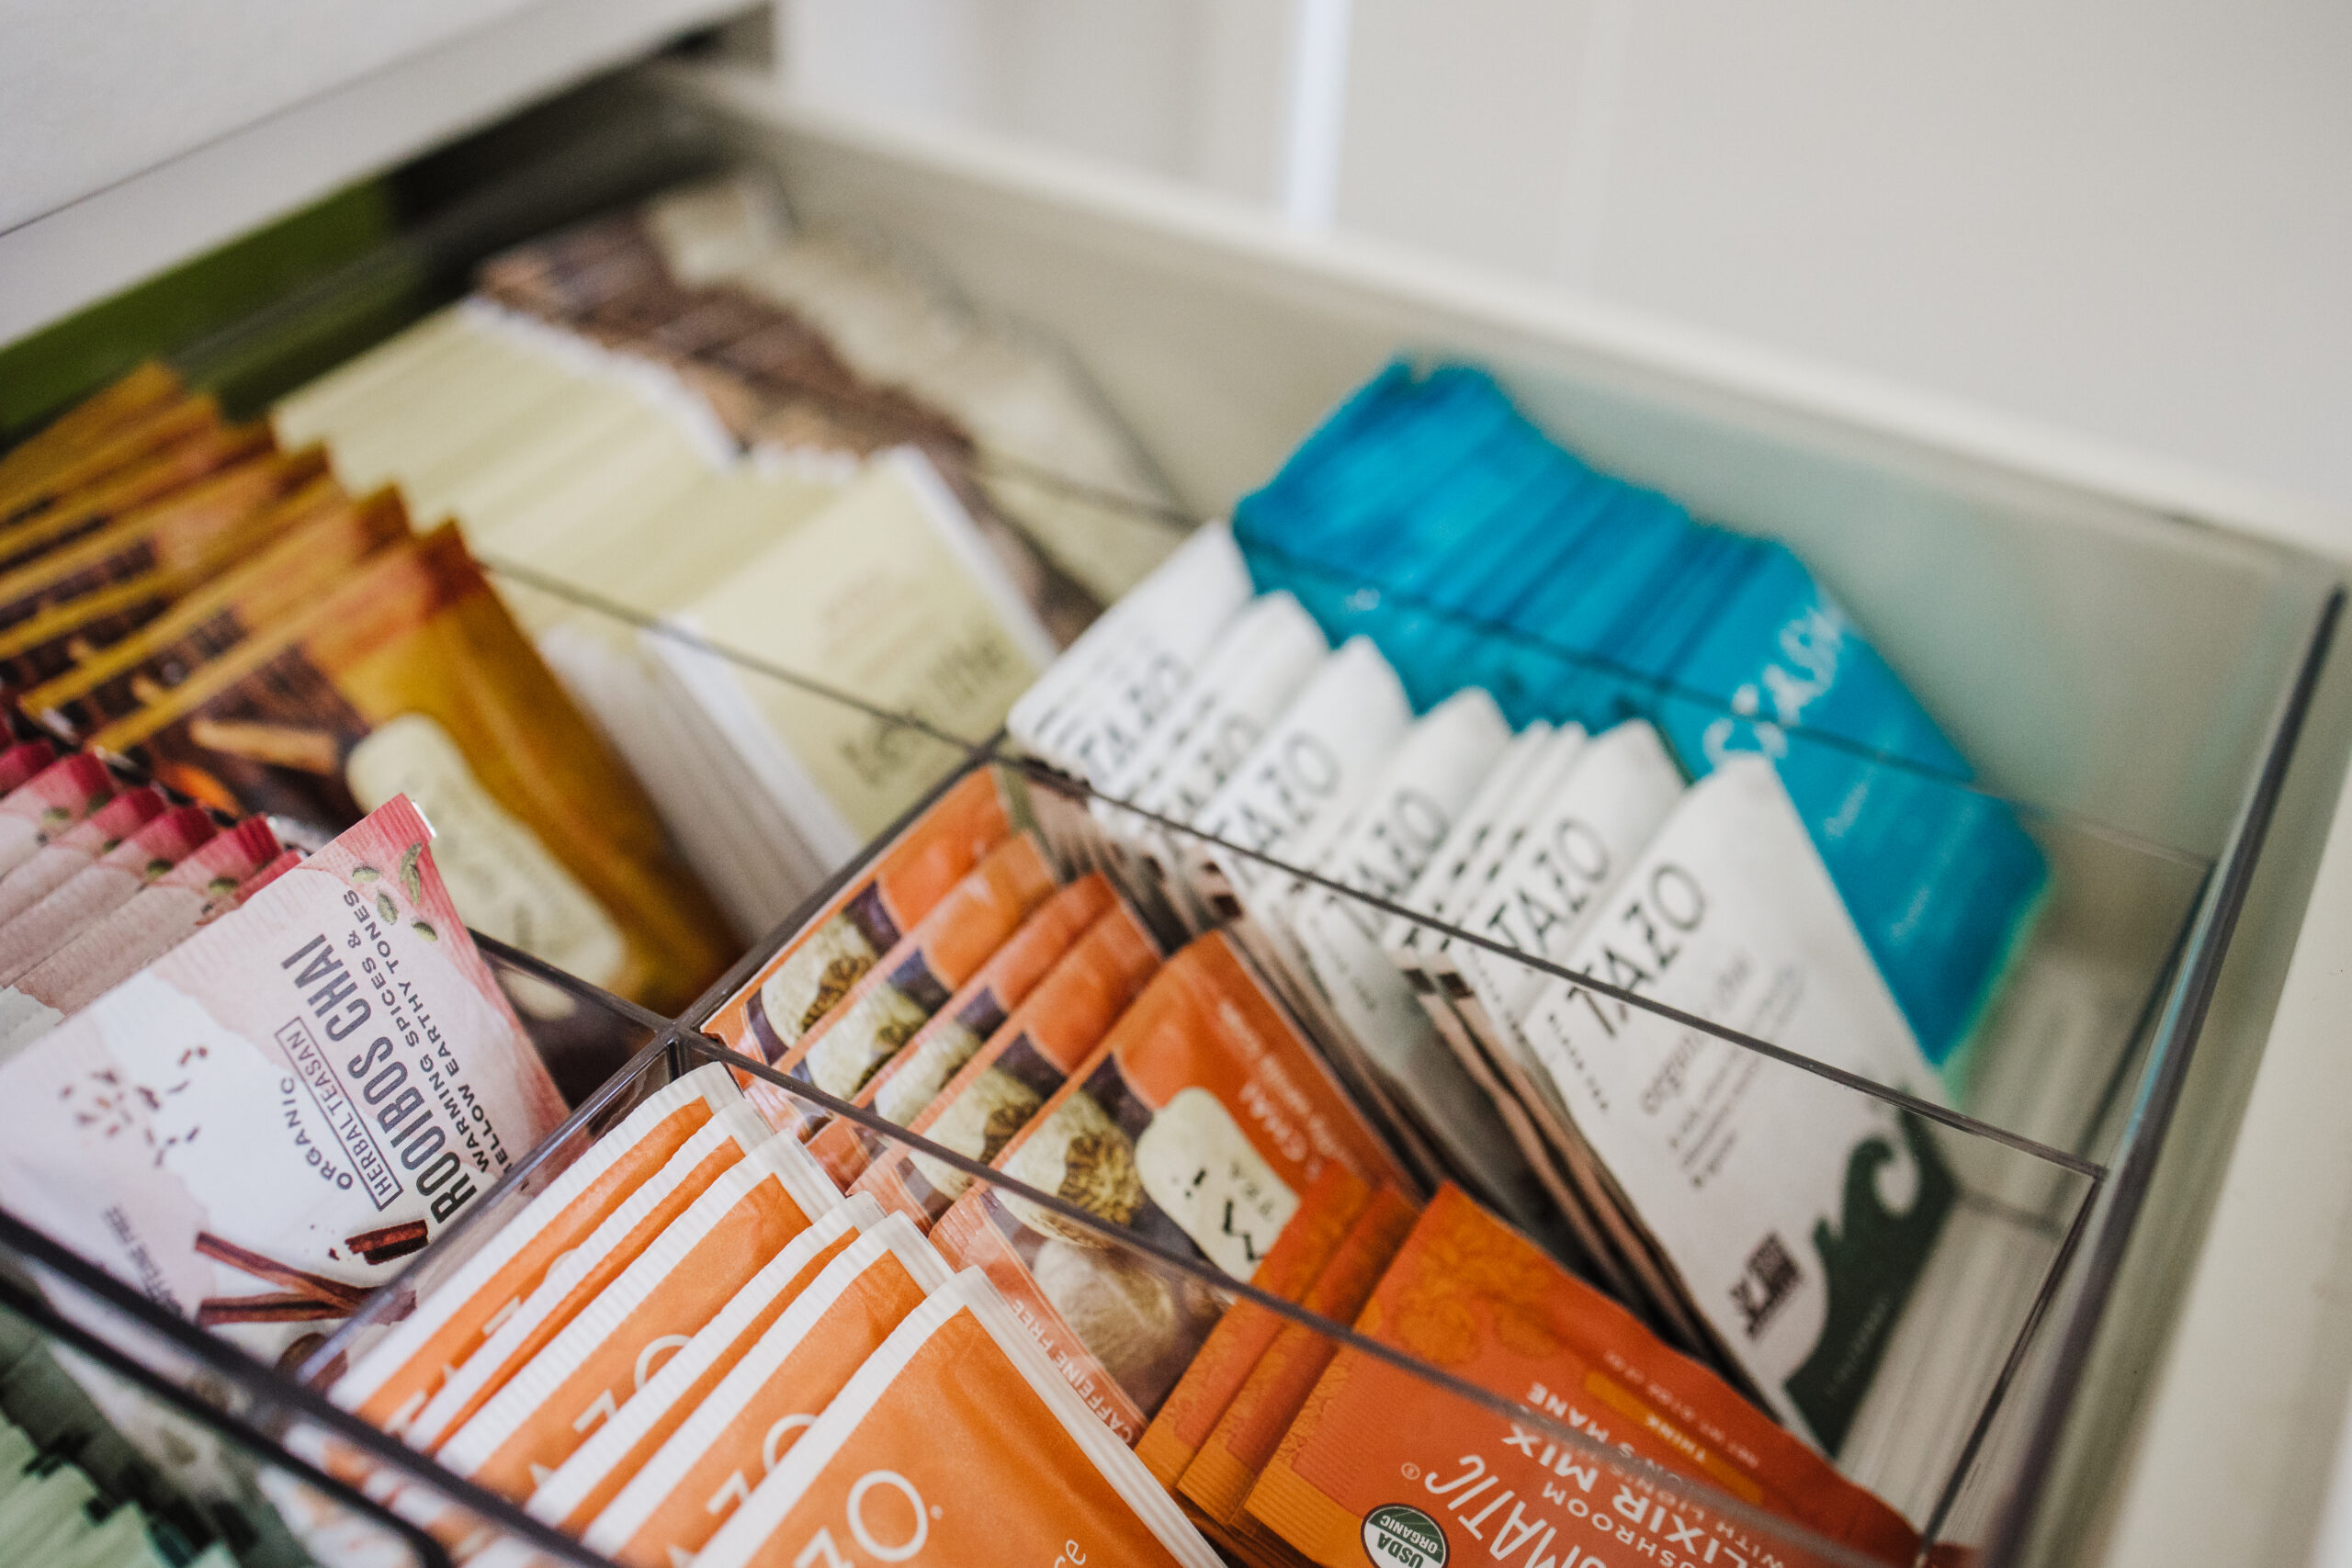
- (top drawer) Tea Drawer Organizer love this space saver and all my teas are within reach
PANTRY DRAWERS (cont’d)
-
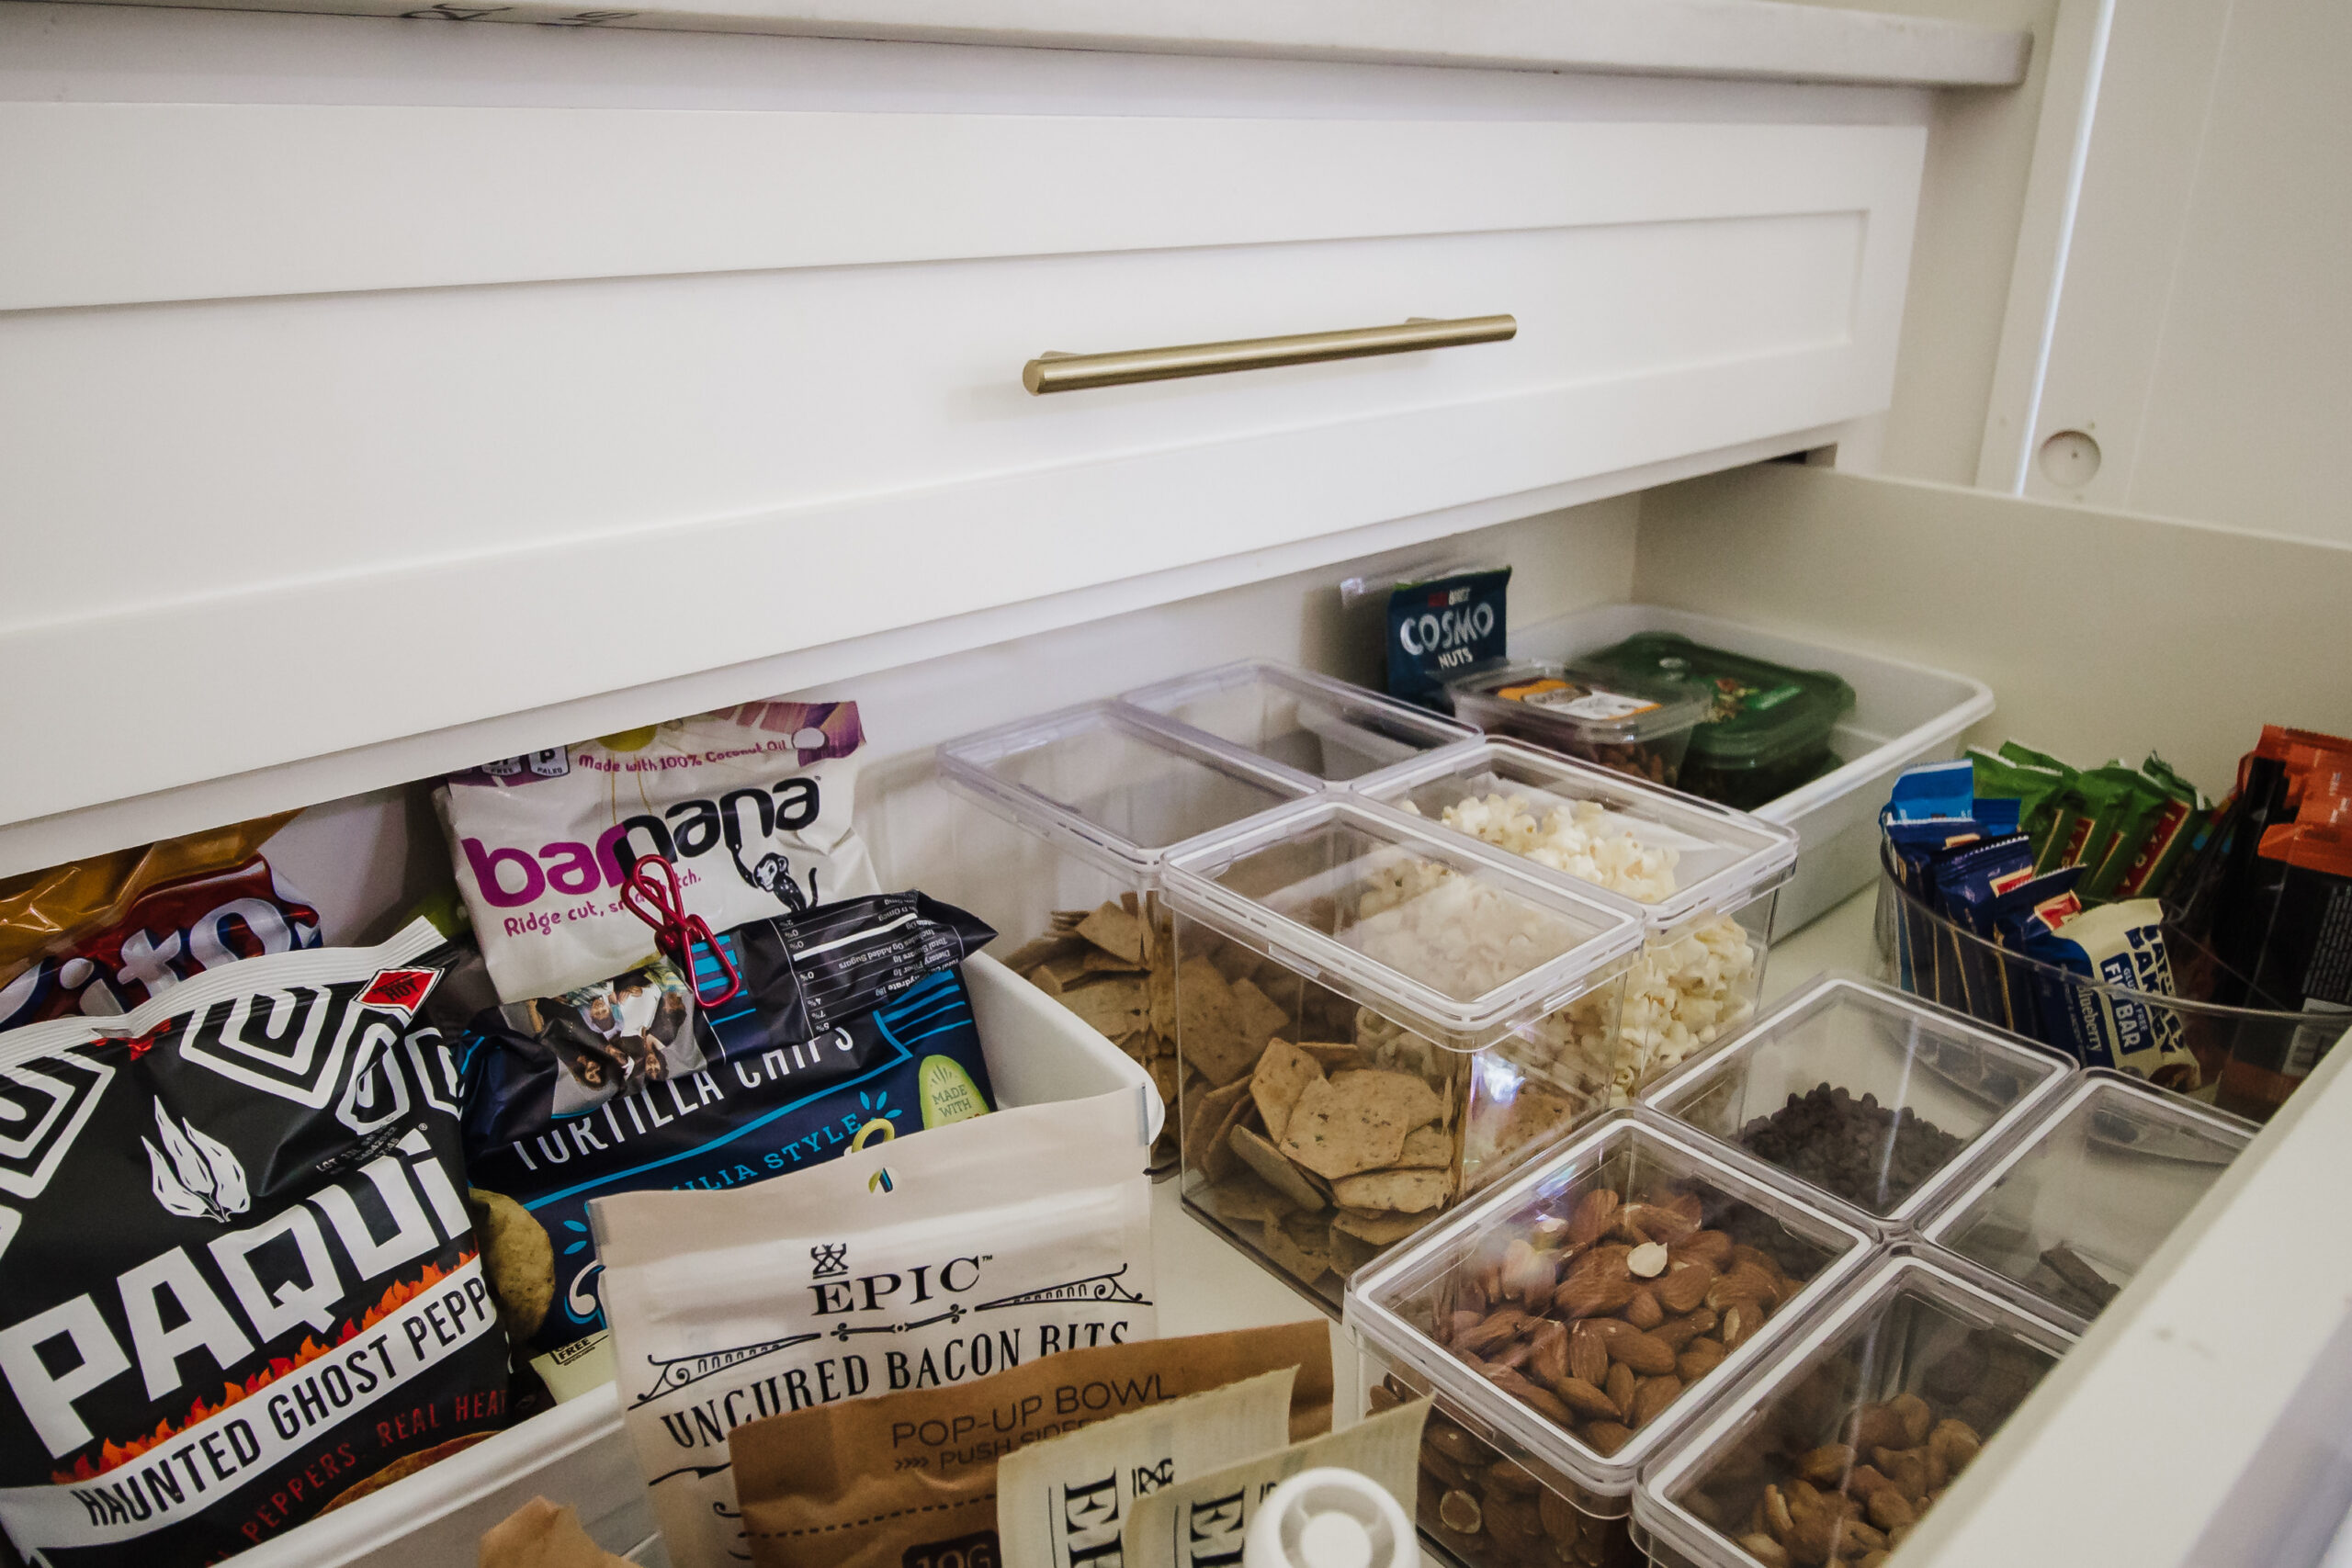
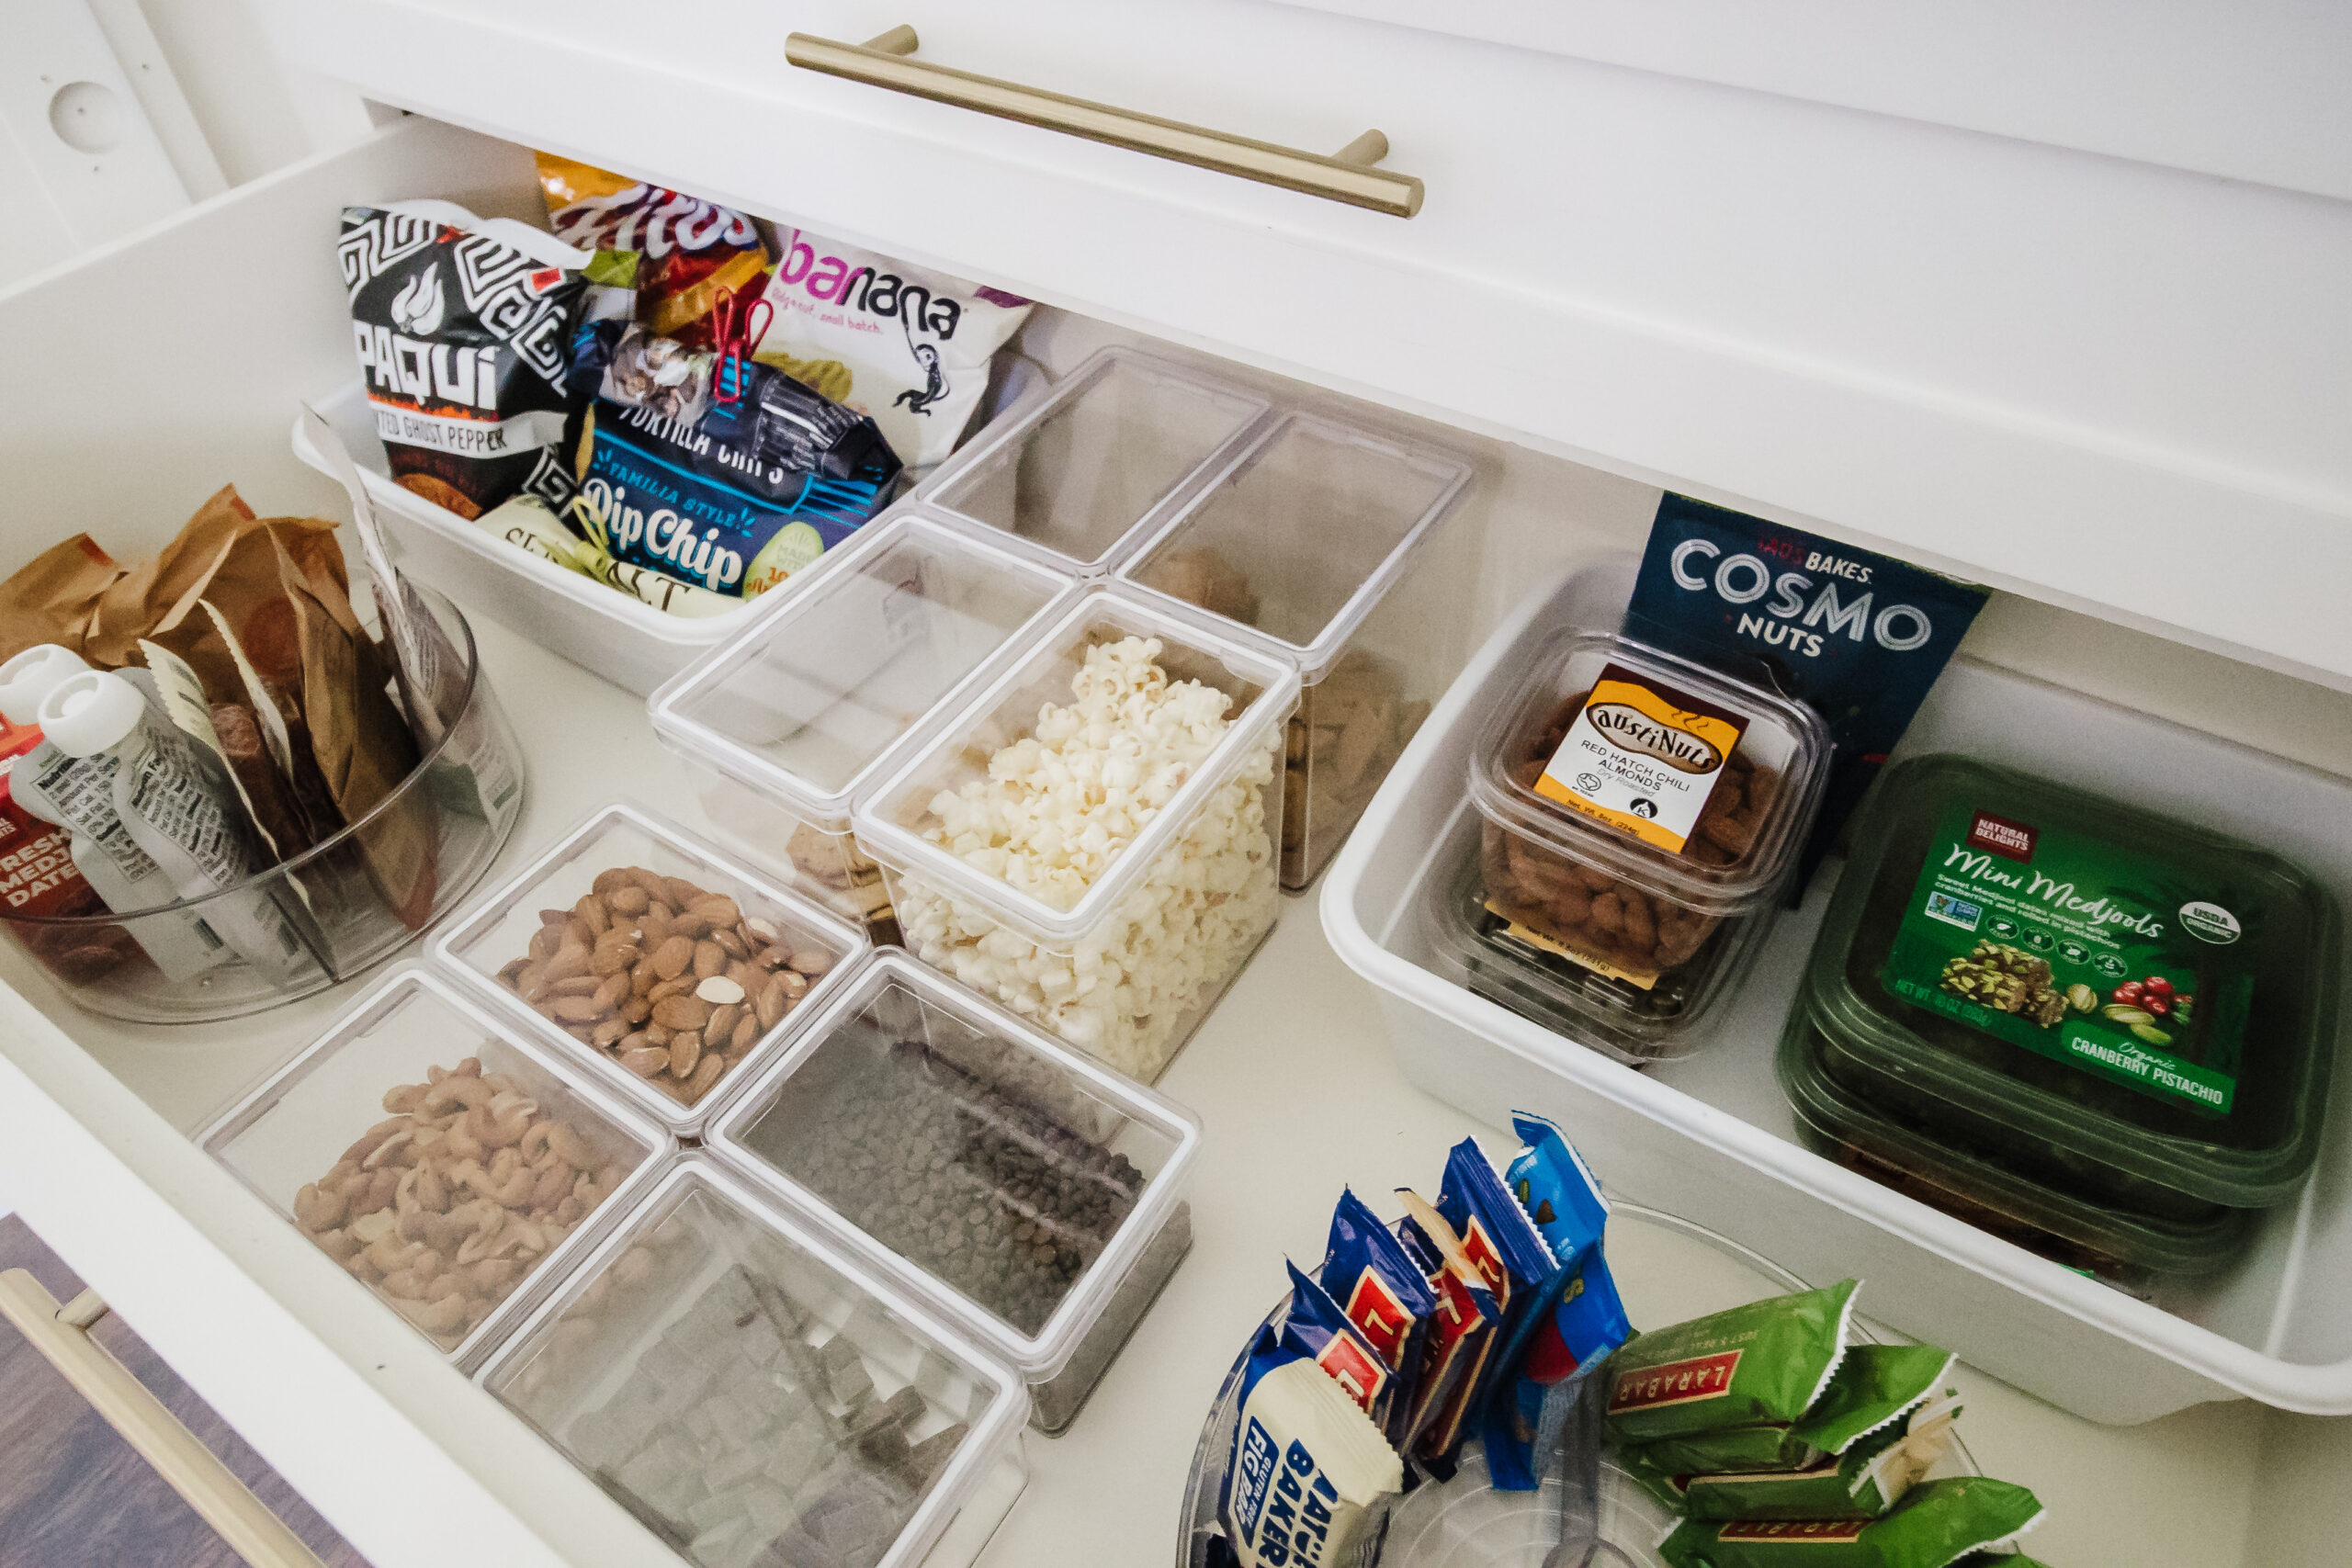
- (middle drawer) 9″ Divided Turntables for bars, oatmeal, packets, microwave popcorn bags
- (middle drawer) Small .5 qt Clear Stackable Canisters for chopped/whole nuts and chocolate chips
- (middle drawer) Medium 1.5 qt Clear Canisters for popcorn, various crackers
- (middle drawer) Plastic White 8 qt Bins for bags of chips, jerky sticks, and other packaged snacks
-
- (bottom drawer, not pictured) Medium Deep Pantry Bins for boxes of cake mixes and other baking ingredients I don’t use often
- (bottom drawer) Clear Divided Bins – Freezer Bin w/Divider for paper plates/bowls/cups, plastic cutlery, napkins, straws, candy, and other randomness
- (bottom drawer) Medium Clear Organization Bin
The LL Process
If you’re in the Dallas area you can contact Lindsay to schedule a free in person consultation. If you’re not, there are other options to get the help you need! Later this week Lindsay will be sharing her top DIY tips here! She also offers virtual consults and DIY plans.
- During the consultation the size of the project is and how much is involved is assessed. Then a comp to a similar project is provided, so you can have an idea of timing and cost.
- The next step is to confirm the project is a go! Measurements and before pictures are taken. She will share her detailed plan and favorite products to use in each space, but ultimately it will depend on the project and your budget/preference.
- All of the products needed are purchased (you approve items/colors etc).
- Pantry items are then organized, labels created (you choose the type/colors/font), any product returns are made, and then you get the final invoice which is broken into product cost and hourly rate for labor.
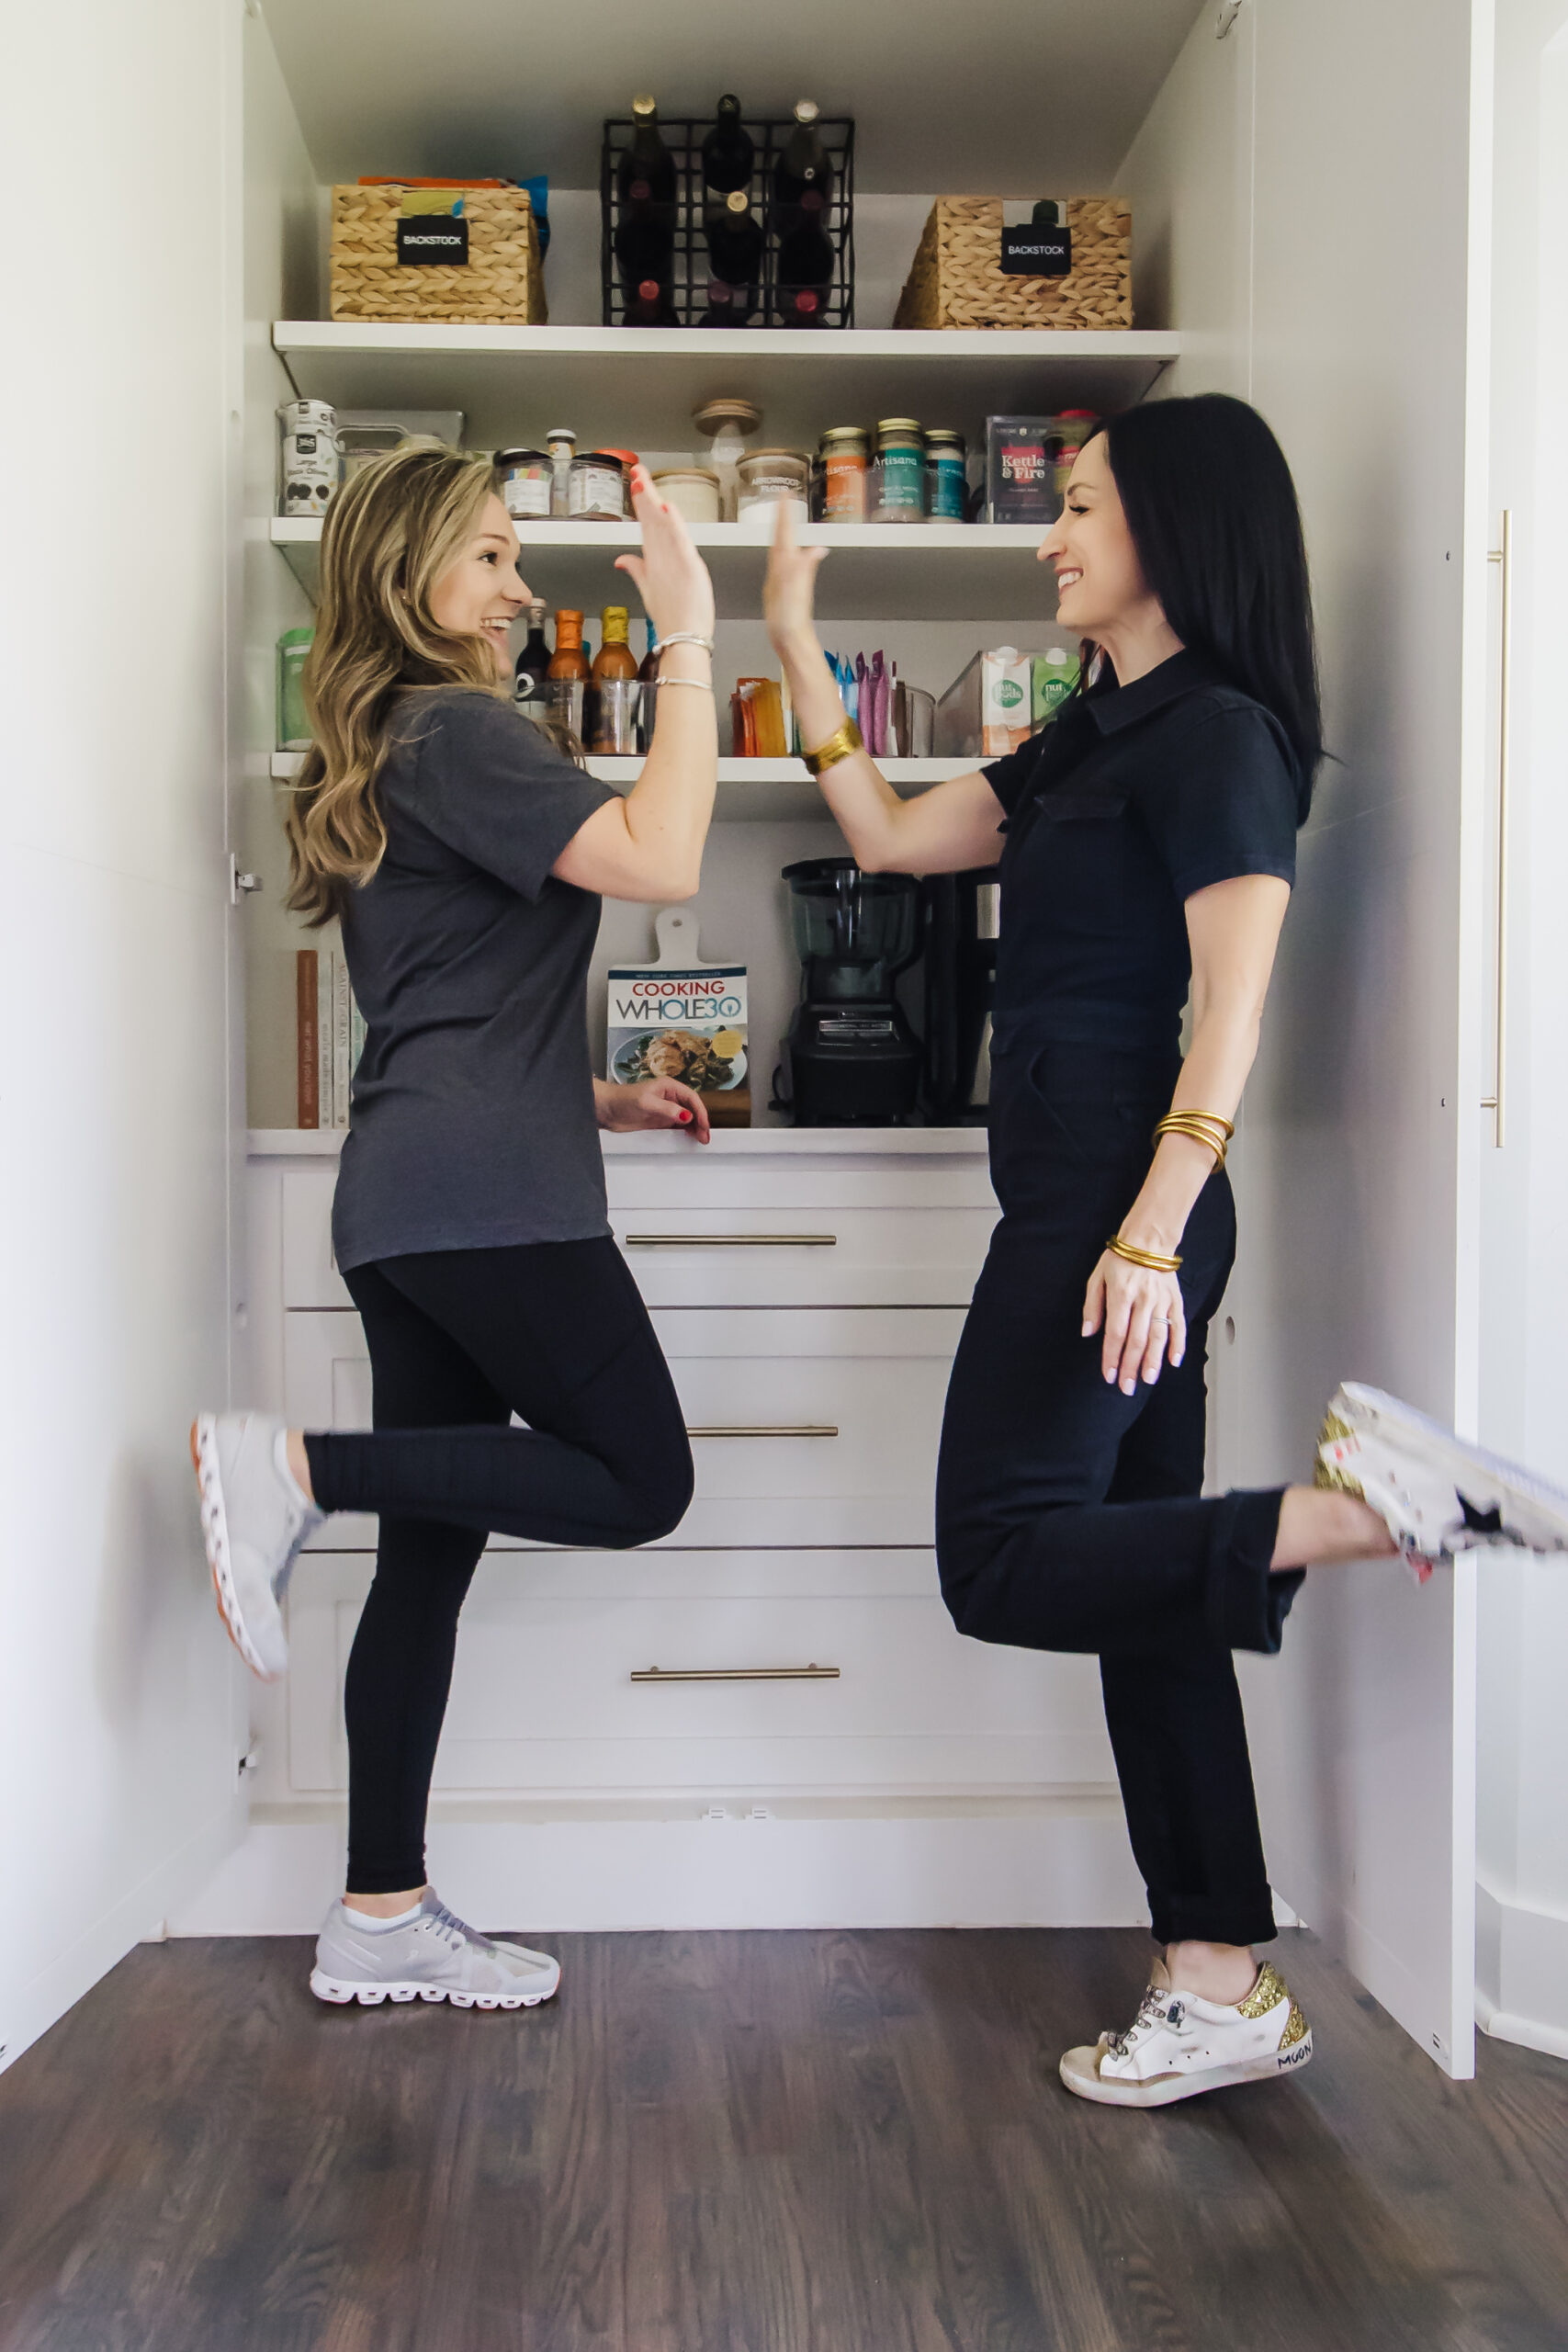
Shop My Outfit: Denim Jumpsuit / All Weather Bracelets / Sneakers (similar here for less)
Don’t miss Lindsay’s best DIY tips coming later this week and please comment or email me if you have any questions at all. As always, happy to help. And speaking of stocking your pantry, be sure to get my free Whole30/healthy living pantry + fridge guide here, filled with the grocery and online food faves we purchase on repeat!
Thanks for stopping by & have a great day!
Photography: Katie Schmidt


