 Getting organized can be easy if you have a plan…
Lindsay’s Top 10 DIY Pantry Organization Tips
1. Empty out the space
First, remove everything from your pantry. Yes, everything!!
2. Make sure it’s still good.
As you remove items shelf by shelf, check expiration dates and toss accordingly. You can also make a list of any expired items you need to restock.
3. Create a clean slate.
Wipe down all shelves and drawers for a clean starting point. If you are going to add any drawer linings now’s the time to do it!
4. Get organized!

Now you’re ready to group and sort items by general categories and decide which categories will go on each shelf and in each drawer. If you need to purchase any new containers make a list of what you’ll need and sizes before you go to the store or order online. Write down your plan if you need to, so you don’t forget!
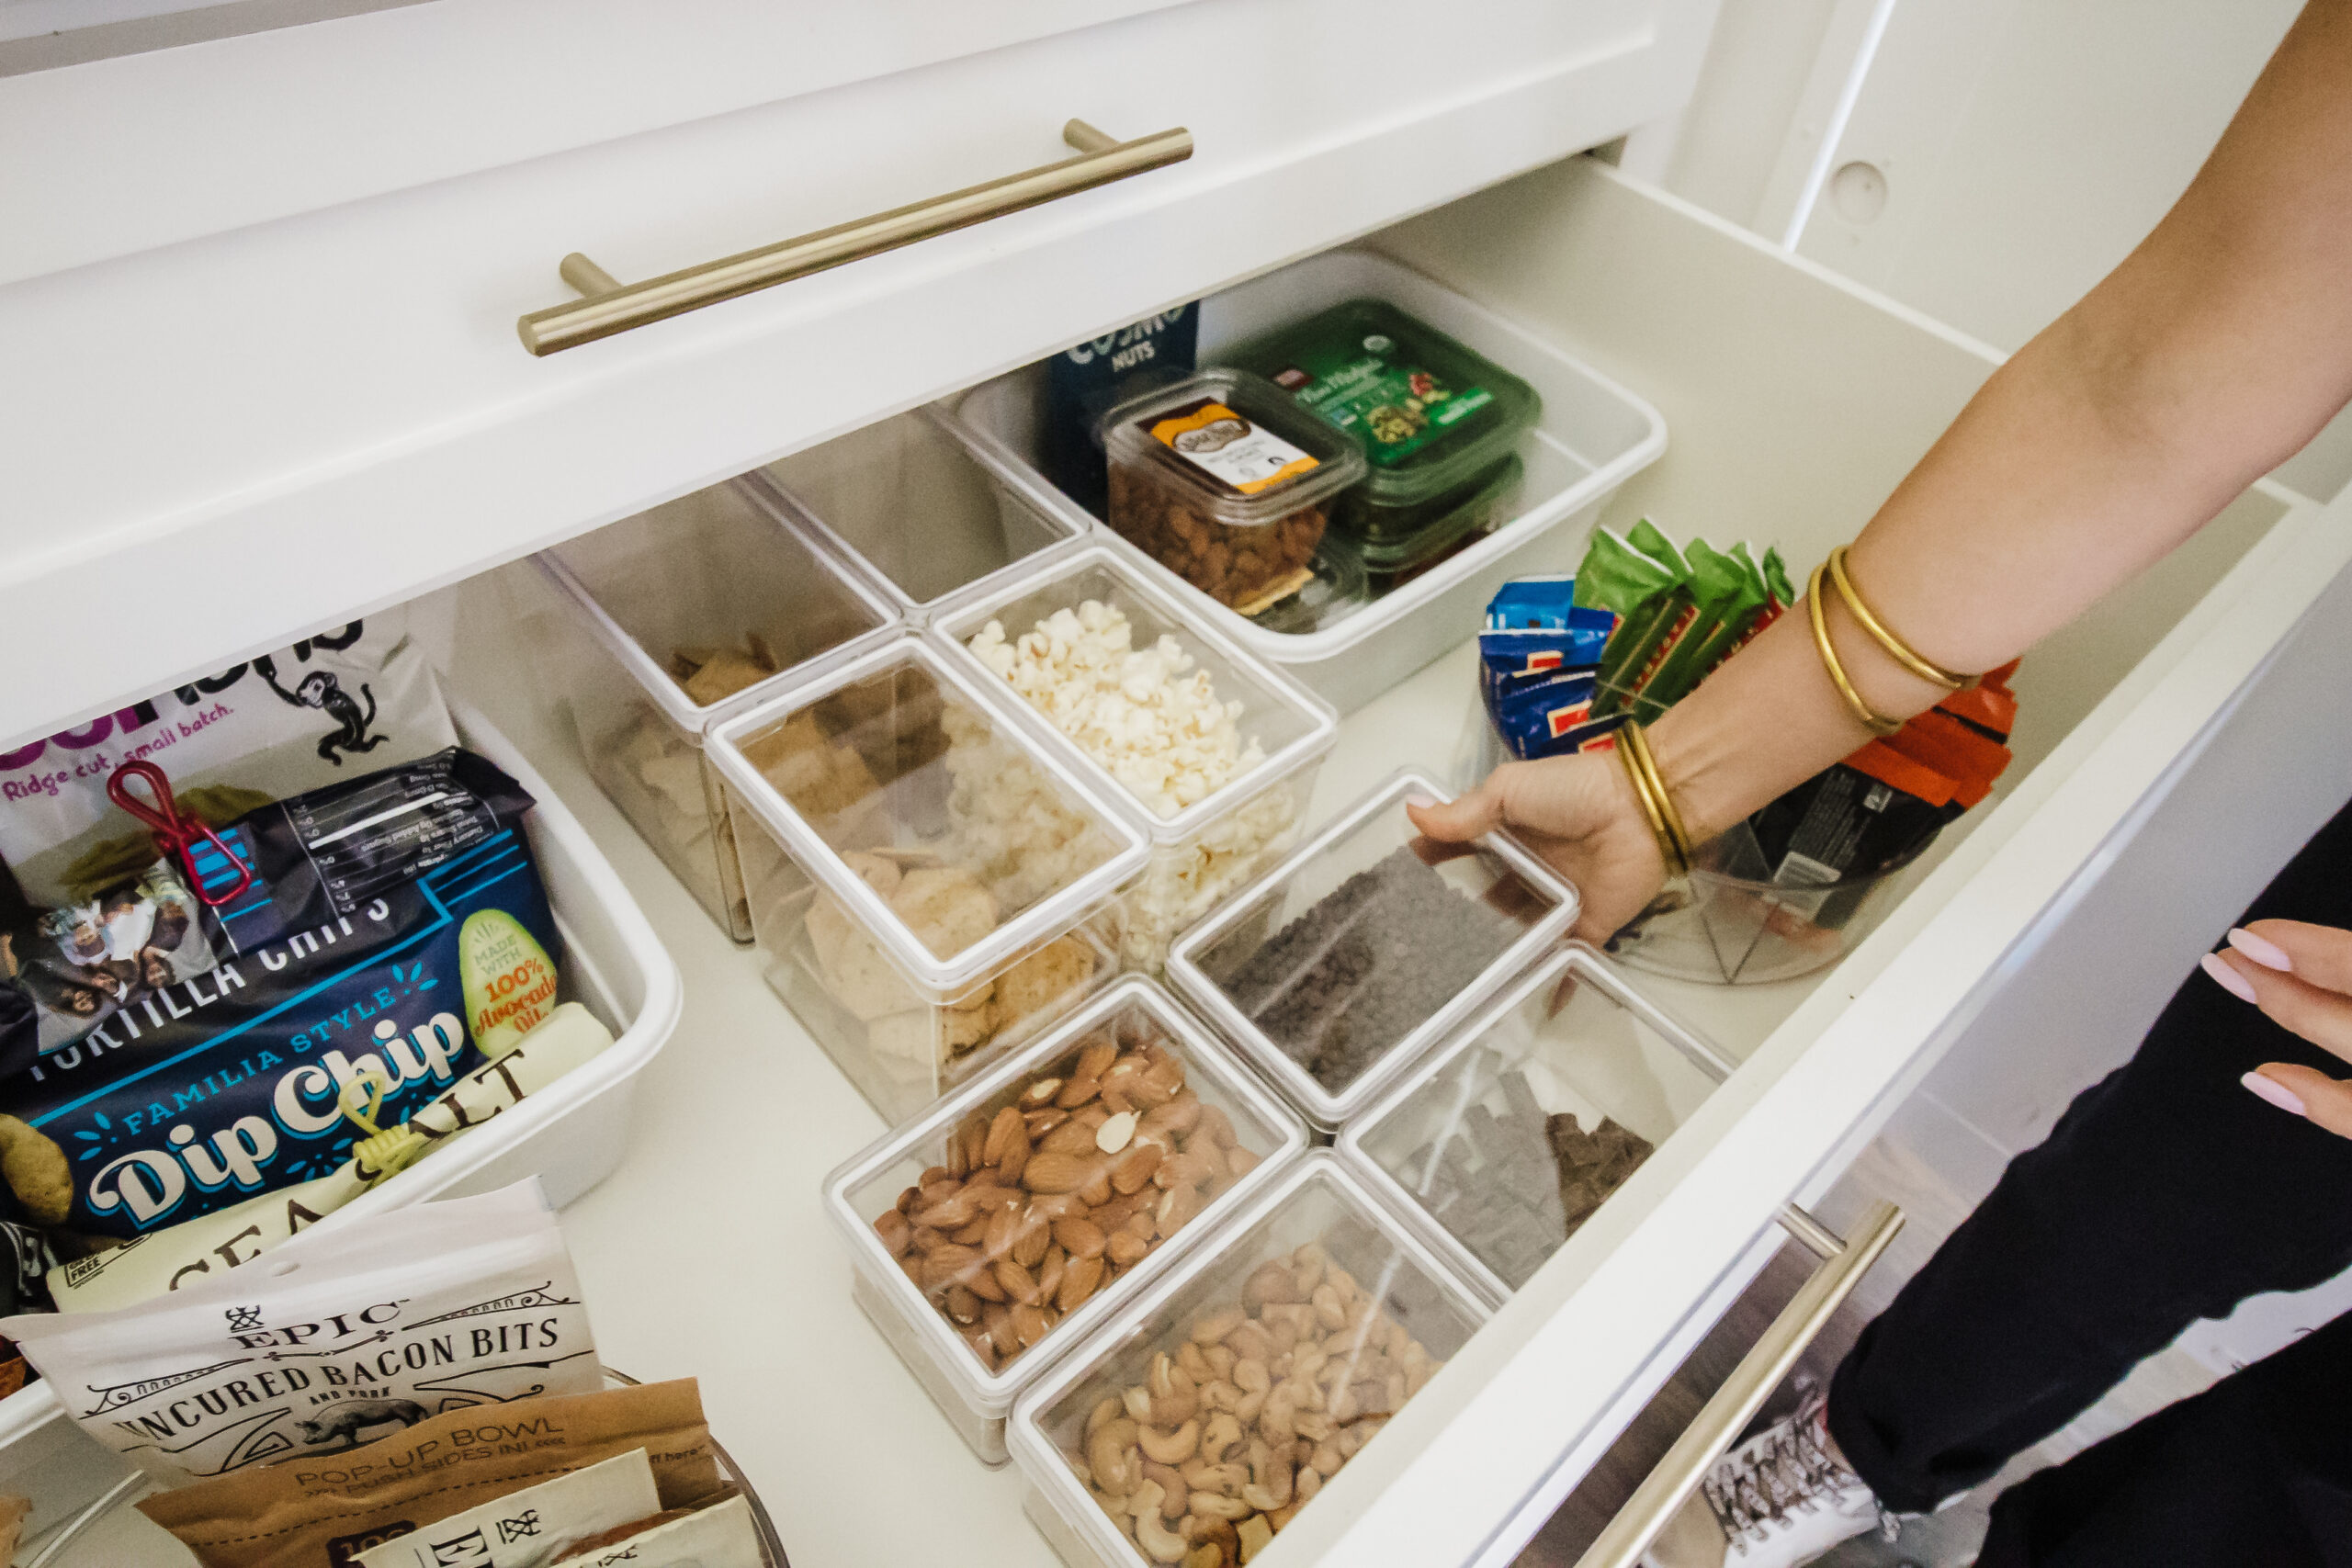
5. What are your Pantry MVPs?
The most popular products in your household (snacks, lunch + everyday items, etc.) should be placed at eye-level or on lower shelves/drawers so they’re easy to reach. When you are doing this think about how you use the space and the items you reach for most often.
Personally, I like to store candy and treats in a drawer, where they are not immediately visible every time I open my pantry. Out of sight, out of mind! I prefer to keep healthy options front and center so they are the first and most appealing thing I see.
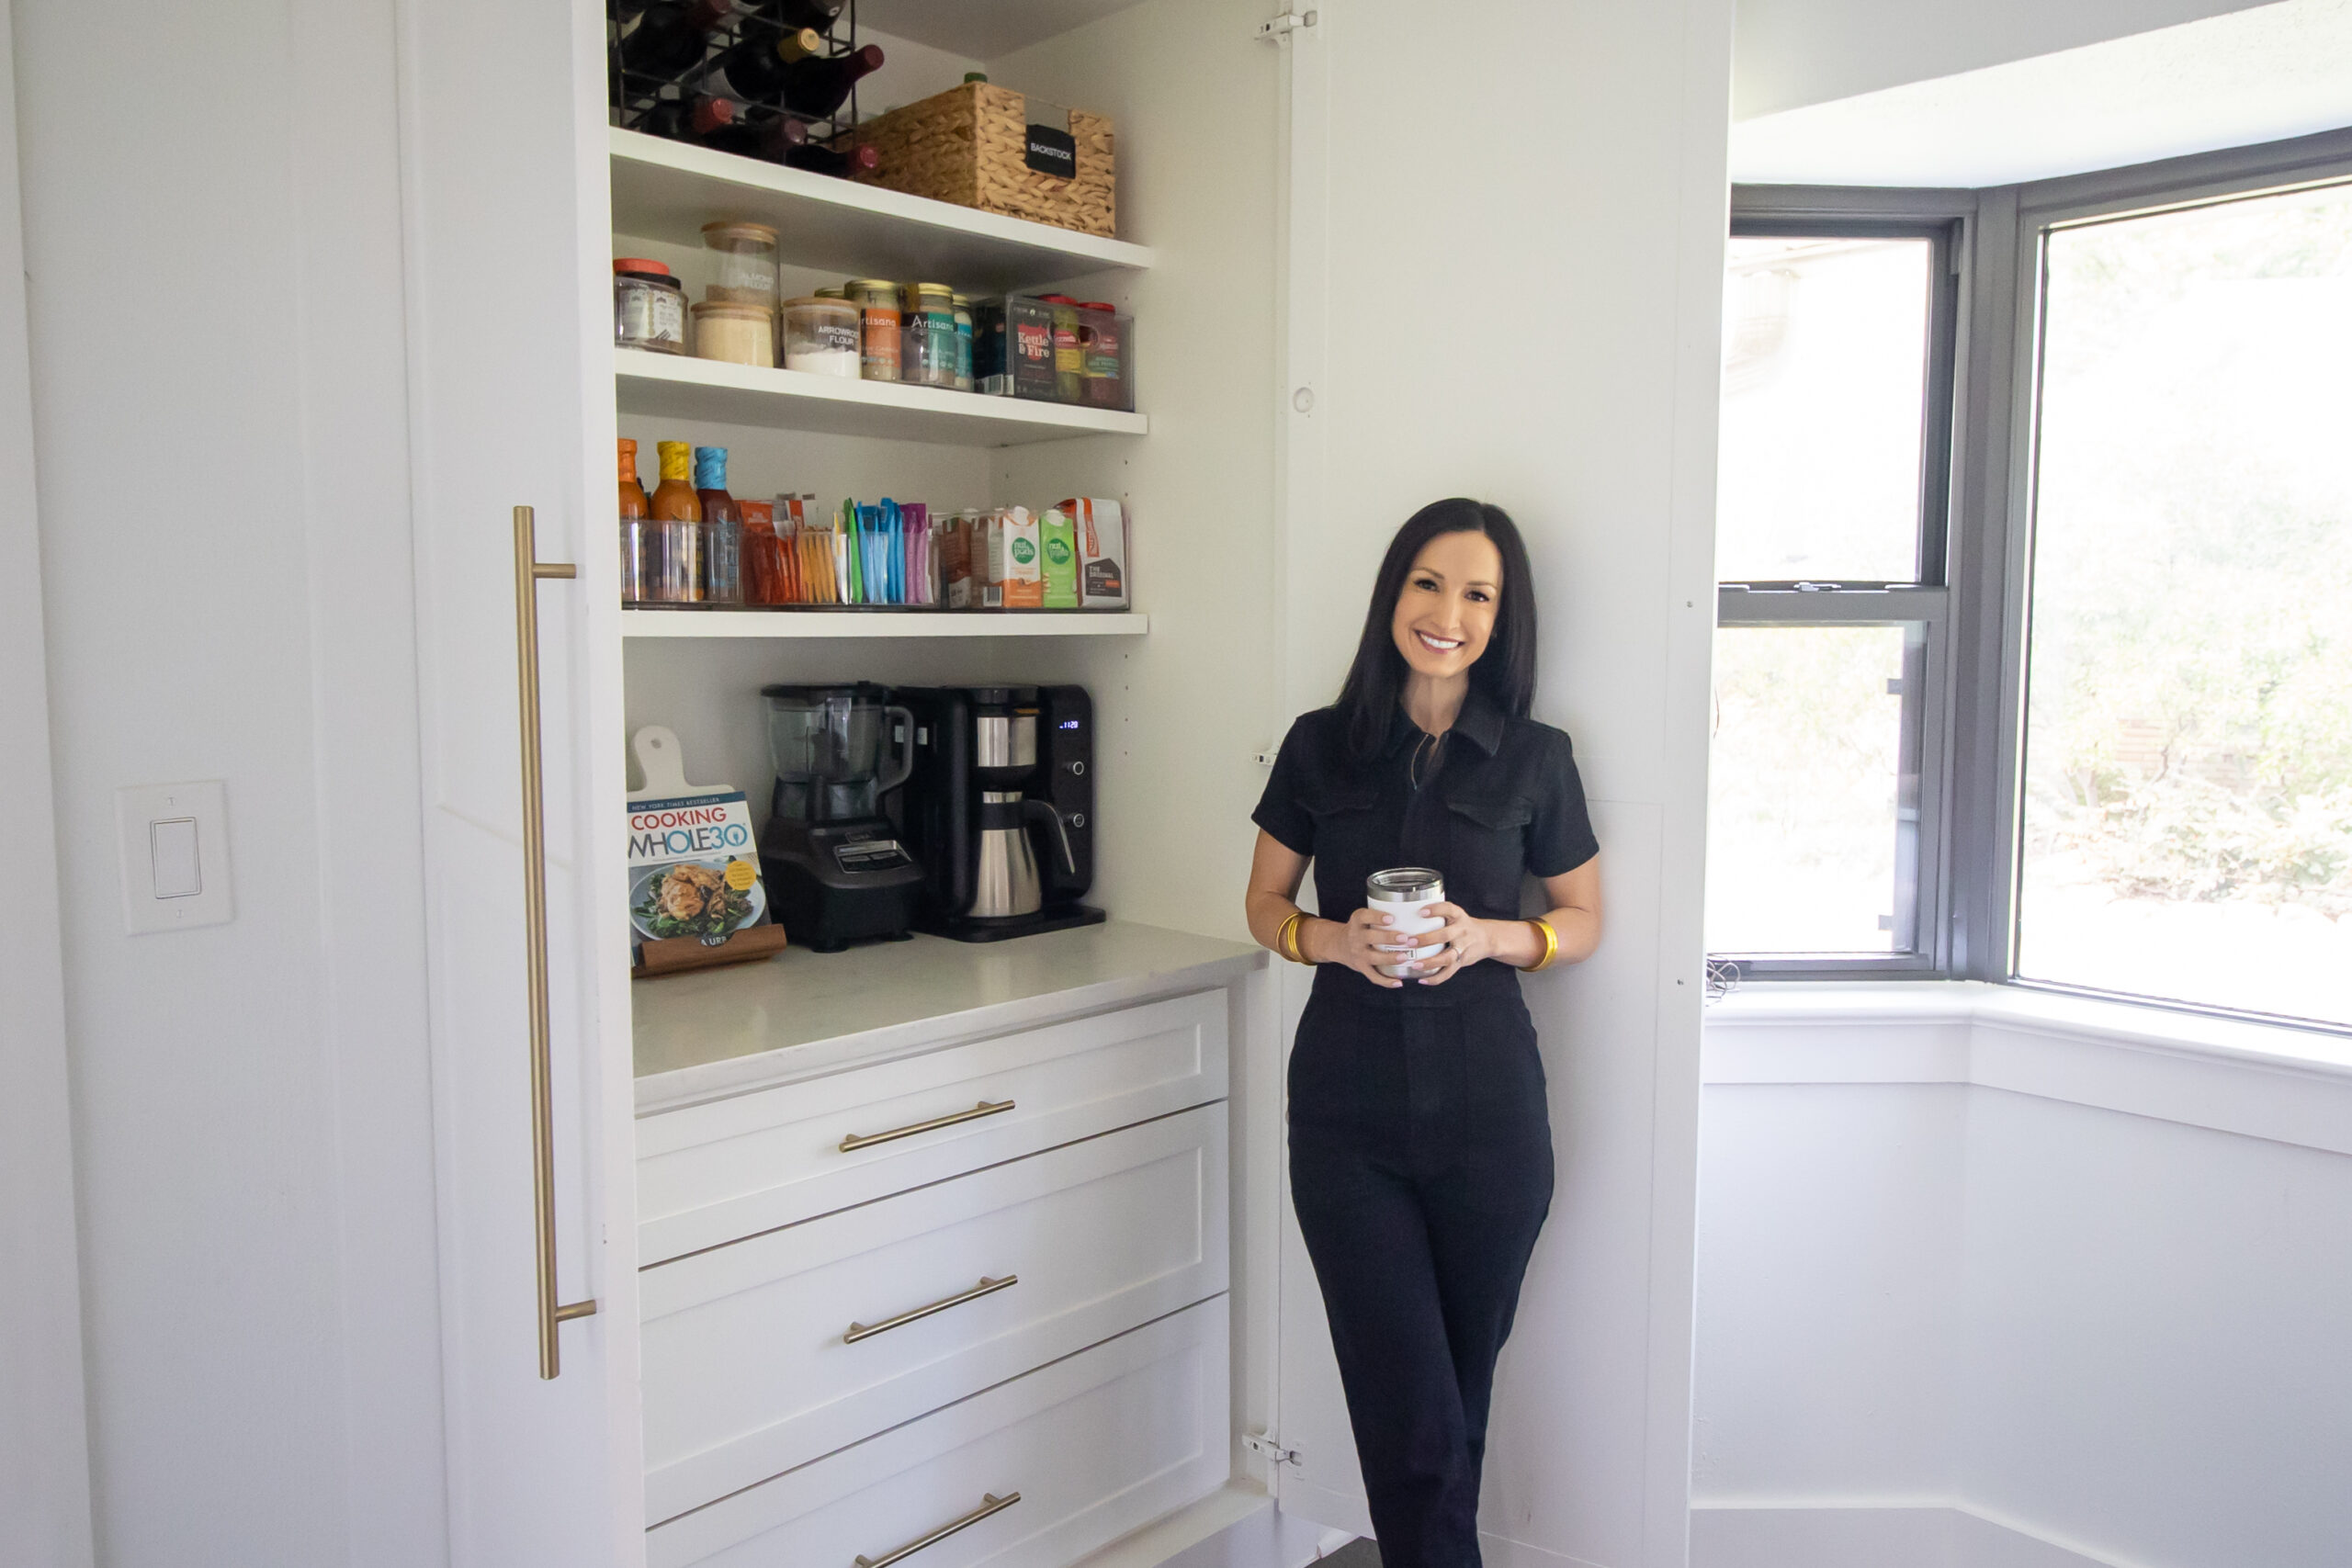
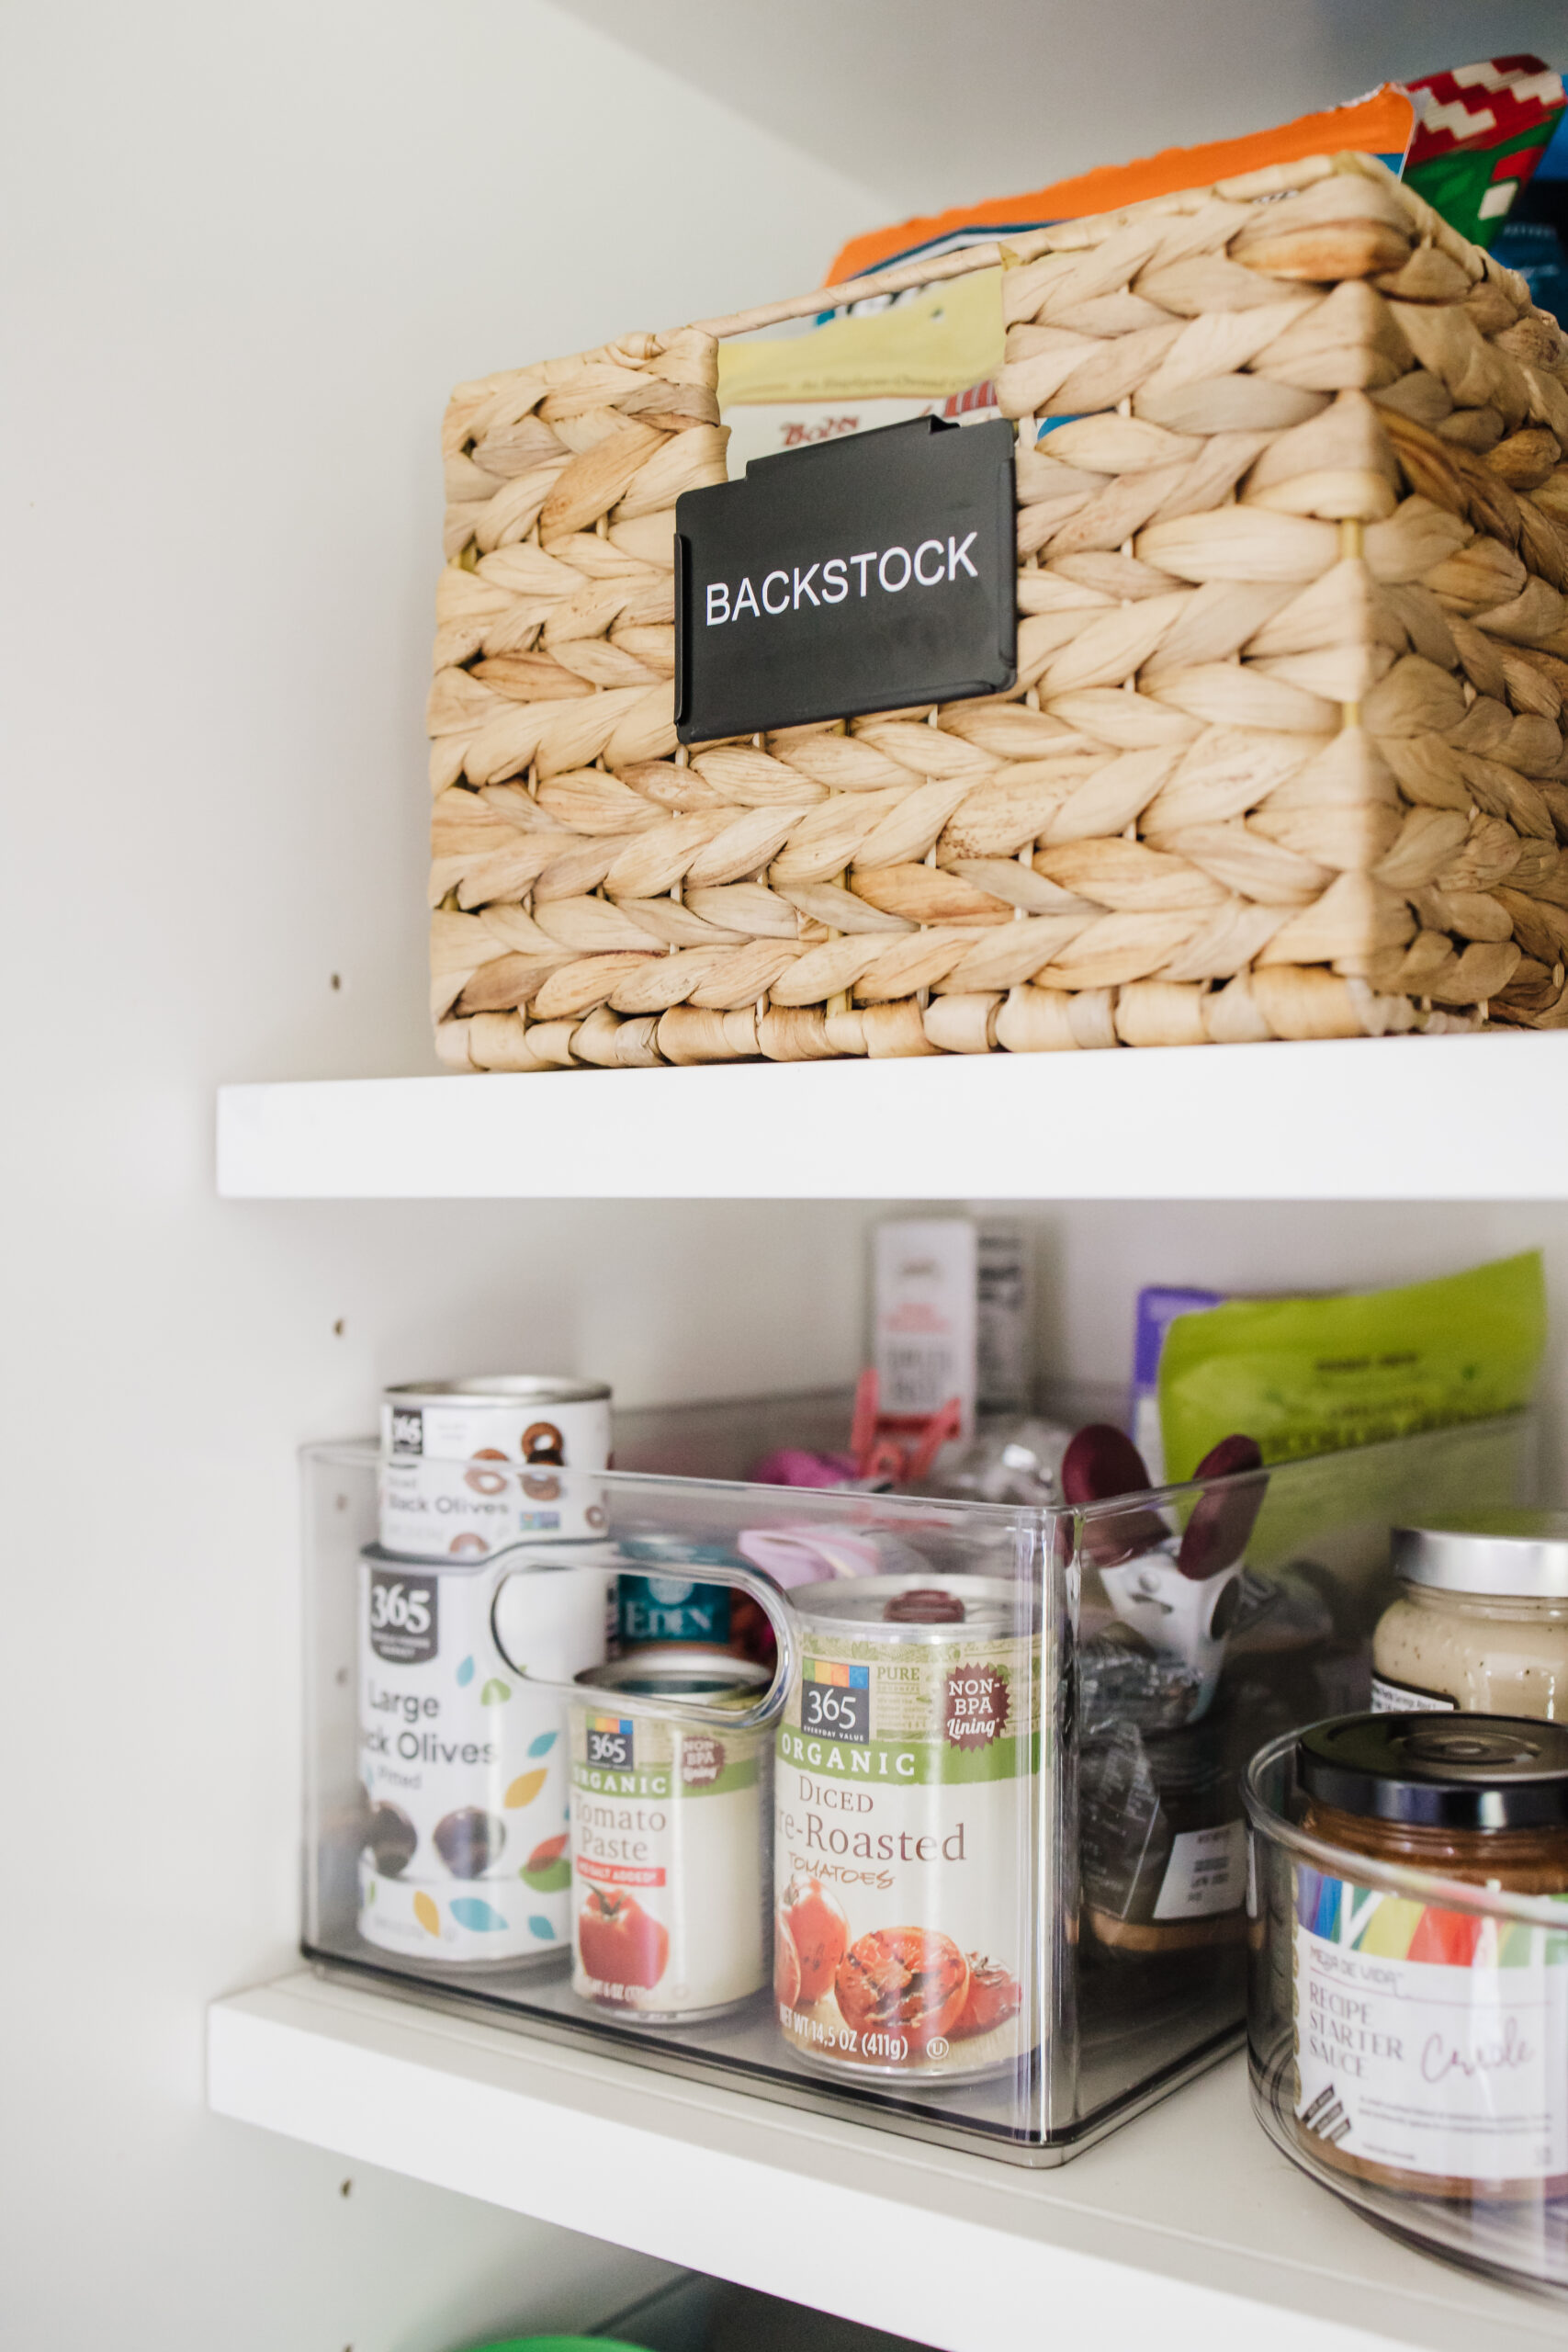
6. Utilize backstock bins.
Incorporate backstock bins so those extra/bulky items will not take up valuable real estate in the pantry. Place backstock bins at the very top or bottom of a pantry.
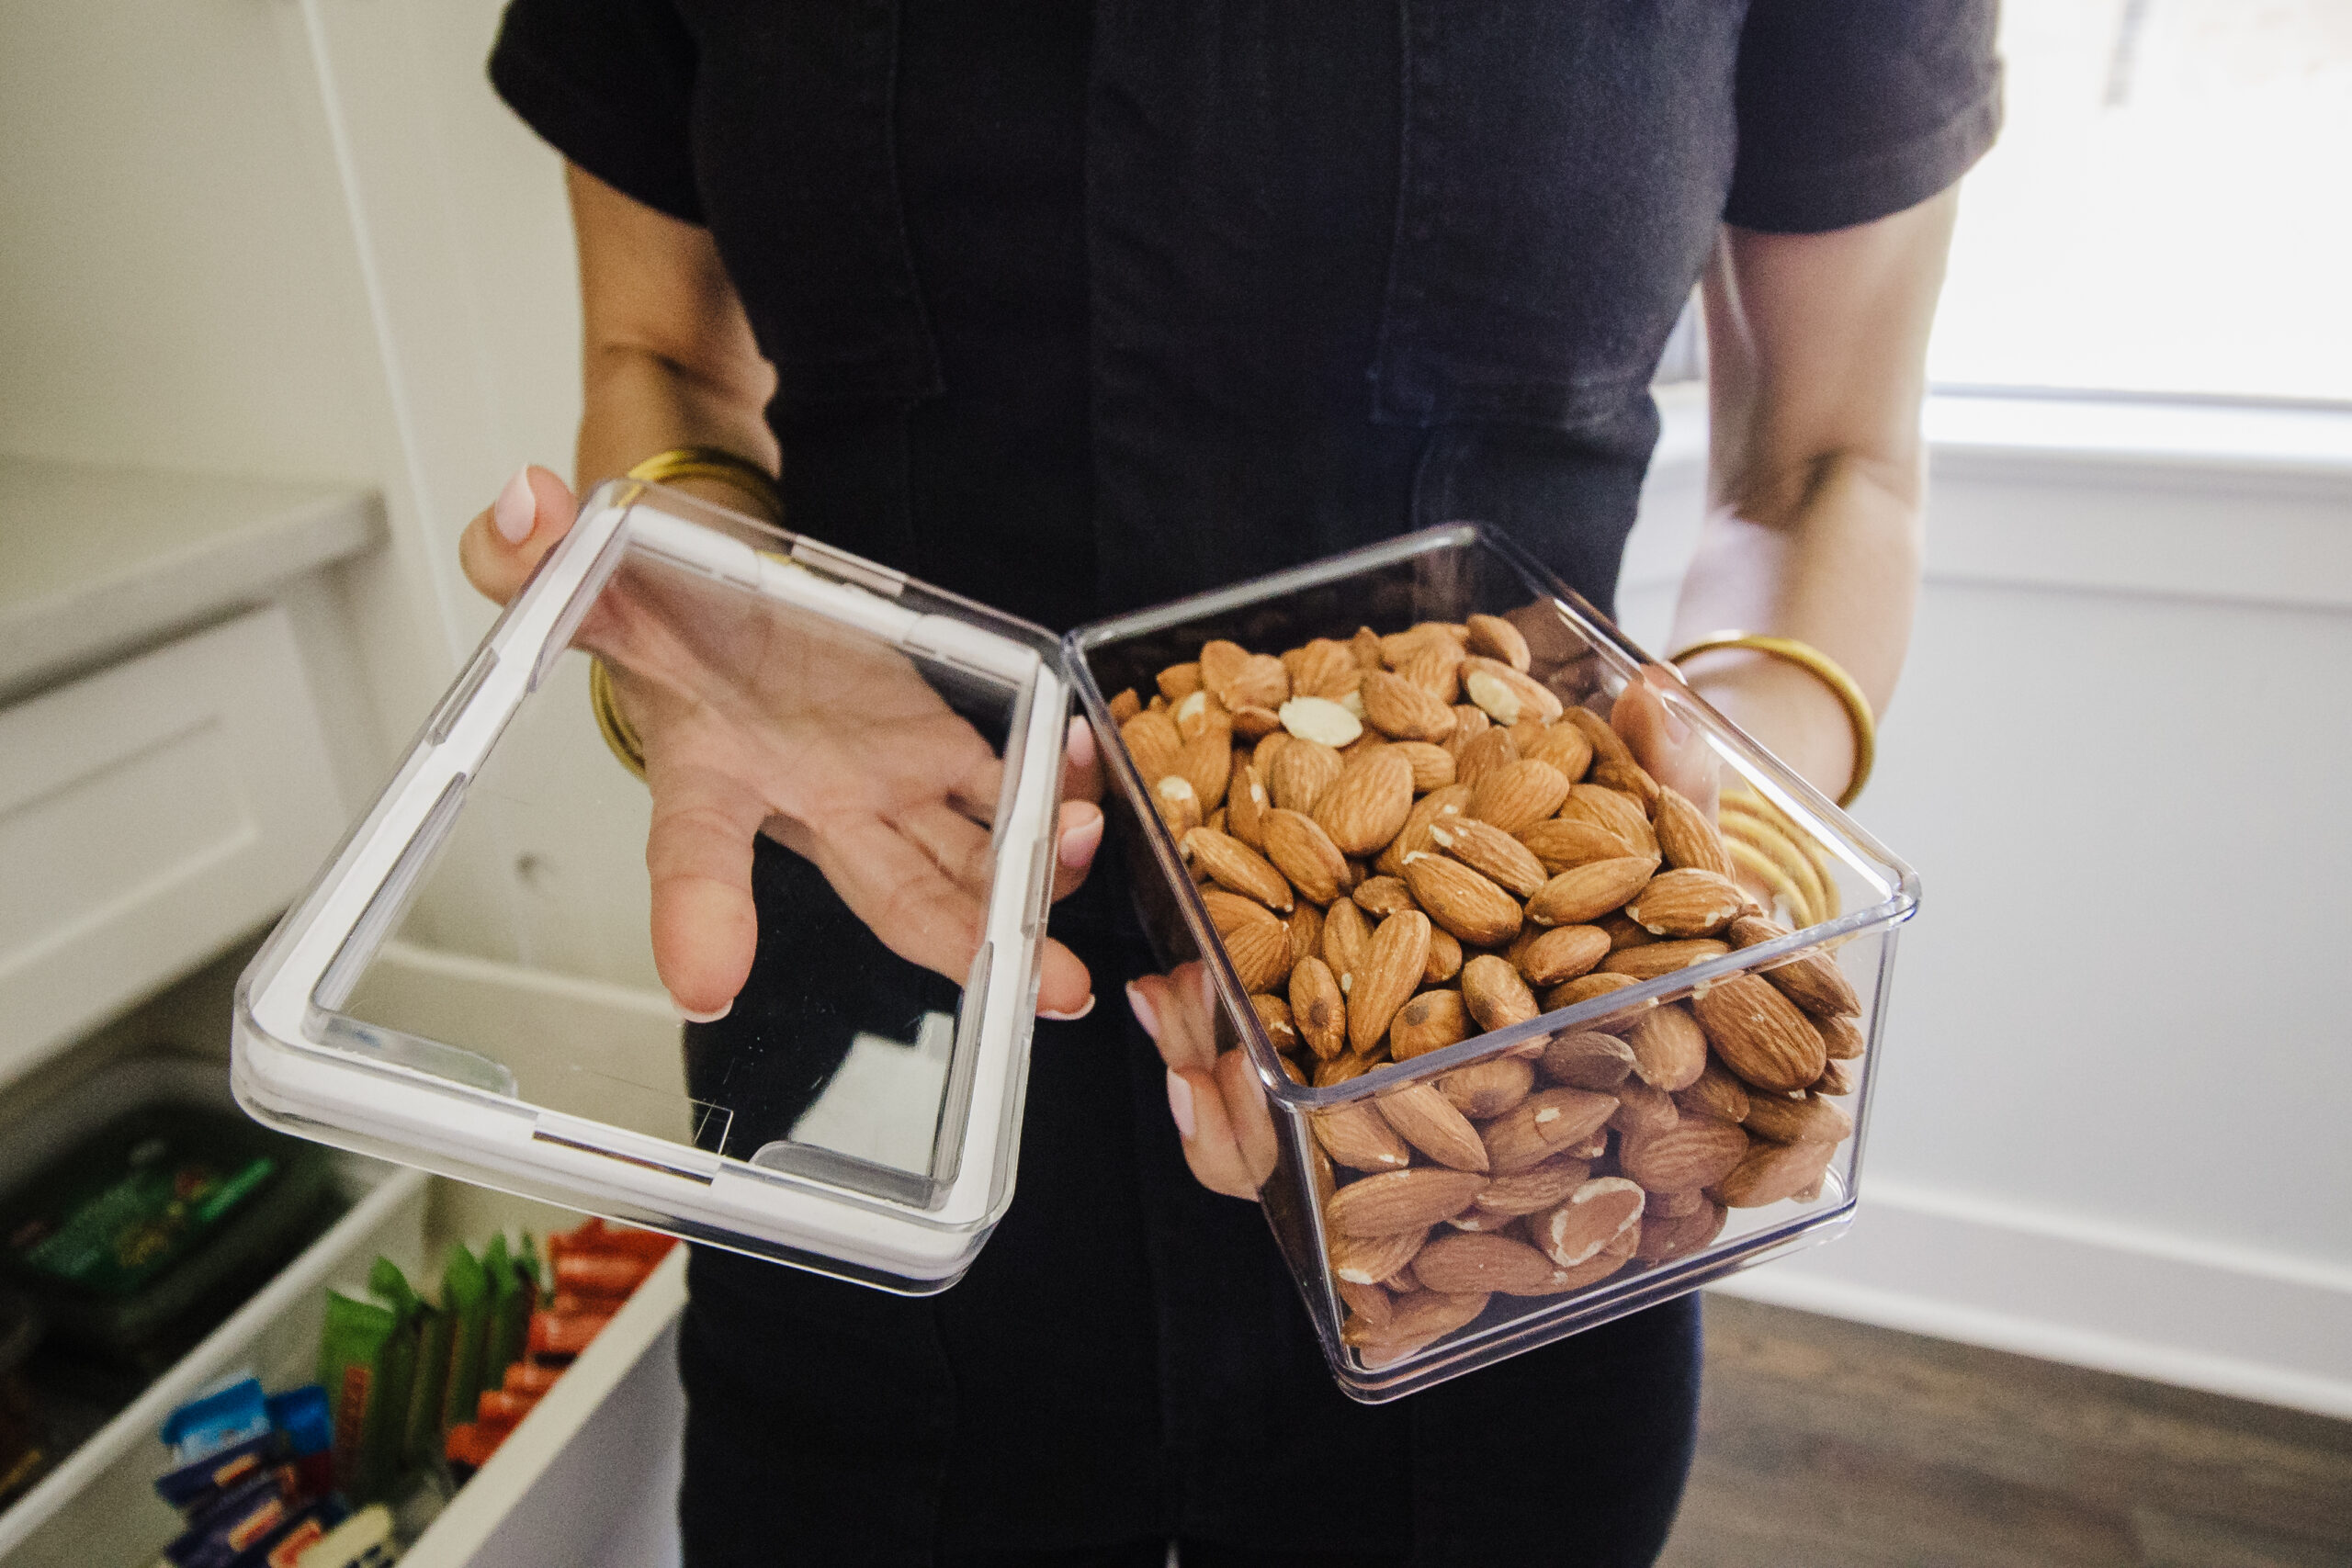
7. Decant and see clearly.
Empty items like baking ingredients, pasta, nuts, crackers, sweets, etc into glass jars w/lids or clear plastic canisters or containers with lids. You’ll be able to see exactly what you have. See my Pantry Project post for exactly what we used!
8. Label it up!
Add a nice label to the baking or pasta canisters so you don’t mix up flour and powdered sugar! Plus it gives it a uniform look. I like to leave the snack canisters blank so you have the option to swap out types of snacks. Lindsay made the labels below, and Etsy also has great pantry label set options!
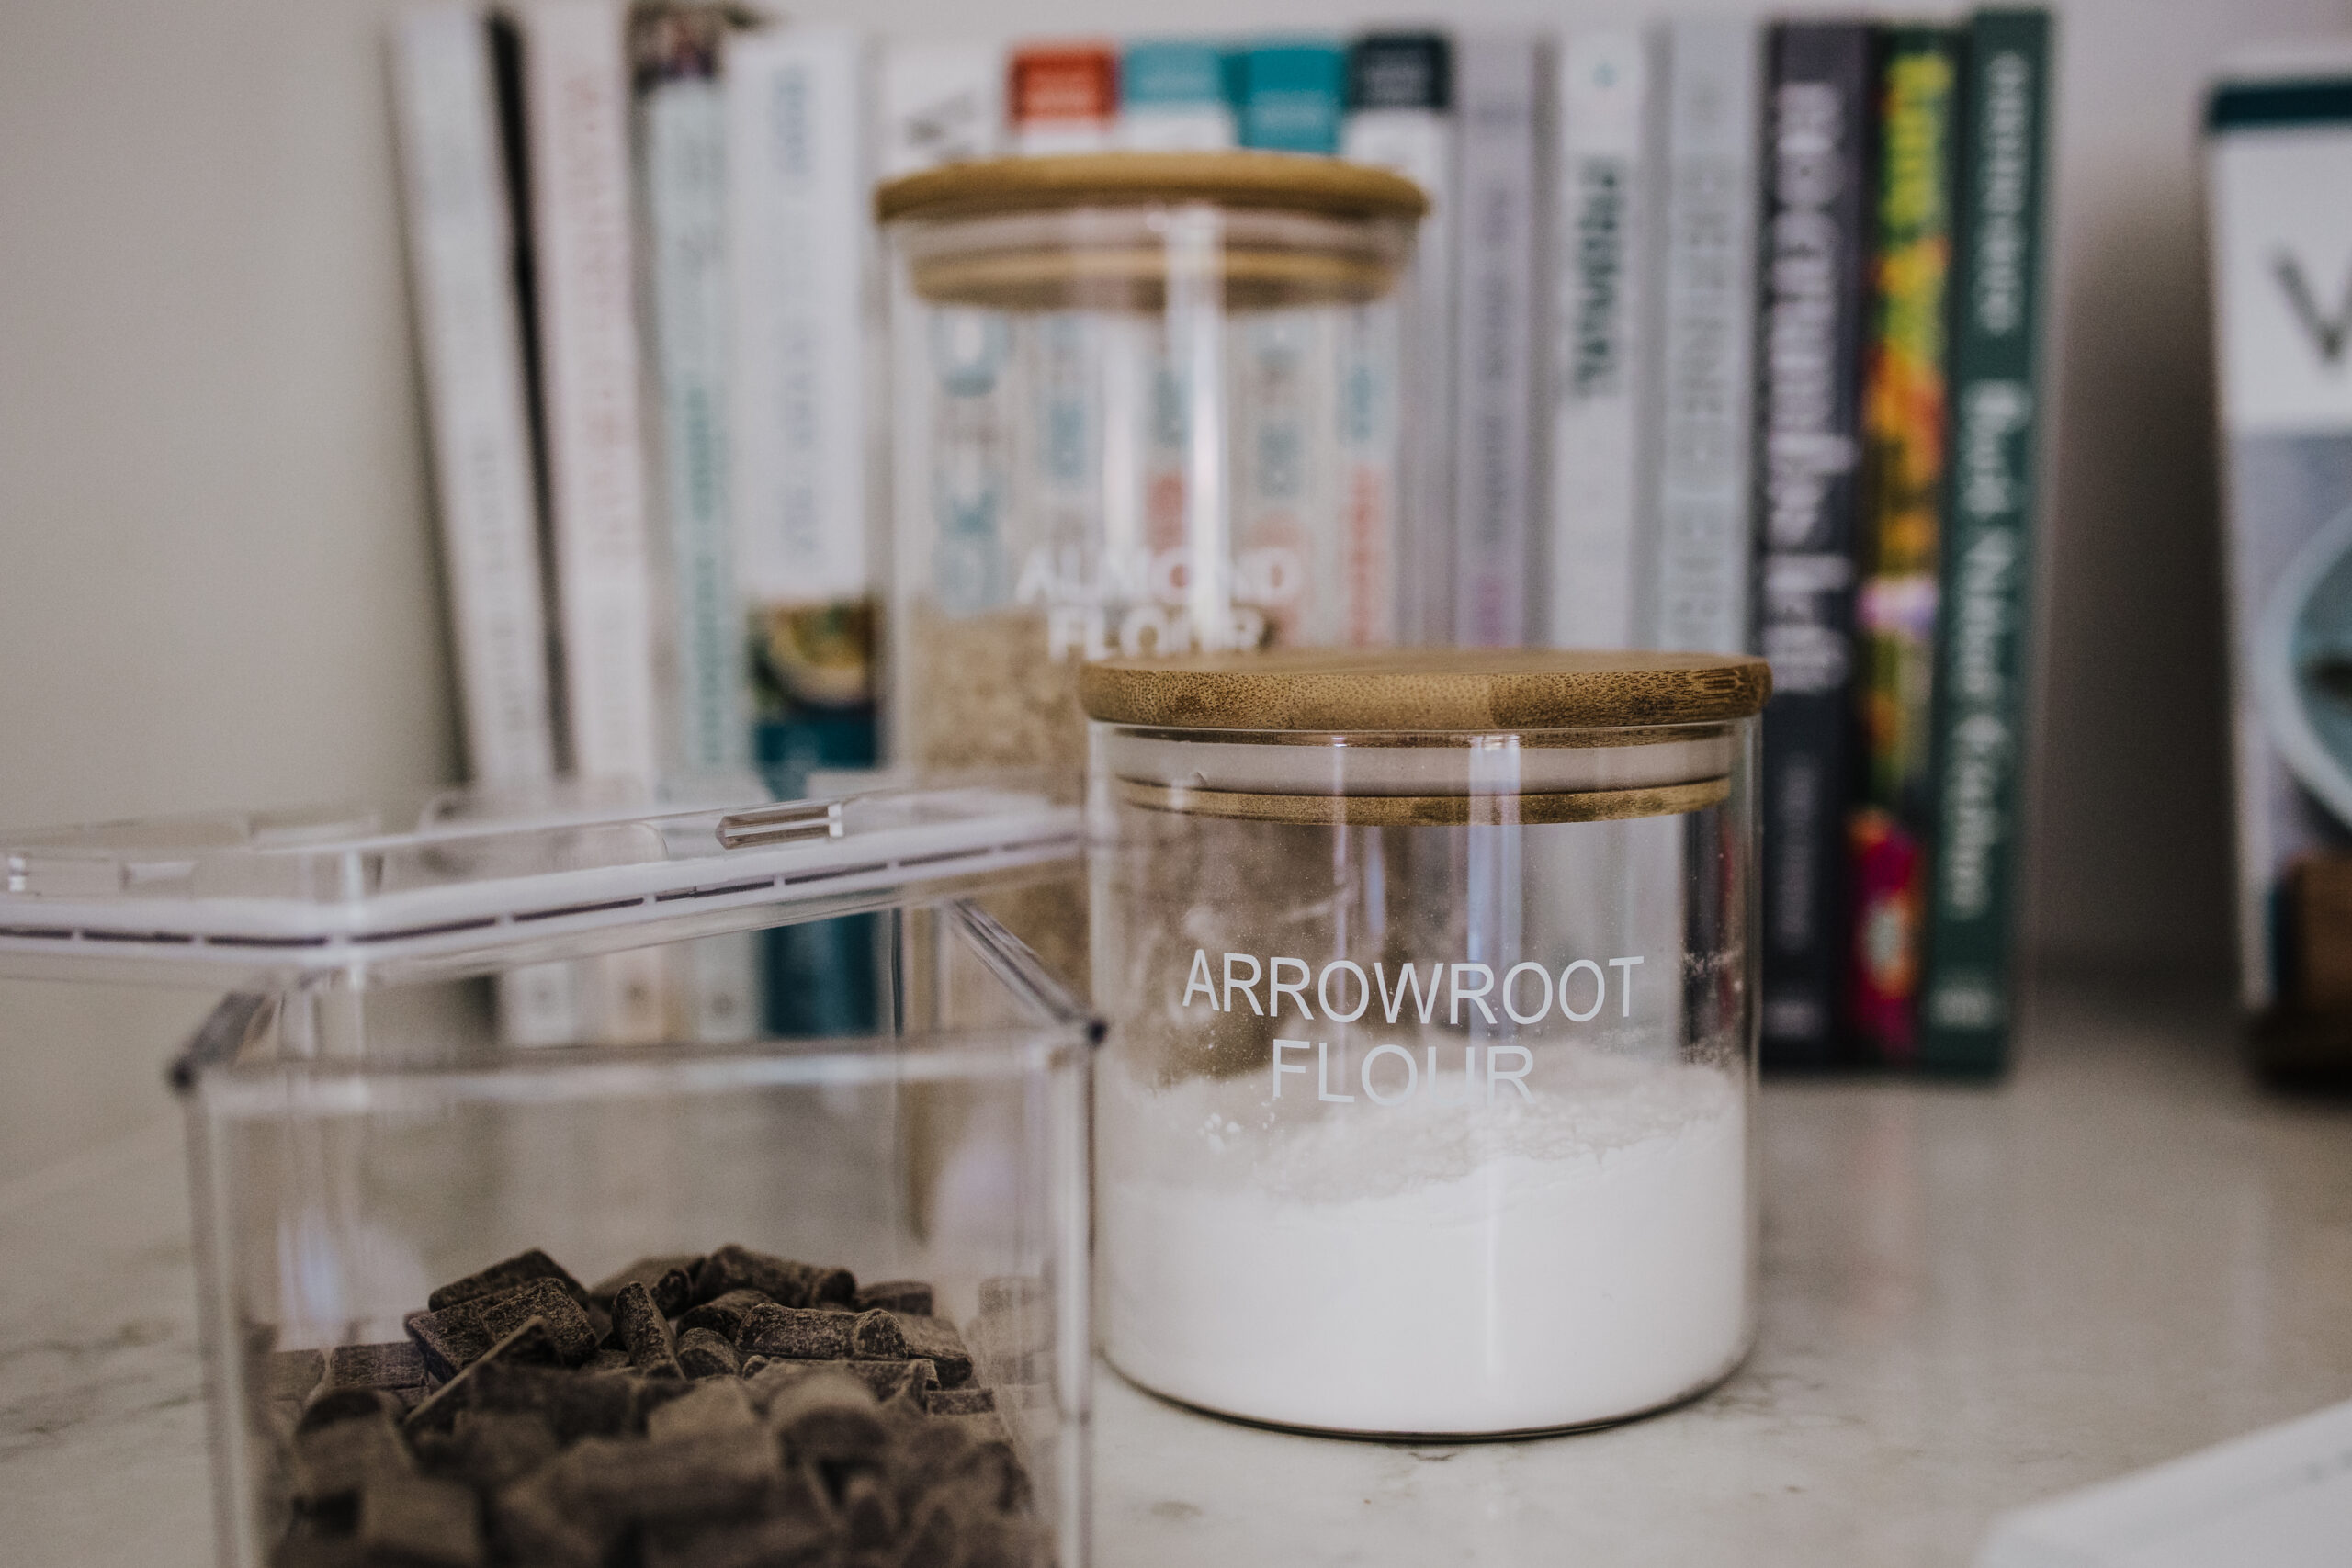
9. Include Fill & Expiration Dates.
On the bottom back of the canisters, label the fill date or expiration date… you can do this with a dry erase marker directly on the back or bottom of the canister, or add a dry erase label or chalkboard label…you will be the only one that sees it! Keep a dry erase marker in one of the drawers so it will be there when you need it. You can do this same type of labeling for ingredients for anyone in your family with food allergies.
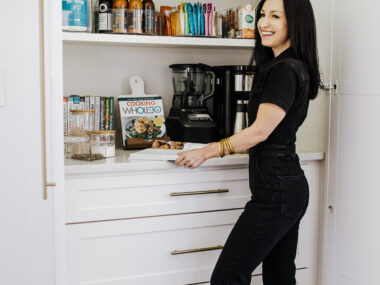
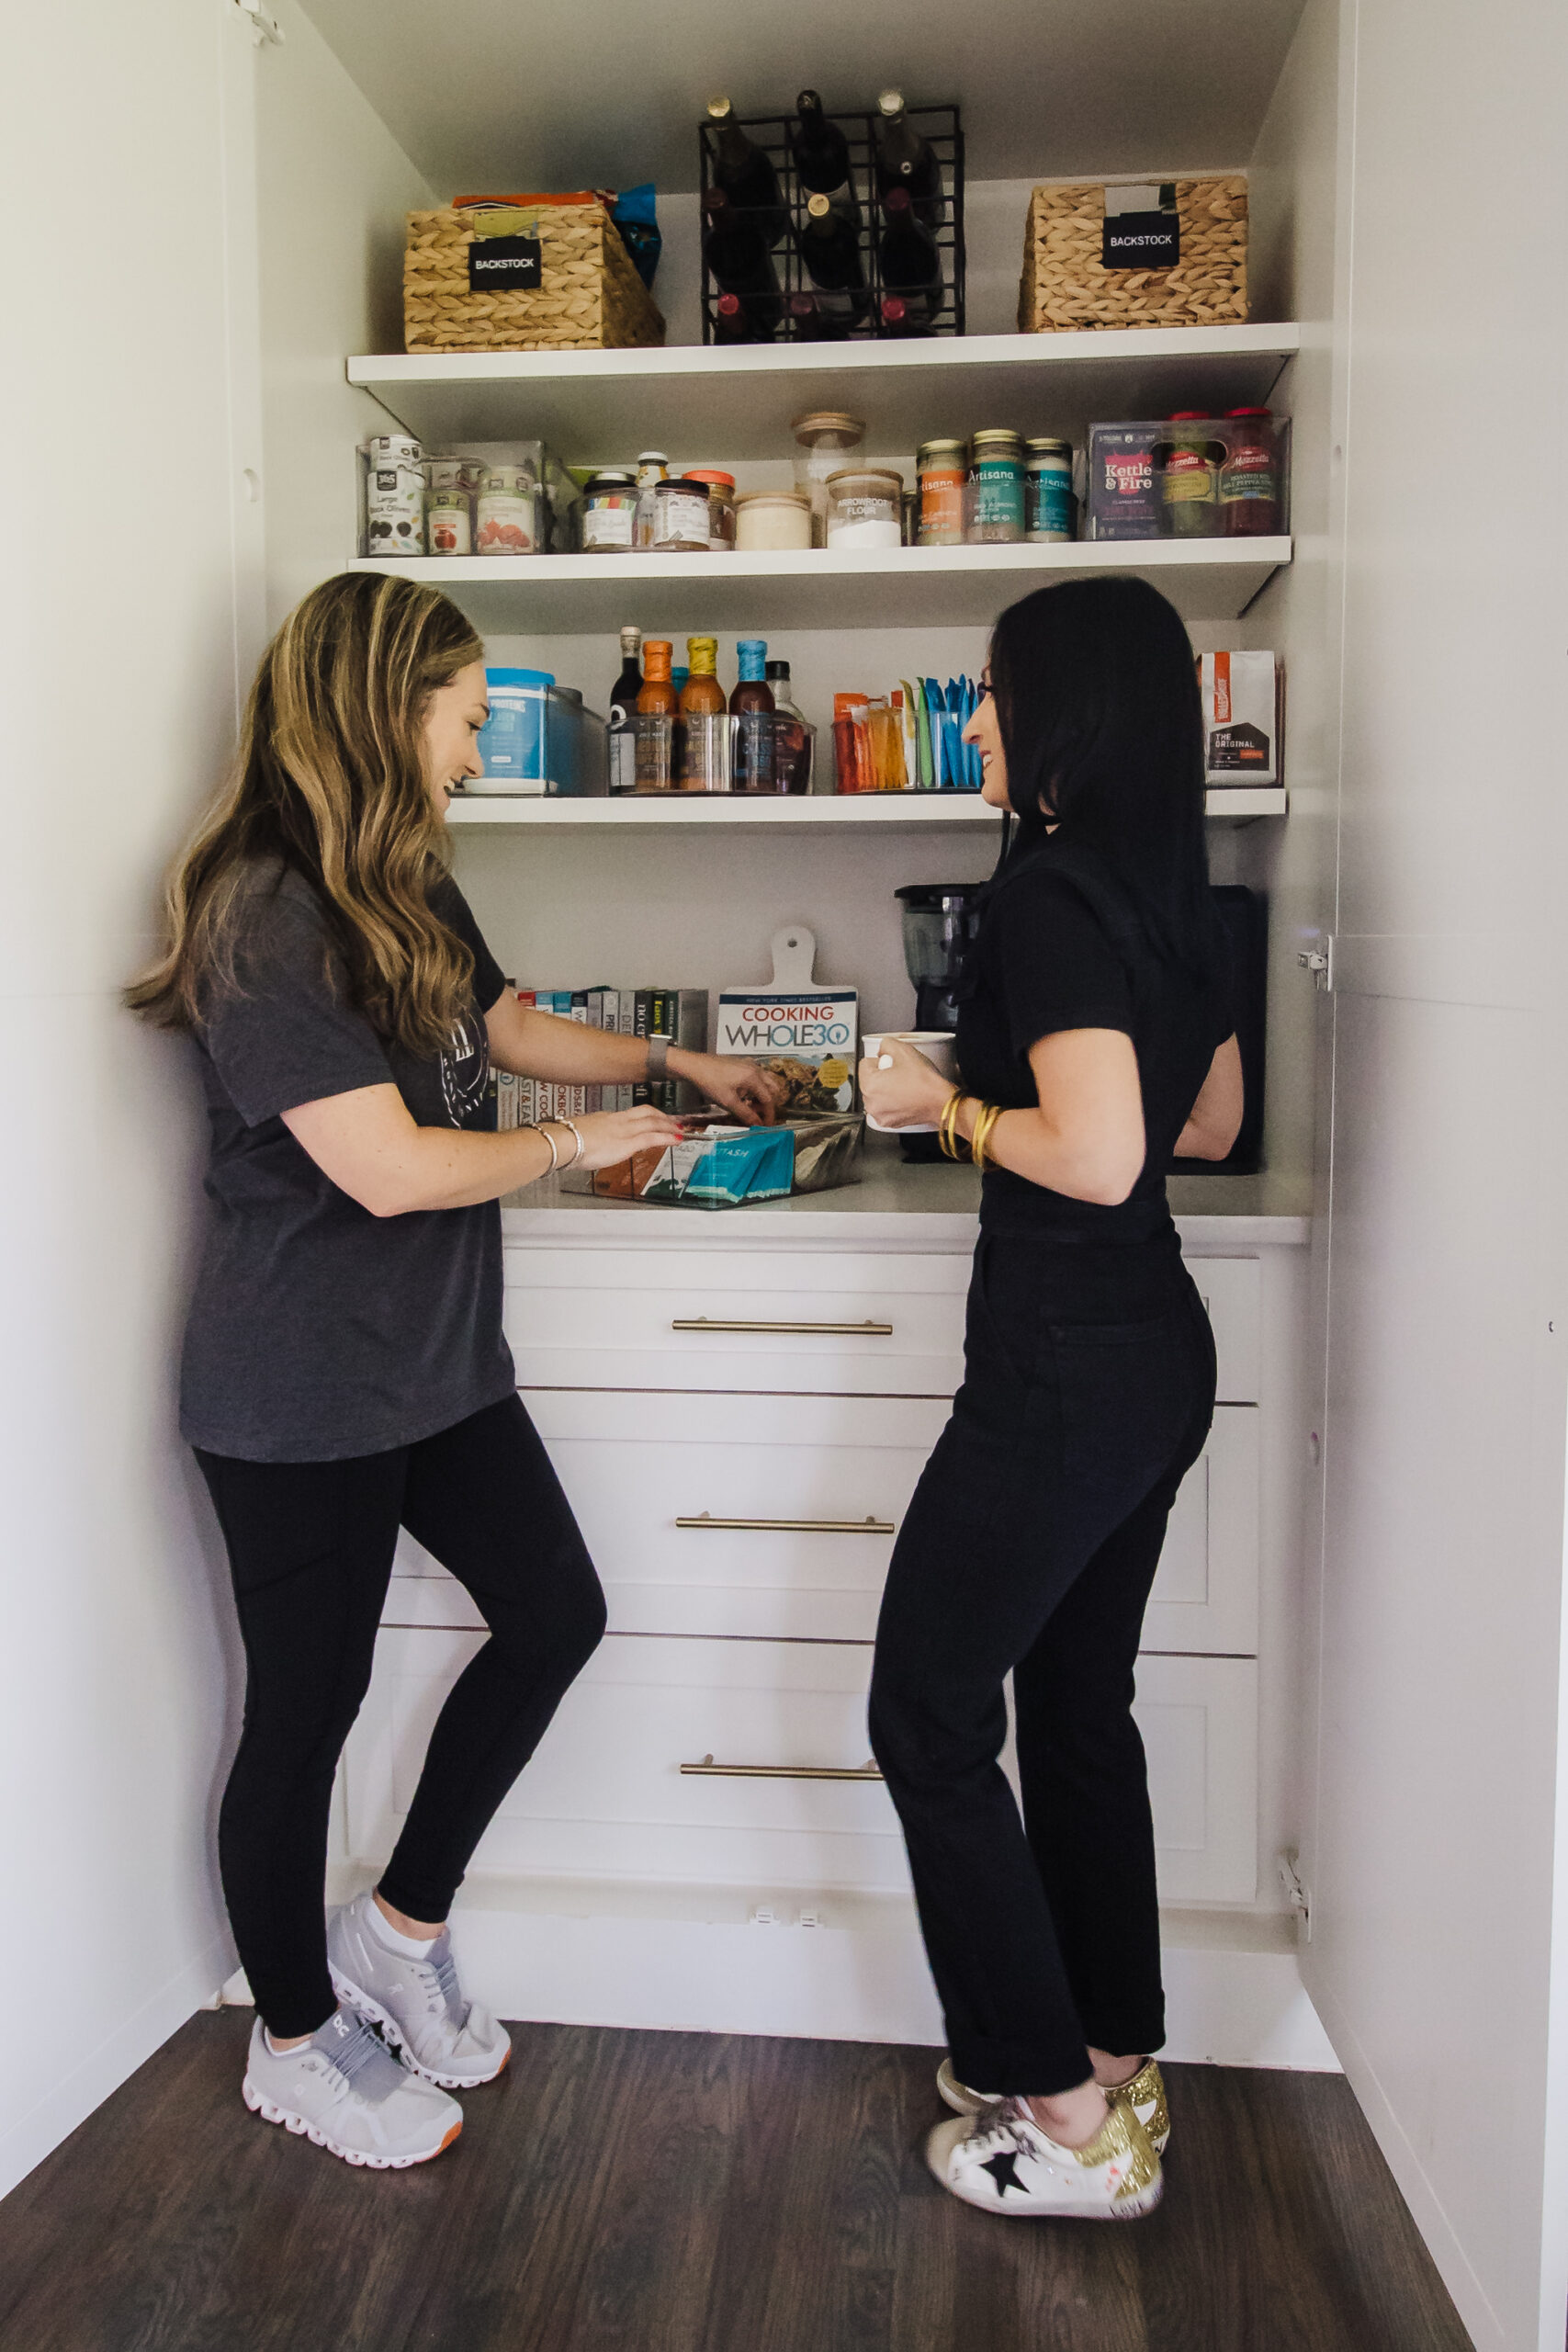
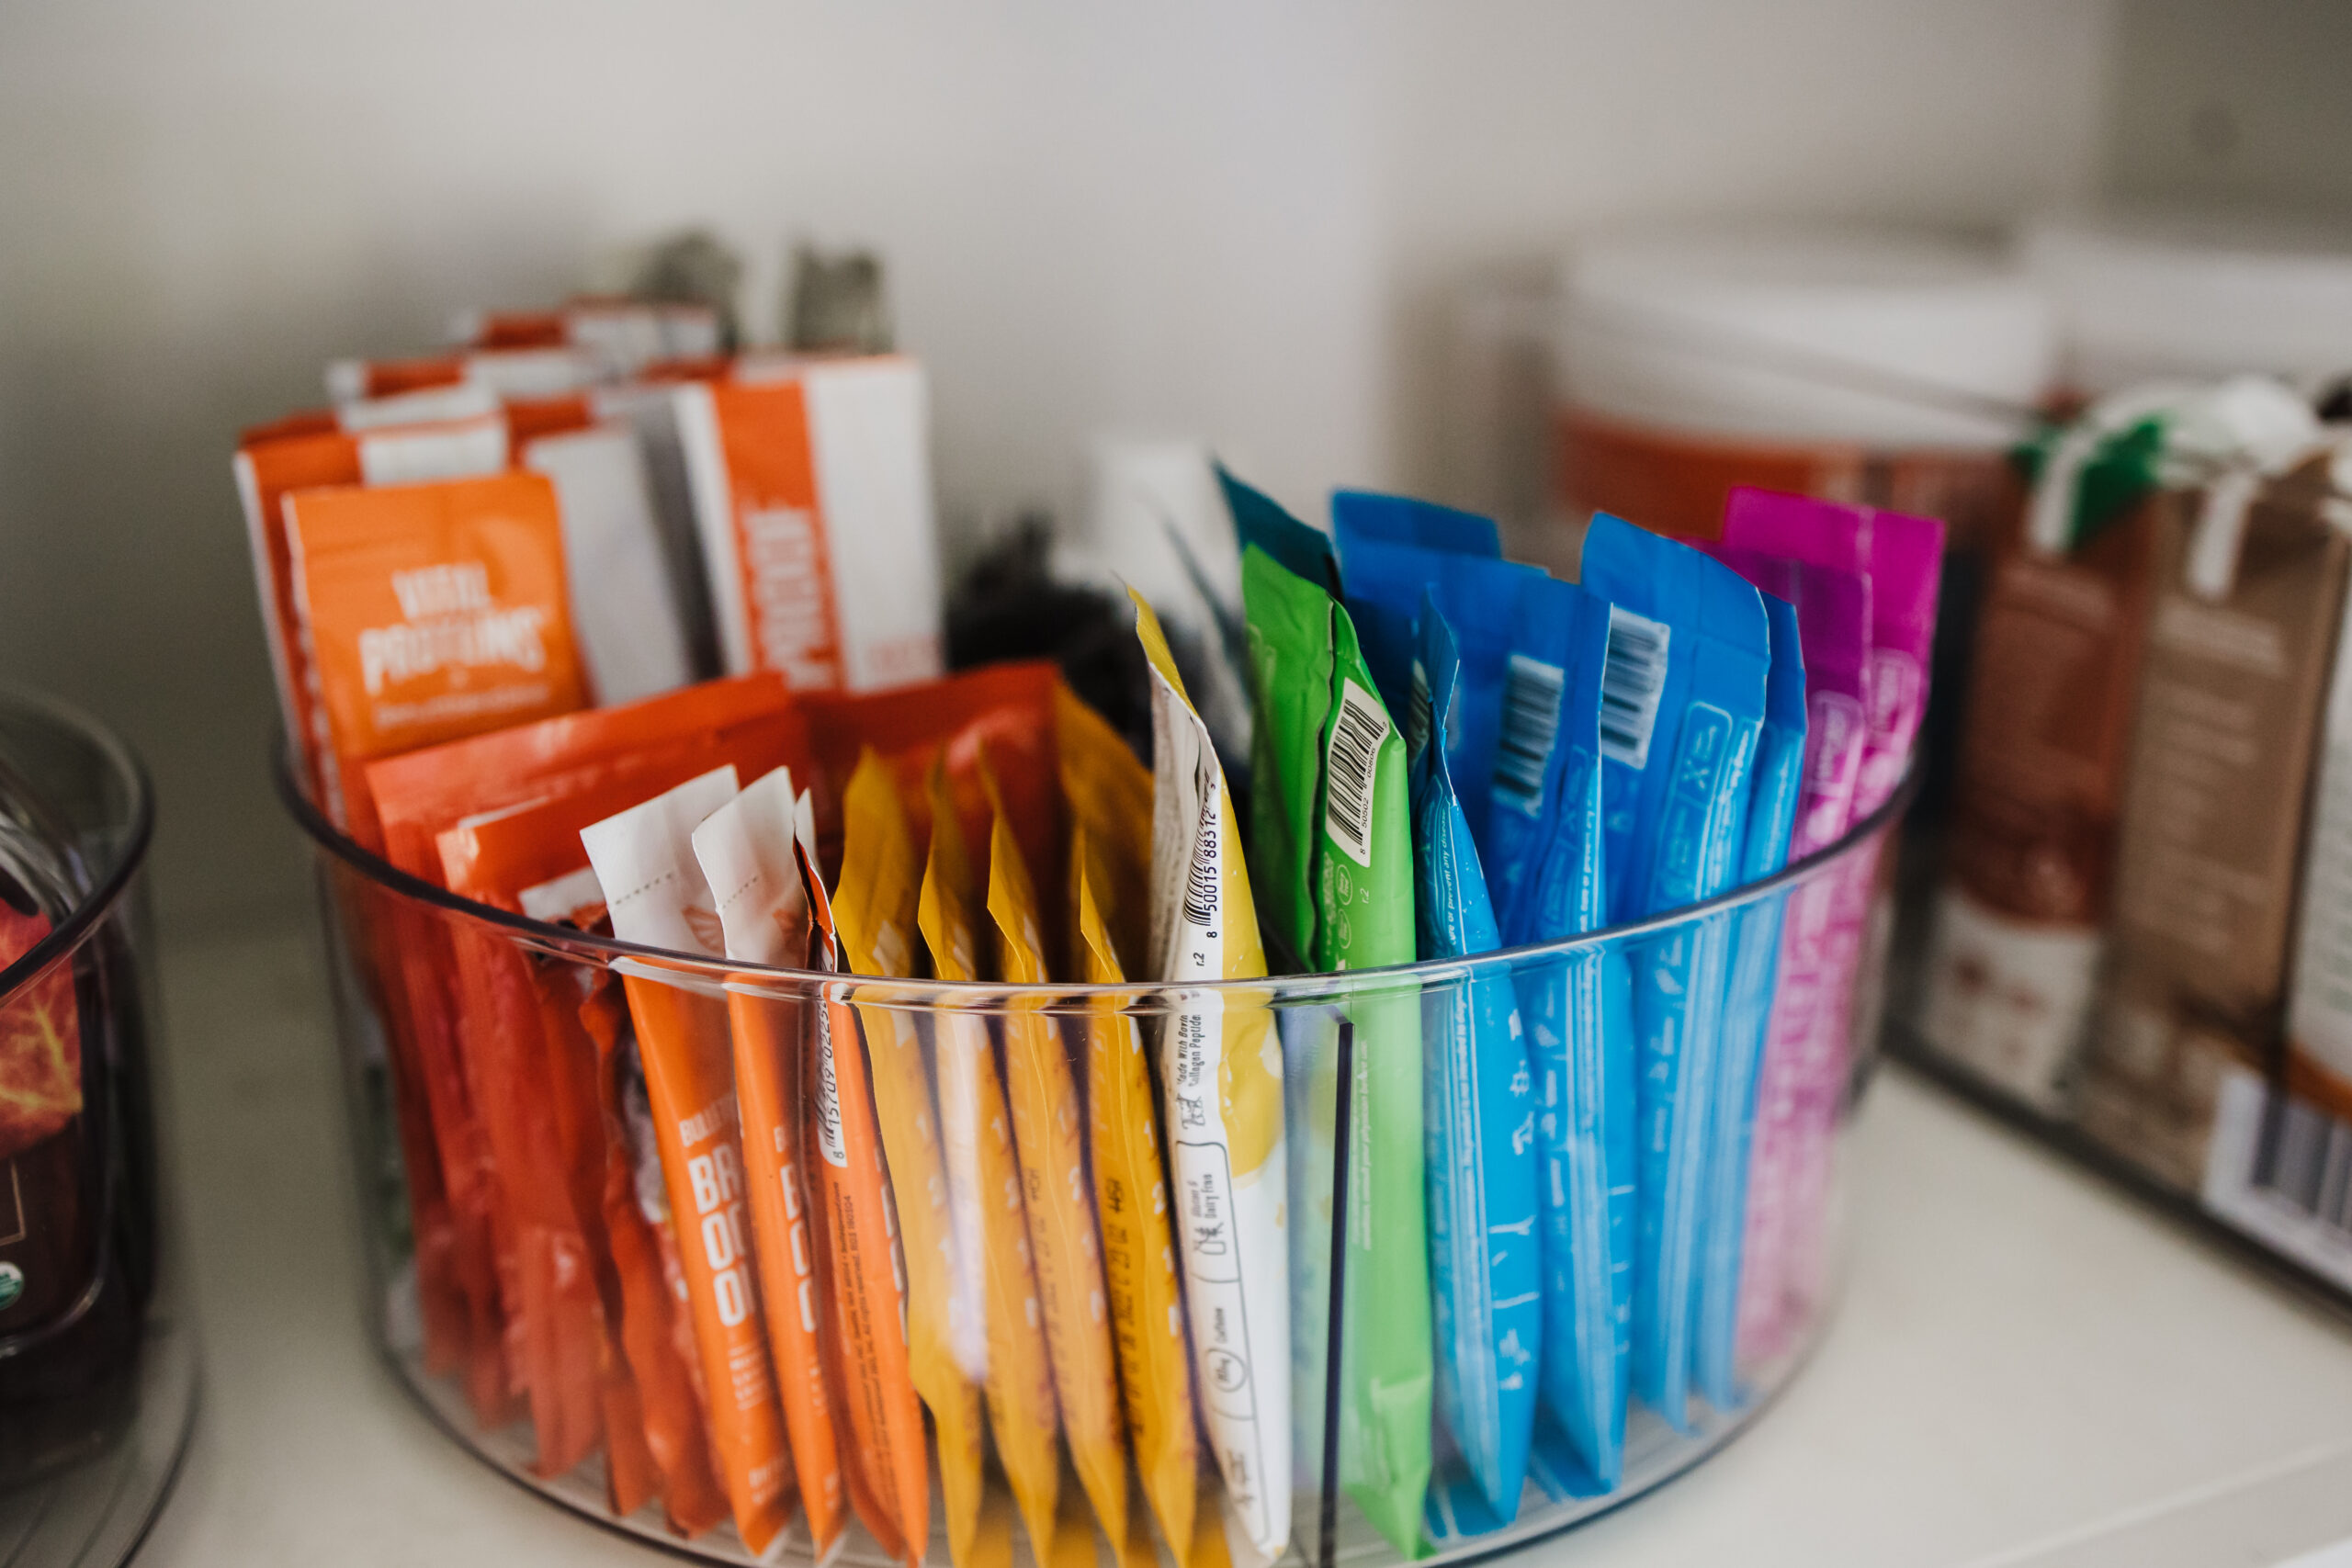
10. Add your style & your smile!
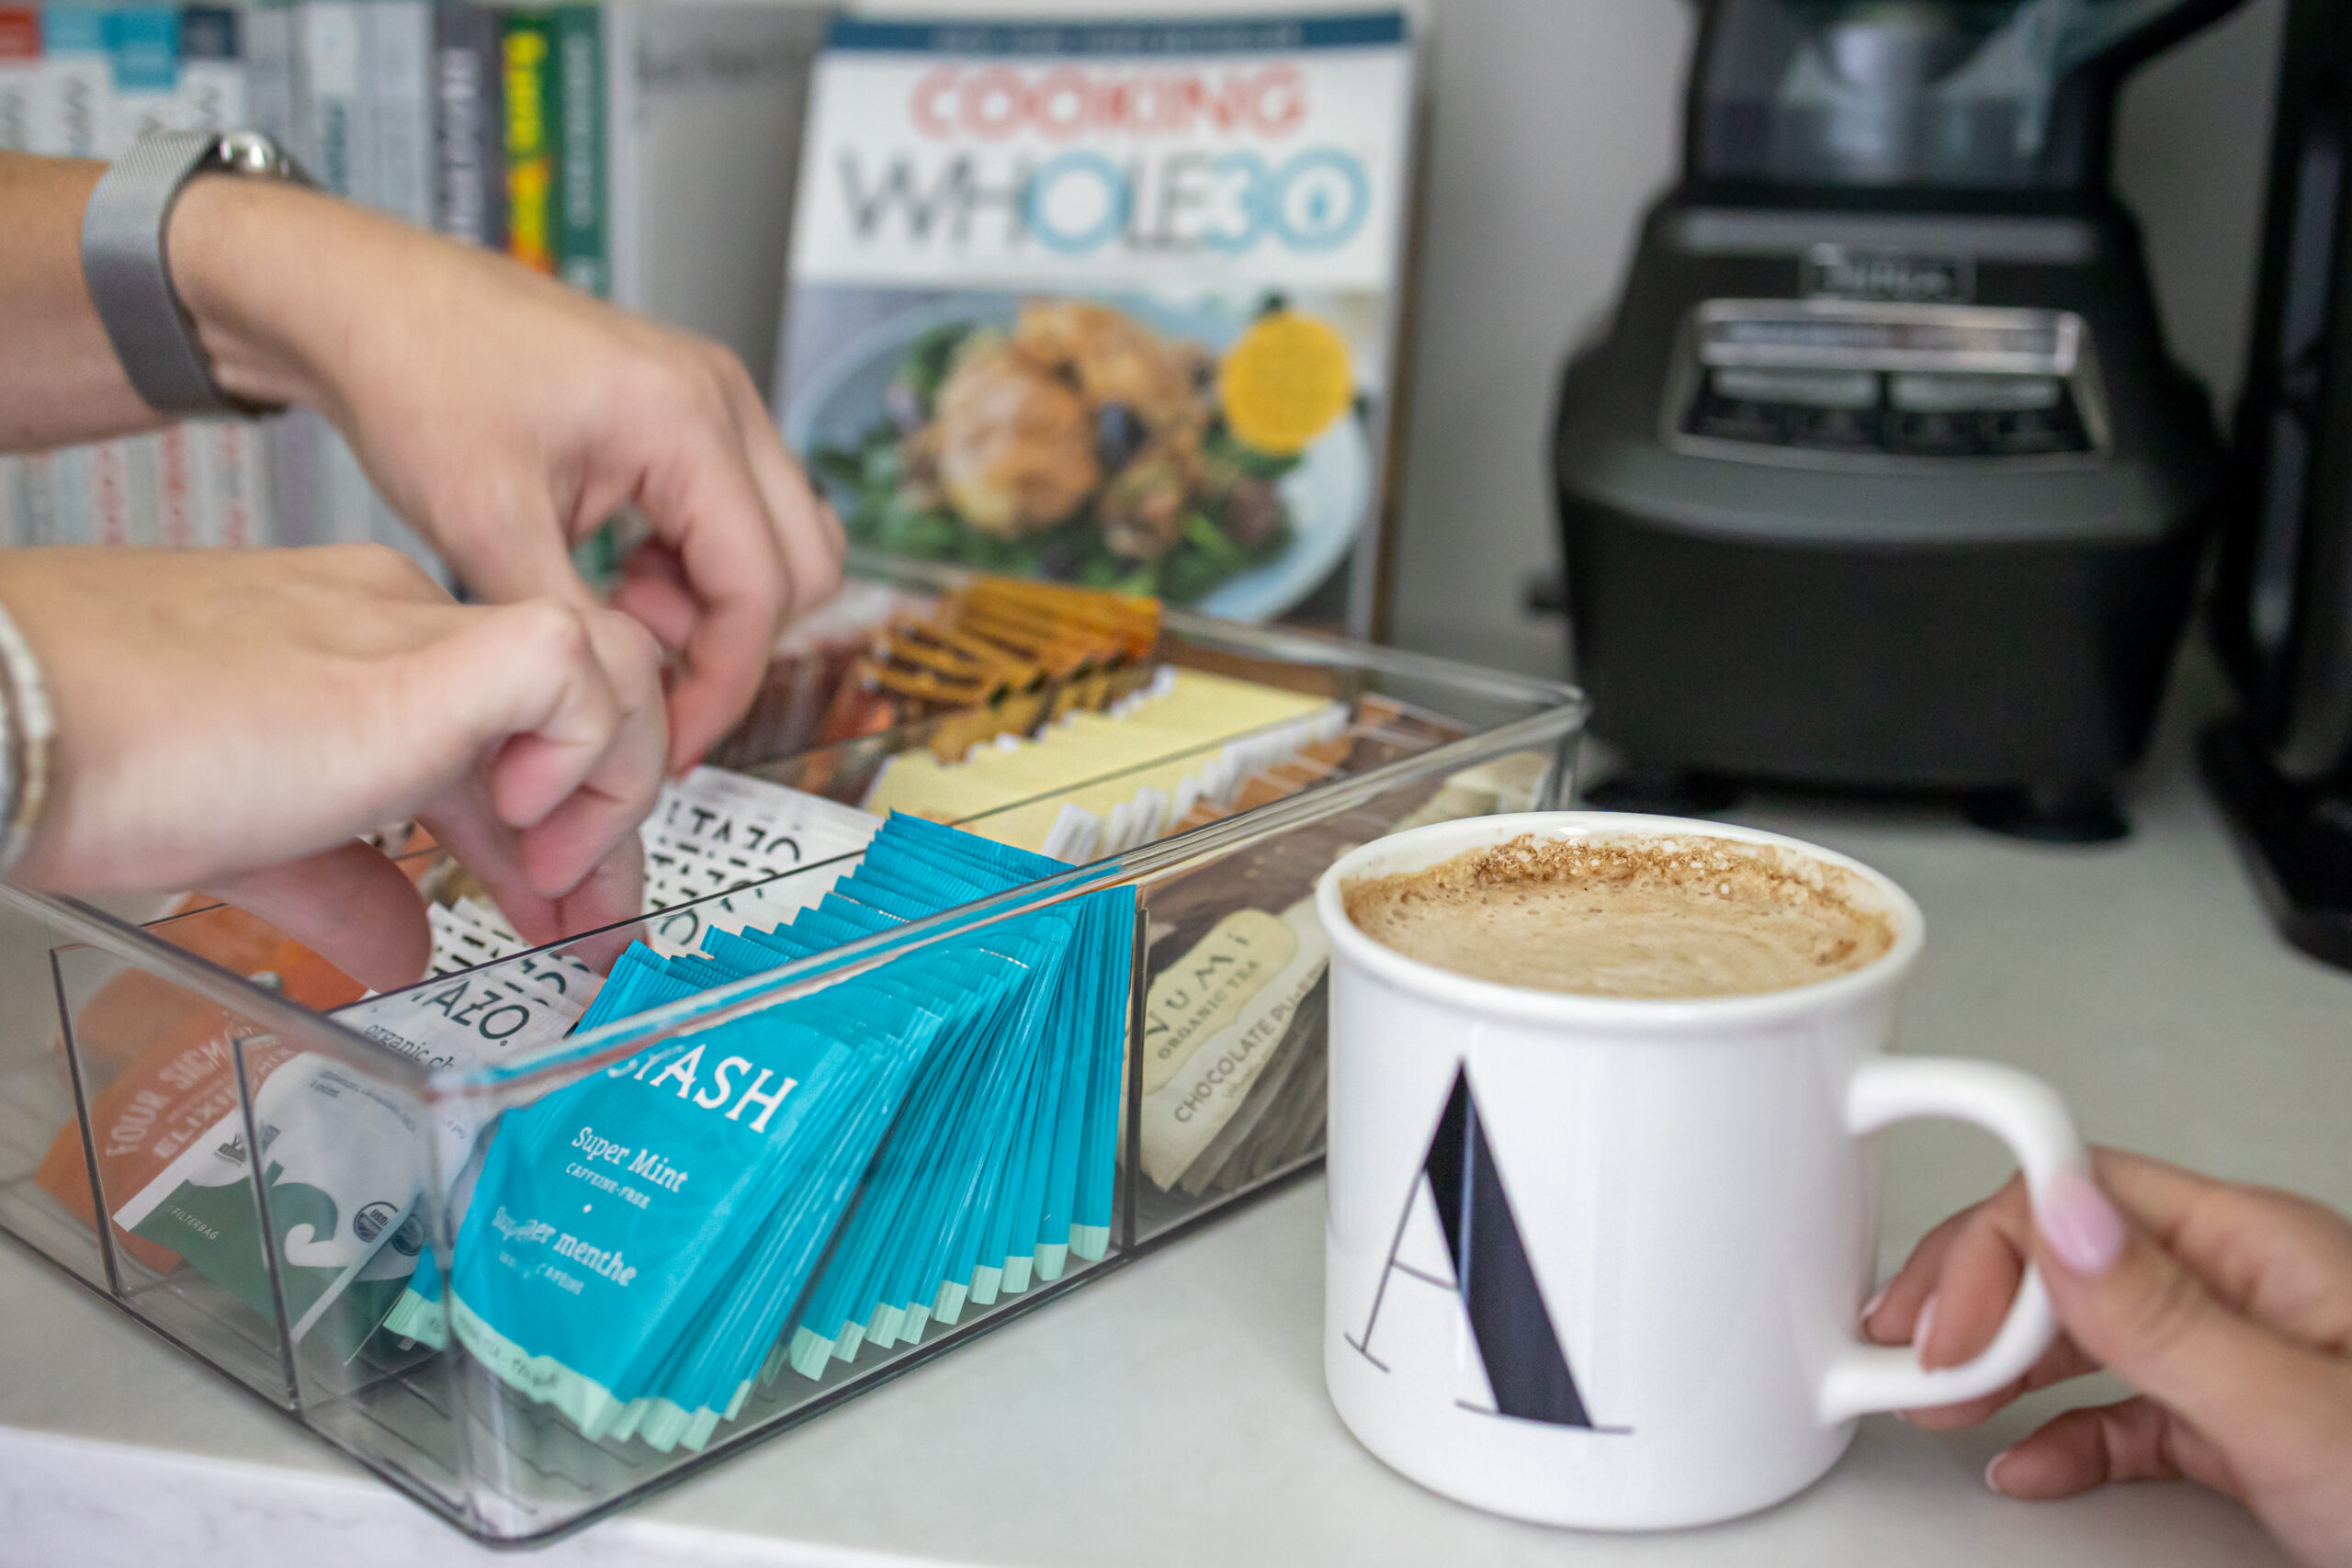
And finally, always add at least one area in your pantry that has a little style…something to make you happy when you open the cabinet or door or drawer. It could be a collection of cookbooks lined up in ROYGBIV color order or a set of matching canisters of pasta, etc.
#10 for me is my coffee bar counter space and the clear turntables with single serve packets in ROYGBIV order! These are functional, stylish, and pretty to look at…I love them! 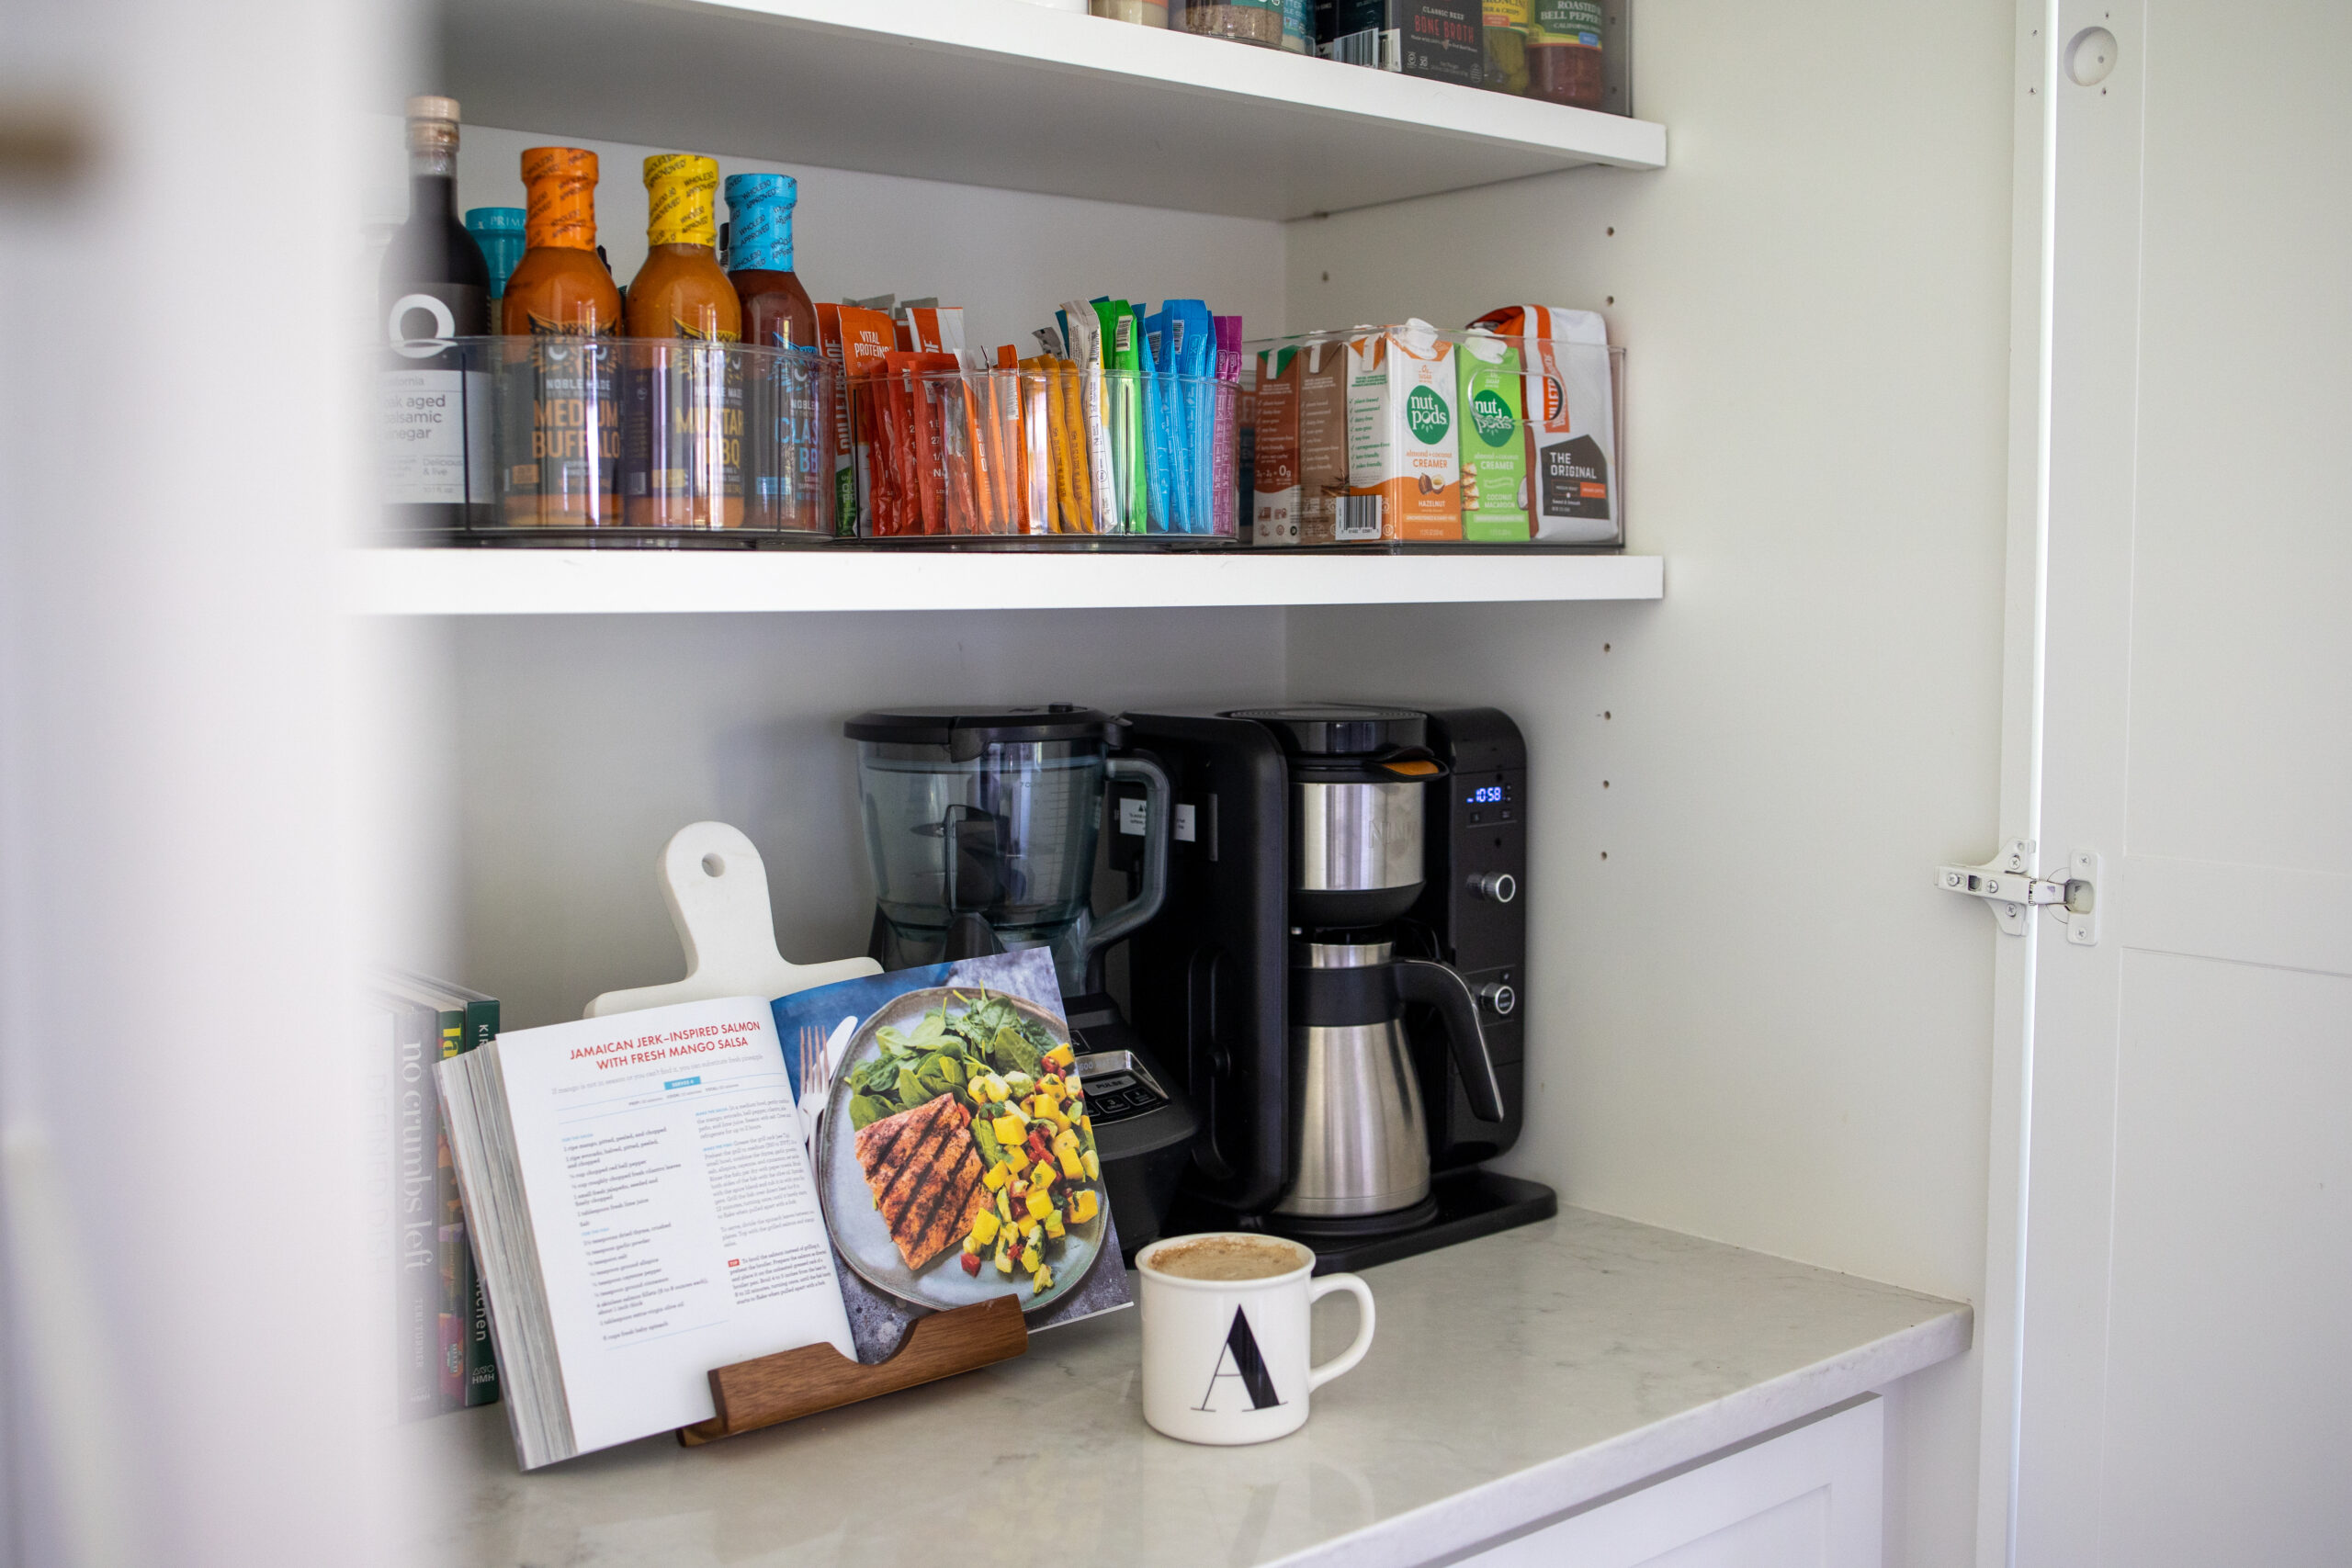
Need more help?
If you’re in the Dallas area you can contact Lindsay to schedule a free in person consultation. If you’re not, there are other options to get the help you need! She also offers virtual consults and DIY plans…
Be sure to check out the Pantry Transformation post with the details on the exact items we used and I’ve also linked them below…And, speaking of stocking your pantry, be sure to get my free Whole30/healthy living pantry + fridge guide here, filled with the food faves we purchase on repeat! Thanks for stopping by & have a great day!
Photography: Katie Schmidt